www.grundfos.co.uk Page 23 of 40
9.5 Installation Checklist
During the installation phase:
DO NOT apply Mains power to the unit.
DO NOT apply water to the unit.
Fully read and study this manual.
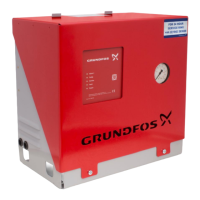
Unpack, Inspect for completeness and any damage.
Report to supplier/customer
Ensure that the installation location meets all of the
requirements in this manual and the latest BS 9251
Standard.
Transport the unit to the chosen location.
Test Location of unit for fit and access, remove unit.
Locate unit and fasten down unit.
Make the suction port connections to the water supply.
Make the discharge port connections to the sprinkler
riser
Remove the fixing screws retaining the front cover of the
controller
Remove the controller front panel at the ribbon cable
attachment to the PCB
Wire digital inputs from Water, through controller cable
glands and to connector blocks on PCB (as required)
Perform continuity check
Label wires
Wire digital outputs through side wall grommet, through
controller cable gland and to connector blocks on PCB (as
required)
Perform continuity check
Label wires
Add the 2 x AAA Batteries
Make the electrical power connections to the mains
power supply. This should be to a lockable isolator.
Lock off the isolator to ensure Mains power cannot be
applied to the unit.
Refer to section 9.2 for wiring
instructions
Re-connect control panel ribbon connector to PCB and re-
fit controller front panel
Review all of the above actions, if the commissioning
phase does not follow immediately after, replace the
front cover and screws. Leave the unit in a safe condition
System is ready to Commission
 Loading...