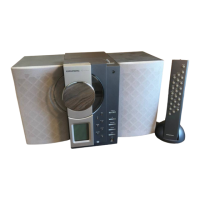
Allgemeiner Teil / General Section CCF 23
1 - 8 GRUNDIG Service
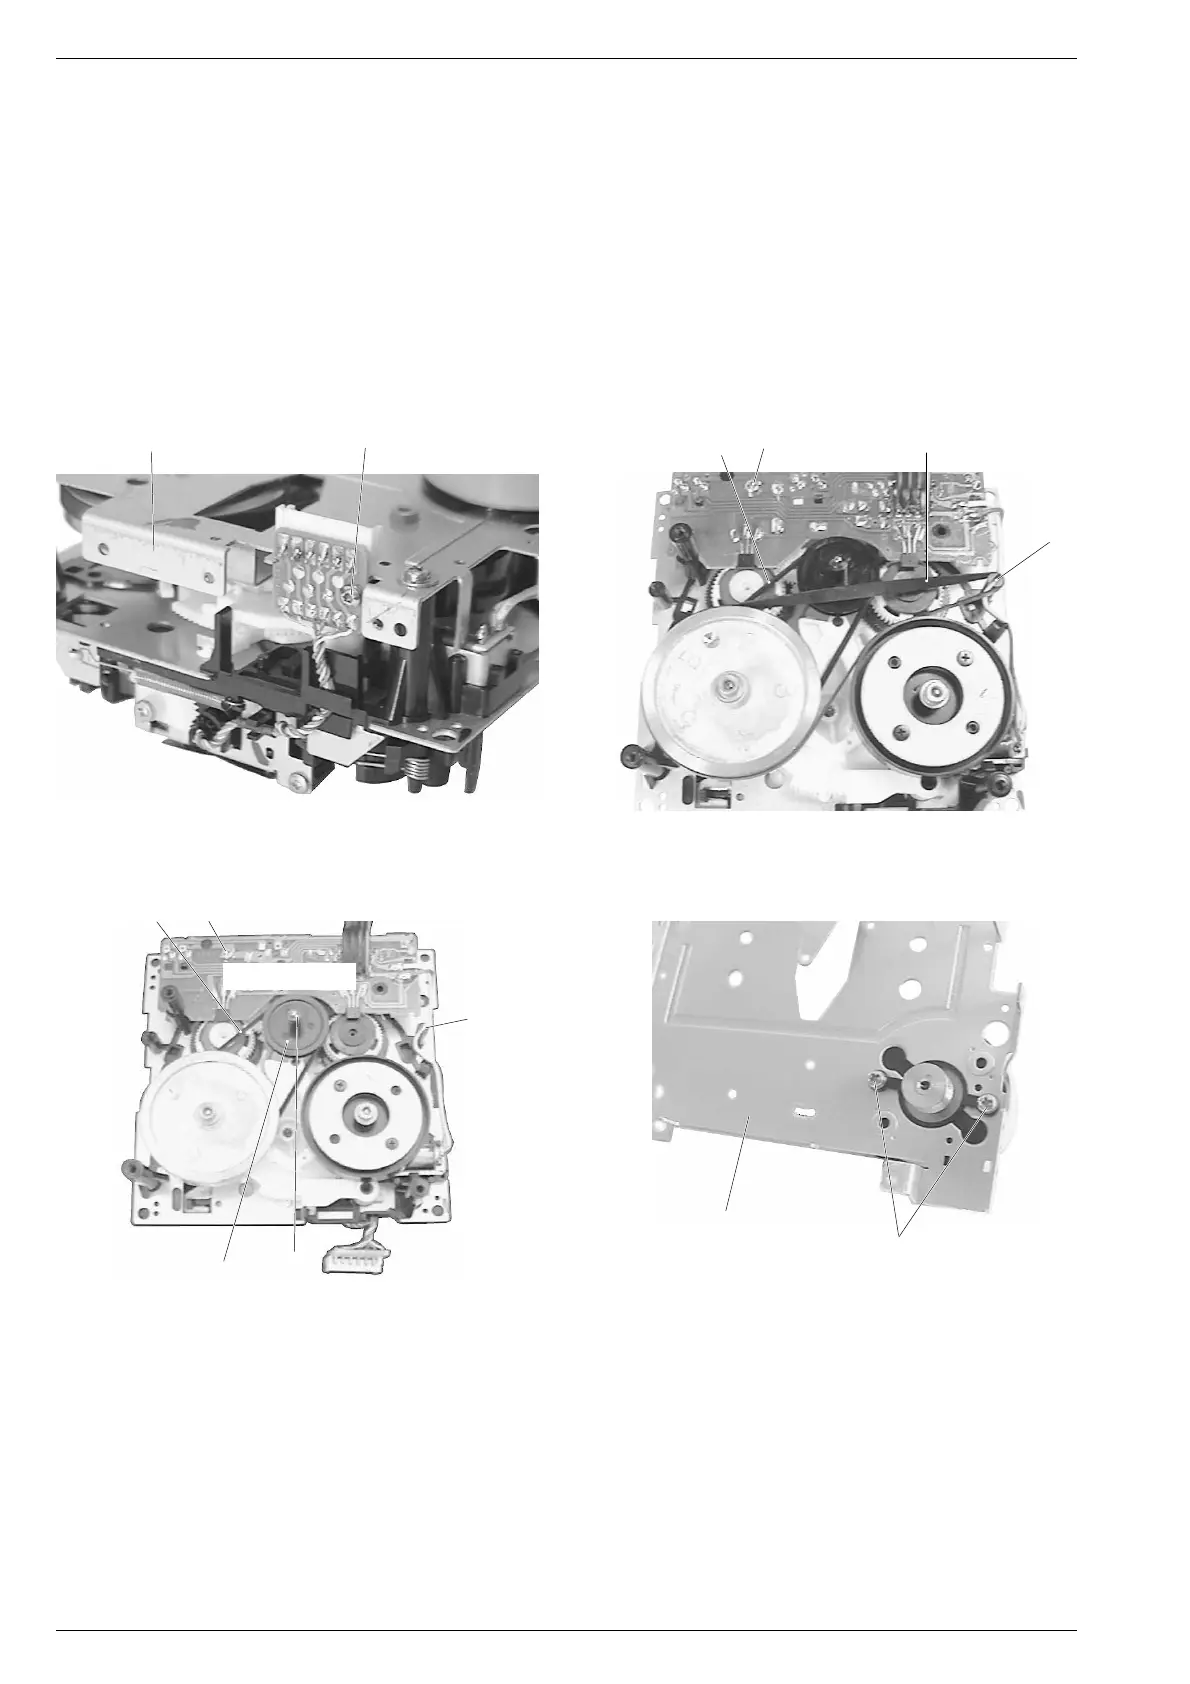
8. Laufwerkmotor ausbauen
- Laufwerk ausbauen (siehe Pkt. 6).
- 4 Schrauben N herausdrehen (Fig. 7).
- Schraube P herausdrehen und Buchsenplatte abnehmen (Fig. 8).
- Nehmen Sie den Antriebsriemen 45 von der Motorriemenscheibe
und legen Sie ihn über den hochstehenden Bolzen Q (Fig. 9).
- Laufwerkabdeckung 41 mit Motor abnehmen.
- 2 Schrauben R herausschrauben, den Motor aus der Führung
herausnehmen und ablöten (Fig. 11).
9. Antriebsriemenwechsel
- Die Vorarbeiten zum Wechseln des Antriebsriemens 45 und des
Riemens 24 sind wie beim Laufwerkmotorwechsel (siehe Pkt. 8).
- Riemen wechseln.
Achtung!
Riemen, Andruckrollen und Bandkontaktstellen müssen
frei von Öl und Fett sein.
10. Laufwerk-Platte ausbauen
- Laufwerkabdeckung mit Motor ausbauen (siehe Pkt. 8).
- Schraube S herausschrauben (Fig. 10).
- Bei Bedarf die Leitungen zum Bremslüftmagnet und Motor ablöten.
- Leiterplatte herausnehmen.
11. Schwungrad wechseln
- Laufwerkabdeckung mit Motor ausbauen (siehe Pkt. 8).
- Riemen 45 bzw. 24 abnehmen.
- Ziehen Sie das Schwungrad nach hinten heraus.
Achten Sie beim Aus- und Einbau des Schwungrades auf die beiden
Lager 3, die beiden Scheiben 4 und die Feder 5 (Fig. 12).
Nach dem Einbau des Schwungrades muß die Capstanwelle mit
Spiritus oder Reinigungsbenzin gereinigt werden.
10. Removing the Drive Mechanism Circuit Board
- Remove the cover of the drive mechanism with motor (see para 8).
- Undo screw S (Fig. 10).
- Unsolder the leads to the brake lifting magnet and the motor.
- Take out the circuit board.
11. Replacing the Flywheel
- Remove the cover of the drive mechanism with motor (see para 8).
- Remove the belt(s) 45 and 24 respectively.
- Withdraw the flywheel towards the rear.
When removing and refitting the flywheel take care of the two
bearings 3 , the two washers 4 and the spring 5 (Fig. 12).
After having fitted the new flywheel the capstan must be cleaned with
spirit or cleaning benzine.
8. Removing the Motor of the Drive Mechanism
- Dismantle the drive mechanism (see para 6).
- Undo 4 screws N (Fig. 7).
- Undo the screw P and take out the socket board (Fig. 8).
- Take off the drive belt 45 from the motor pulley and put it around the
upright bolt Q (Fig. 9).
- Remove the cover 41 from the drive mechanism with the motor.
- Undo 2 screws R , take the motor out from the guide and unsolder
it (Fig. 11).
9. Changing the Drive Belt
- The preparations for changing the drive belt 45 and the belt 24 are
the same as for replacing the motor of the drive mechanism (see
para 8).
- Replace the belt(s).
Warning!
Belts, pressure rollers and parts coming into contact with
the tape must be free of oil and grease.
Fig. 10 Fig. 11
Fig. 8 Fig. 9
Laufwerk-Platte
Drive mechanism Board
P
41 24
45
S
Q
41
R
Q
24
S
23
102
 Loading...