33
ENGLISH
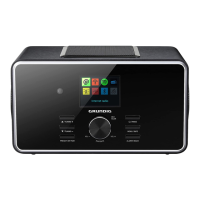
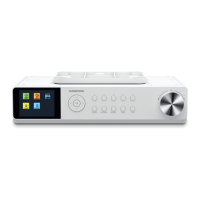
WLAN connection to the internet
Modem/Router
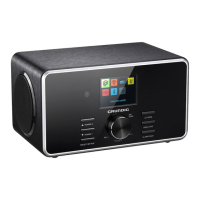
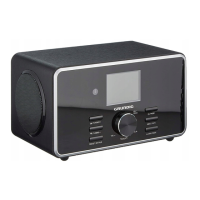
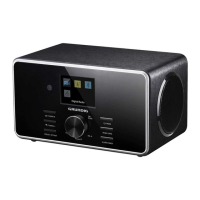
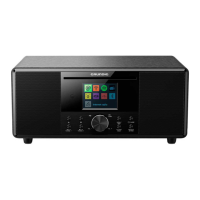
DTR 5000 2.0 BT DAB+ WEB / TR 3200 BT DAB+ WEB
Laptop
SplitterTelephone socket
Media servers on
hard drive (NAS-
Network Attached
Storage)
Notes:
7
The quality of the radio signal depends on
the distance between the device and your
modem/router.
7
The substance of the building at the installa-
tion site can also affect this.
Note:
The lines represent the function.
Internet radio
Music archive (audio streaming)
WLAN
CONNECTION AND PREPARATION
---------------------------------------
SETTINGS
---------------------------------------------------------------------------------------------------------------------------------------
Menu navigation
Press and hold »Menu/INFO« on the device
or MENU on the remote control, select »Main
menu« using »
« or » « or by turning the Volume
knob, and confirm by pressing the Volume knob or
»OK« on the remote control.
If you wish to view the previous menu,
press »
« on the remote control or press
»ALARM/BACK « on the device.
First Installation using the instal-
lation assistant “Wizard”
When you connect the device to the mains, or af-
ter factory reset, the display will show the Grun-
dig logo. The Wizard installation assistant then
appears, which guides you through the installa-
tion step by step.
Notes:
7
For Wi-Fi connection, please make sure, that
the Wi-Fi router is switched on.
7
The network name (SSID) must be visible and
the MAC address of the device may be en-
tered in the Wi-Fi router.
7
Perform the registration process in the prox-
imity of the router in order to avoid problems
with the Wi-Fi range.
Start First Installation
1 First switch on, the device enters setup Wizard
directly.
– Display: »Setup wizard« menu opens.
2 Select the push button »YES« by pressing
»
« or » « or by turning the Volume Knob and
confirm by pressing »OK«.
– Display: »Language« menu opens.