4
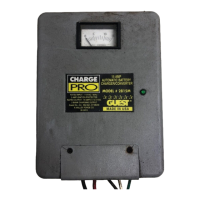
Model 2608A-B/2610A-B/2611A-B operations manual
optimum mounting position for the charger is vertical. Mounting on its back on a
horizontal surface may cause the charger to slightly reduce amperage output due
to the thermal protection built in. Do not install the charger on carpeted, upholstered,
or varnished surfaces.
2. Locate charger as far away from battery as dc cables permit.
3. Never place charger directly above battery being charged; gases from battery will
corrode and damage charger.
4. Never allow battery acid to drip on charger when reading electrolyte specific gravity or
filling battery.
5. Do not operate charger in a closed-in area or restrict ventilation in any way.
6. Do not set a battery on top of charger.
MOUNTING THE CHARGER
1. Use corrosion resistant 3/16” dia. or # 10 bolts, backed by a flat washer, and secured to
the mounting surface with a split-ring lock washer.
2. Hold the charger to the mounting surface and mark the holes.
3. Remove the charger and drill the mounting holes.
4. Align the charger and assemble the mounting hardware. Secure the charger.
DC CONNECTION PRECAUTIONS
1. Connect and disconnect dc outputs only after removing ac cord from electric outlet.
Never allow the ring terminals to touch each other
2. Check polarity of the battery posts. The POSITIVE (POS., P, +) battery post usually has
a larger diameter than the NEGATIVE (NEG., N, -) post. Connect Red charger output
wire to POSITIVE post, Black charger wire to NEGATIVE. See below diagrams for more
details.
3. Do not face the battery when making the final connection.
BATTERY SIZE RECOMMENDATIONS
The recommended maximum battery size per 5 amp bank is 60AH.
The recommended maximum battery size per 6 amp bank is 72AH.
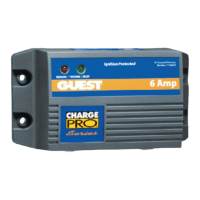
2608A CONNECTIONS
Model
Output
Volts
Output
Amps
Banks
DC
Cable
Size
Size
(inches)
L x W x H
Input
Volts
Input
Amps
Max
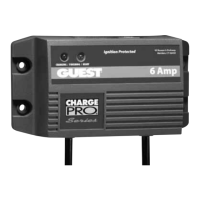
2608A-B 12 6 1 4’
3.5 x 6.4
x 2.25
115VAC
50/60Hz
2 Amps
 Loading...