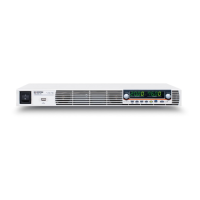
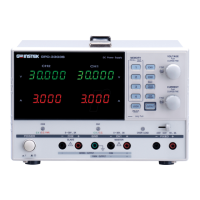
II. PRECAUTIONS BEFORE OPERATION
Before connecting the power plug to an AC line outlet, make sure the
voltage selector of the rear panel is set to the correct position and the
proper fuse installed corresponding to the line voltage.
AC input should be within the range of line voltage ±
±±
± 15%, 50/60Hz
If the fuse blown, the CV or CC indicators will not light and the power
supply will not operate. The fuse SHOULD NOT normally blow unless a
problem has developed in the unit. Try to determine and correct cause of
the blown fuse, the replace only with a fuse of the correct rating and type.
The normal ambient temperature range of this instrument is from 0
o
to
40
o
C.
Do not use the instrument in a place where strong magnetic or electric
field exists as it may disturb the measurement.
To avoid electrical shock, the power cord protective grounding conductor
must be connect to the ground.
The machine itself is a heat source, please don’t pile up the machine
while operation. Keep the machine from other heating source at least for
10cm. In addition, the heat sink located at rear of the power supply must
have sufficient space for radiation.
III. OPERATIONAL STEPS
Step 1: Set Power switch to “OFF” position.
Step 2: Make sure that line voltage is correct for the input power voltage.
Step 3: Plug power cord into the AC power outlet.
Step 4: Set Power switch to “ON” position.
Step 5: Adjust “Voltage” and “Current” control to the desired output voltage
and current (see section IV).
Step 6: Connect the external load to the output binding posts. Make sure both
“+” and “-” terminals are connected correctly.

 Loading...
