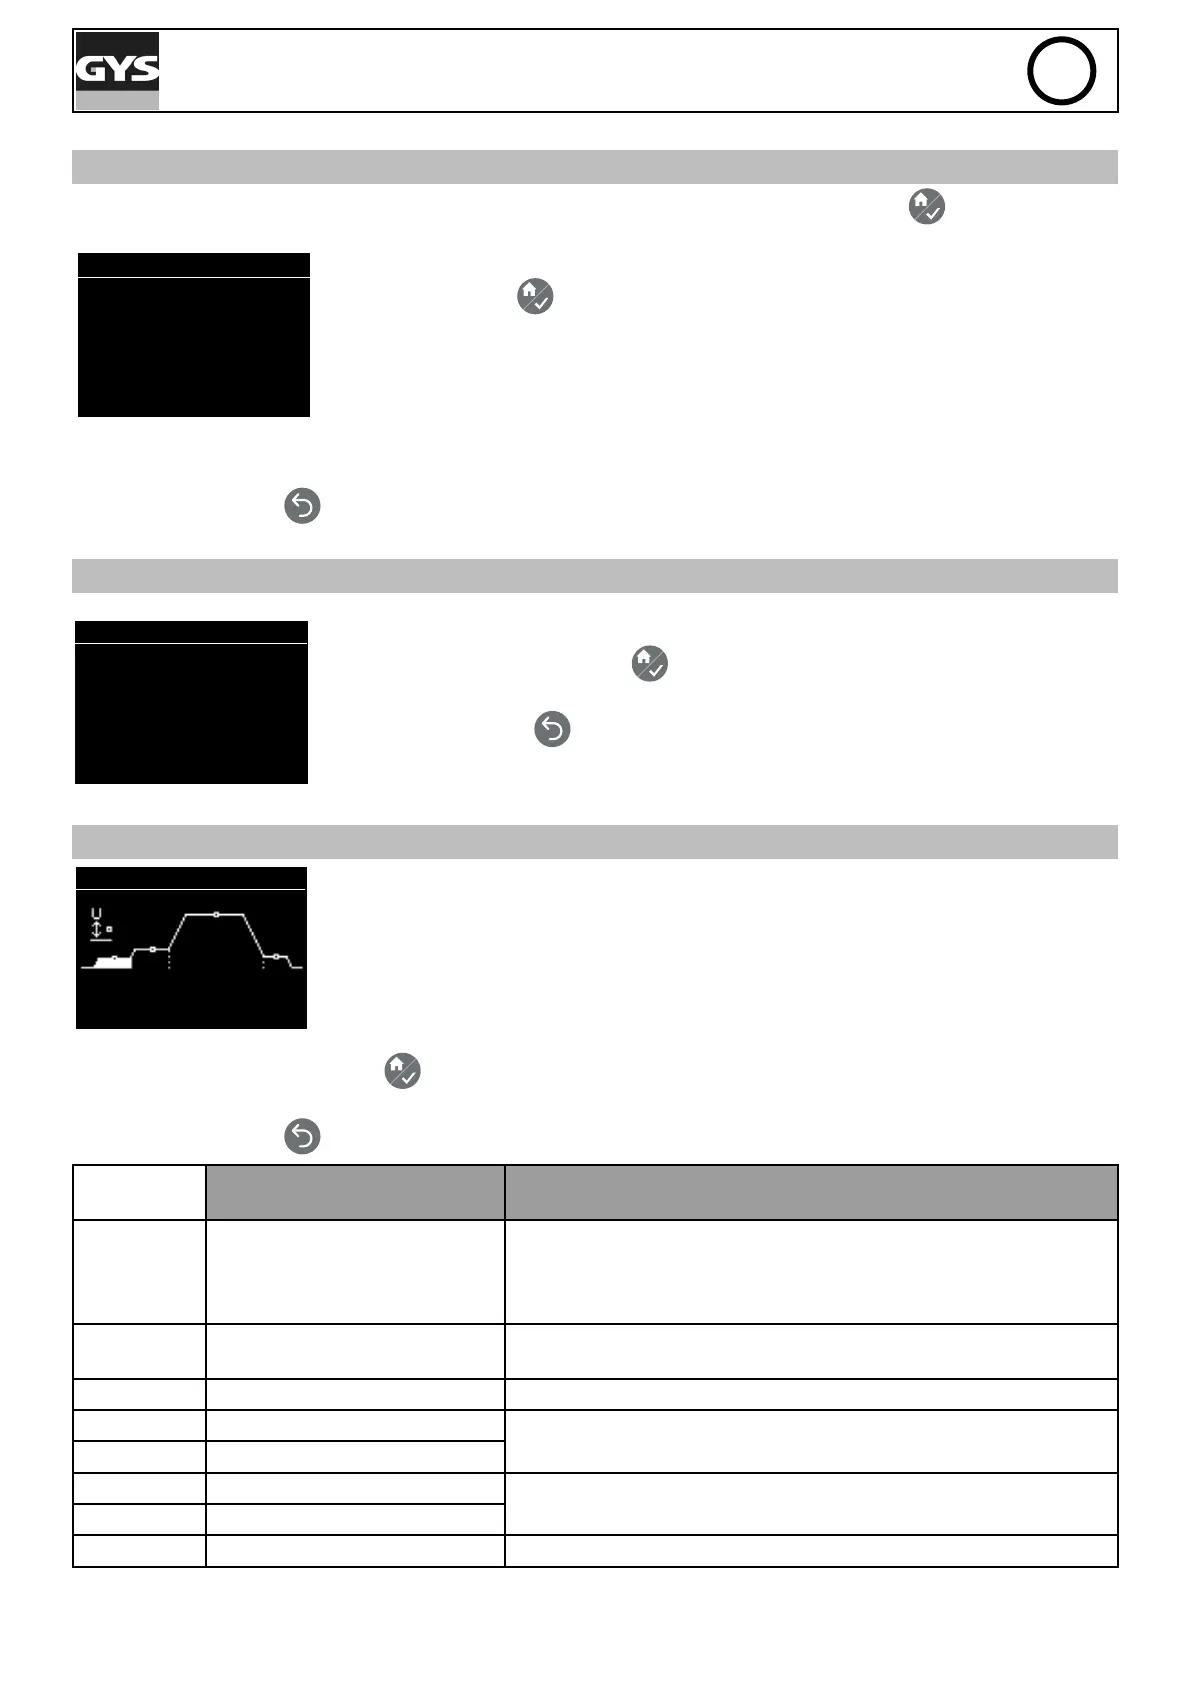
25
GYSPOT ARCPULL 200
EN
MAIN MENU
To access the Main Menu from the Synergic or Manual modes, press the button Menu/Validate
Menu Principal
> Réglages
Mode Manuel
Configuration
Press the keys G+ and G- to move the section cursor. Select the section by pressing the
button Menu/Validate
.
•« Settings » access the welding settings (synergic or manual).
• « Manual Mode » / « Synergic Mode» change the welding mode on the machine (synergic
mode <-> manual mode)
• « Conguration » gives access the advanced settings on the machine (language, gas
options, information, etc.)
Press the return button
to return to the welding screen.
SYNERGIC SETTINGS
Réglages Synergie
> Matériau > Fe
Gaz ON
Electrode anneau
EP. élec. 1.5 mm
Press the keys G+ and G- to move the left cursor (Material, Gas, Type and thickness of the
insert). Press the keys D+ and D- to modify the values of each item.
Pressing the Menu/Validate button
conrms the synergy settings and returns the ma-
chine to the synergy welding screen.
Press the return button
to ignore the settings and return to the Main Menu.
MANUAL SETTINGS
Réglages Manuel
Amorce > Q = 0
Press the keys G+ and G- to browse the different values (arcing and attachment coef-
cients, duration, currents, height) of the drawn arc process (see chapter «Drawn arc wel-
ding process»).
Press the keys D+ and D- to modify the values (coefcients, duration, current, height).
Pressing the Menu/Validate button
conrms the manual settings and returns the machine to the manual welding
screen.
Press the return button
to ignore the settings and return to the Main Menu.
Range of settings for the
manual mode
Comment
Arcing -10 to 10 (default value 0) "The default value is set to ensure optimal arcing and stop the arc
from breaking up when pulling the insert while limiting the short-
circuit current.
Slightly increase the ignition in case of repeated arcing failures. "
Penetration
and cleaning
10 to 60 A
0 to 200 ms
Arc 0 to 200 A Limited to 100A if product is connected to a 110Vac ±15% power
supply
0 to 500 ms
Attachment -10 to 10 (default value 0) The default value is set to ensure optimal attachment of the elec-
trode onto the metal support.
0 to 50 ms
Height 0.5 mm to 5 mm