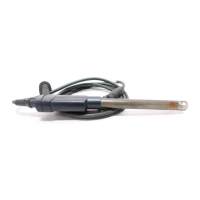
• Calibrate the probes and verify the calibration regularly for best results. Use the meter to set
calibration reminders.
• The calibration data is stored in the probe. When a calibrated probe is connected to a different
meter with the same calibration options, a new calibration is not necessary.
• Air bubbles below the sensor when in solution can cause a slow response or error in the
calibration. Make sure to remove air bubbles during calibration.
• The pH buffer solutions have known pH values at different temperatures. The meter uses the mV
and temperature readings of the probe in the pH buffer solutions to calculate a calibration slope.
During measurements, the meter adjusts the slope for the sample temperature to determine the
pH value of the sample.
• If the rugged probe does not easily go in the calibration container, remove the shroud. Refer to
Remove or install the shroud on page 11.
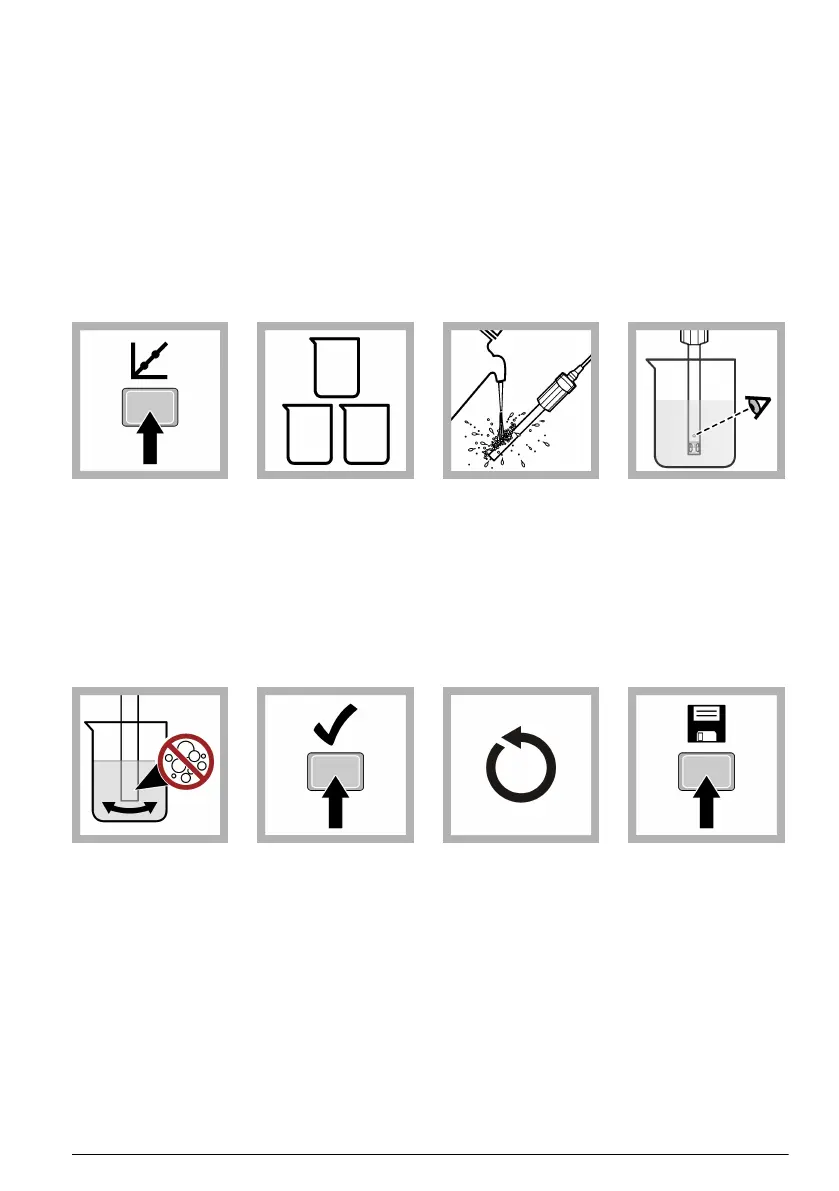
5.2 Calibration procedure
1. Go to the
calibrate menu.
Select the probe, if
applicable. The
display shows the
pH buffer solutions
to use for calibration.
2. Prepare or pour
the pH buffer
solutions in different
beakers.
3. Rinse the probe
with deionized water.
Dry the probe with a
lint-free cloth.
4. Put the probe in
the first pH buffer
solution. Make sure
that the sensor and
reference junction
are fully in the
solution. Do not put
the probe on the
bottom or sides of
the beaker.
5. Shake the probe
from side to side to
refresh the reference
junction and remove
air bubbles.
6. Stir slowly, then
read the pH value of
the buffer solution.
The display shows
the temperature-
corrected pH value
when the reading is
stable.
7. Continue with
steps 3 through 6 for
the remaining
buffers or select
Done.
8. Save the
calibration.
English 7