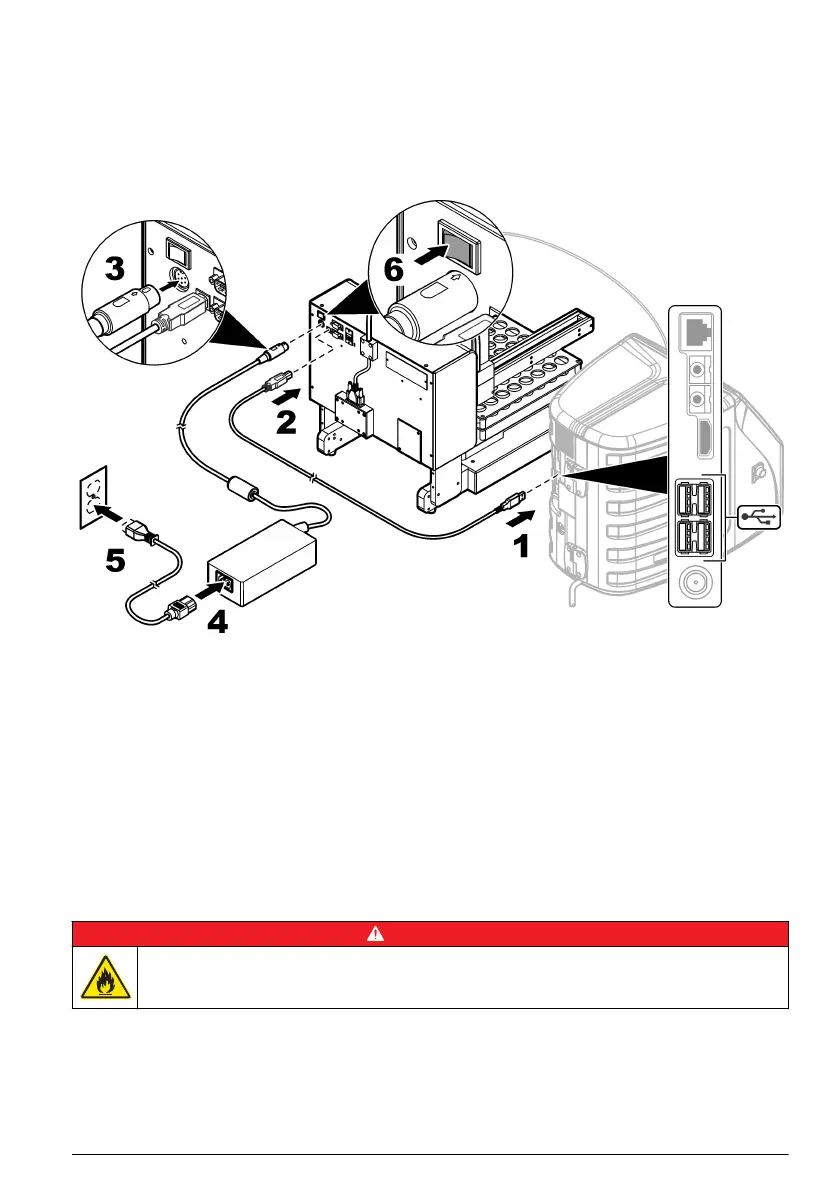
Electrical installation
Connect the analyzer and the power
Before the procedure starts, make sure that the auto sampler and the analyzer power switches are
set to off. Use the supplied USB cable to connect the auto sampler to the analyzer. Use the supplied
power cord and power supply to connect power to the auto sampler. The power for the auto sampler
must be set to on before the analyzer power is set to on. Refer to the analyzer documentation to
connect to power. Refer to the illustrated steps that follow to make the necessary connections.
Startup
Set the power to on
1. Make sure that the power connection is correctly installed. Refer to Connect the analyzer and the
power on page 13.
2. Push the power button on the rear panel of the instrument to set the power to on.
An LED indicator light shows on the front of the instrument when the power is set to on.
3. The arm and the mechanical Z-drive moves, then stops in the correct position.
4. Set the analyzer power to on.
Operation
D A N G E R
Fire hazard. This product is not designed for use with flammable liquids.
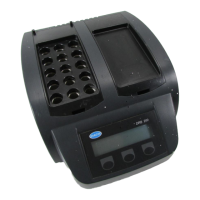
Prepare the instrument for sampling
Refer to the illustrated steps that follow to prepare the instrument for sampling. After sample
collection, put the user-supplied vials in the correct order from one to 64 in the sample tray. Each
sample position is numerically identified on the lower left side.
English
13
 Loading...