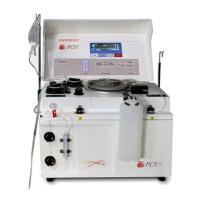
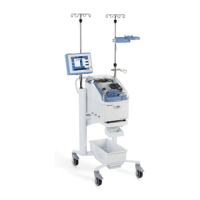
Visual Inspection
Visually inspect the following items to ensure that they appear to be in
good working order and do not have obvious scratches, dents, or broken
or missing hardware. Note physical damage. Note missing or loose
hardware. Tighten and/or replace hardware as necessary. Scratched and/or
dented hardware need not be replaced unless the damage interferes with
the operation of the machine.
• Outside of cabinet
• Screws for front and back panels (3 in front and 3 in back)
• Cooling fans (mounted on rear panel)
• Pressure cuff (check for fatigue – cracking of the tubing or the cuff
material and/or leaks when pressurized, indicates the need for
replacement)
• Membrane panel
• Pump rotors
• Pump rotor screws (1 in the center of each rotor)
• Tubing guides
• Weigher arm
• Screw for weigher arm (at the pivot point of the weigher arm)
• Centrifuge cover
• Screws in the hinge of the centrifuge cover
• Thumb screw cap (if missing check that the screw in the center of
the thumb screw is still in place and tight)
• Line sensor
• Line sensor access plug
• Air detectors
• System pressure monitor (not present on List Number 06002-110-
NA machines)
• Donor pressure monitor
Chapter 3
Basic Care and Preventive Maintenance
Initial
Inspection