Do you have a question about the Häfele DL6500 and is the answer not in the manual?
Details key functionalities and benefits of the digital door lock.
Provides crucial safety and usage precautions to prevent damage or malfunction.
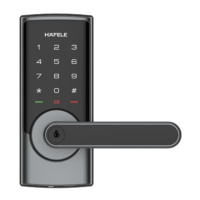
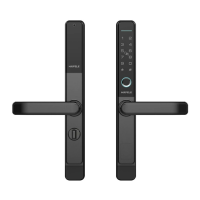
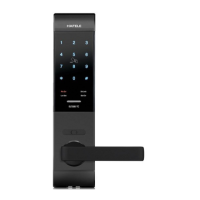
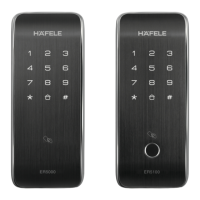
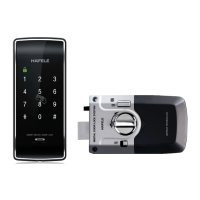
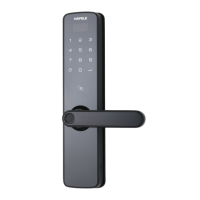
Illustrates and labels the components of the outside and inside panels of the lock.
Lists the default configurations for various lock settings before customization.
Provides shortcuts for common operations like PIN code management and screen activation.
Instructions on how to add or modify master and user PIN codes for access.
Procedures for removing user PIN codes from the lock system.
Explains settings for language, silent mode, Bluetooth, and network module.
Configuration options for enabling or disabling Bluetooth connectivity.
Details on joining or logging off the network for smart home integration.
Describes how to enable and disable manual mode for continuous operation.
Step-by-step guide for opening and locking the door using PIN code or mechanical key.
How to use an external power source when batteries are depleted.
Procedures to reset the lock to its original factory configurations.
Instructions for restarting the lock system when it becomes unresponsive.
Guide on how to properly replace the batteries in the lock.
Guidance on verifying the door's opening direction for compatibility.
Instructions for replacing the faceplate to match door frame sockets.
Steps to adjust the lock's backset from 60mm to 70mm.
Steps for marking and drilling holes according to the installation template.
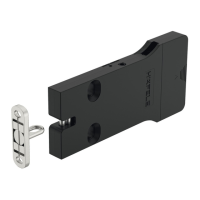
Guidance on installing the strike plate onto the door jamb.
Procedures for securing the cross bolt and connecting internal wires.
Final steps for attaching handles and verifying the lock's functionality.
| Product Type | Digital Door Lock |
|---|---|
| Model | DL6500 |
| Brand | Häfele |
| Material | Zinc Alloy |
| Lock Type | Mortise Lock |
| Strike Plate | Included |
| Authentication | RFID, PIN Code |
| Power Supply | 4 x AA Batteries |
| Color | Silver |
| Key Type | RFID, PIN Code |
| Backset | 60/70 mm |
| Compatibility | Wooden Doors |
| User Capacity | Up to 100 users |
| Emergency Power | 9V Battery |