31-5000496 Rev. 1 5
Installation Preparation
Accessories
1 Mounting wall bracket 1
2 Screws for (1) 4x25 mm 4
3 Plastic sleeve for (2) 4
4 Nail 6
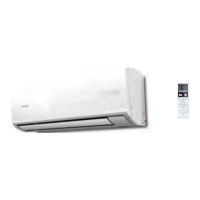
5 Remote Controller 1
6 Remote controller holder 1
7 Screws for (8) 4x12 mm 2
8 Battery for (7) 2
9 GE badge 1
10 Haier Badge 1
11 Flare nut for liquid tube 1
12 Flare nut for gas tube 1
13 Insulated tube (liquid line) 1
14 Insulated tube (suction Line) 1
15 Trim Ring 1
16 Drain hose 1
Installation Preparation
Step 1. Selecting Indoor Unit Mounting
Location
• Allow proper and unobstructed air distribution.
• Do not allow any heat or steam near the unit.
• Select a location where there are no obstructions in
front of the unit, allowing a minimum of 24” clearance.
• Make sure that condensate drainage can be
conveniently routed away.
• Do not install near a doorway.
• Ensure that the space around the left and right of the
unit is more than 4”. The unit should be installed
as low on the wall as possible, and allowing a minimum
of 8” from the ceiling (see above illustration for
clearances).
• Use a stud finder to locate and mark stud locations for
mounting and to prevent unnecessary damage to the
wall.
• Install in a location that is strong enough to withstand
the full weight and vibration of the unit.
• Leave enough space to allow access for routine
maintenance.
• Select a location that gives easy access for removing
and cleaning the air filters.
• Install in a location that is 3 ft. or more away from other
electrical appliances, such as televisions and audio
devices.
Mounting Bracket
Mounting Screws
Mounting Screws
Mounting Screws
Mounting Screws
Mounting Screws
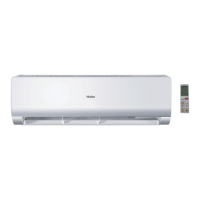
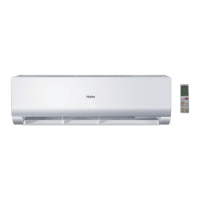
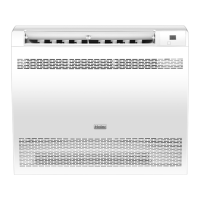
Indoor installation can be done in one of the following two ways:
Low Wall Mount Floor Mount
Installation Instructions
 Loading...
