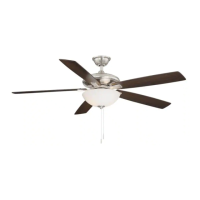
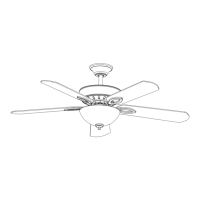
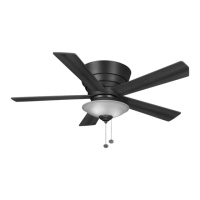
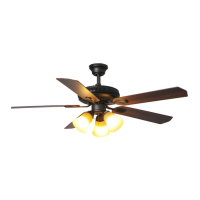
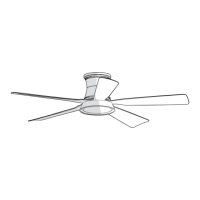
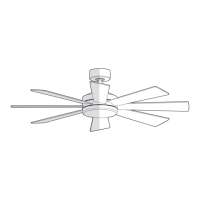
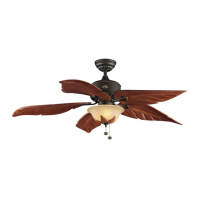
Assembly — Attaching the Fan Blades
8
Removing the rubber
packing mounts
9
Attaching the blades to
the blade arms
□ The fan motor assembly (G) is shipped with rubber
packing mounts (JJ) to prevent movement during
transportation. Remove the ve rubber packing
mounts (JJ) from the fan motor assembly (G) and
discard prior to attaching the blade arms (I).
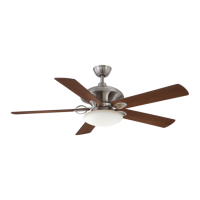
H
I
MM
WARNING: Failure to properly seat the blades (H) on the
blade arms (I) and engage in the spring locking mechanism
(MM) could result in the fan blades (H) loosening and possibly
falling.
□ Hold the blade (H) with hands close to the blade arm
(I), align the key-slot holes (KK) with the blade arm
posts (LL) and press the blade down rmly. Ensure
the key-slot holes (KK) are properly seated on the
blade arm posts (LL).
□ Firmly slide the blade (H) away from the blade arm (I)
until the blade (H) engages in the spring locking
mechanism (MM). Make sure the spring of the spring
locking mechanism (MM) is upward and the butt of
the spring locking mechanism (MM) is against the
edge of the blade.
To install the blade to the blade arm:
□ Press down the spring locking mechanism (MM) to
release the blade (H) from the blade arm (I). Slide the
blade (H) toward the blade arm (I) until the blade (H)
disengages from the spring locking mechanism (MM),
carefully push the blade (H) up to detach from the
blade arm (I).
To detach the blade from the blade arm:
G
JJ
KK
H
LL
I
15 HAMPTONBAY.COM
Please contact 1-855-HD-HAMPTON for further assistance.