32
Parts Needed
Wheel pants 1/2"
Main landing gear
Mounting hardware package
Plywood wheel pant mounts (2)
Not Included:
3" wheels (2)
3/16" axles (2)
Tools and Adhesives Needed
Ruler
Phillips screwdriver
Drill
Drill Bits: 3/32", 1/8", 1/4", 3/8"
Phillips screwdriver
30-minute epoxy
Epoxy brush
Mixing stick
Rubbing alcohol
Paper towel
Felt-tipped pen or pencil
Round file (fine)
Sandpaper (medium)
Step 1. Locate the two wheel pants and associated hardware,
and the two 1
1
/8" square plywood wheel pant mounting plates.
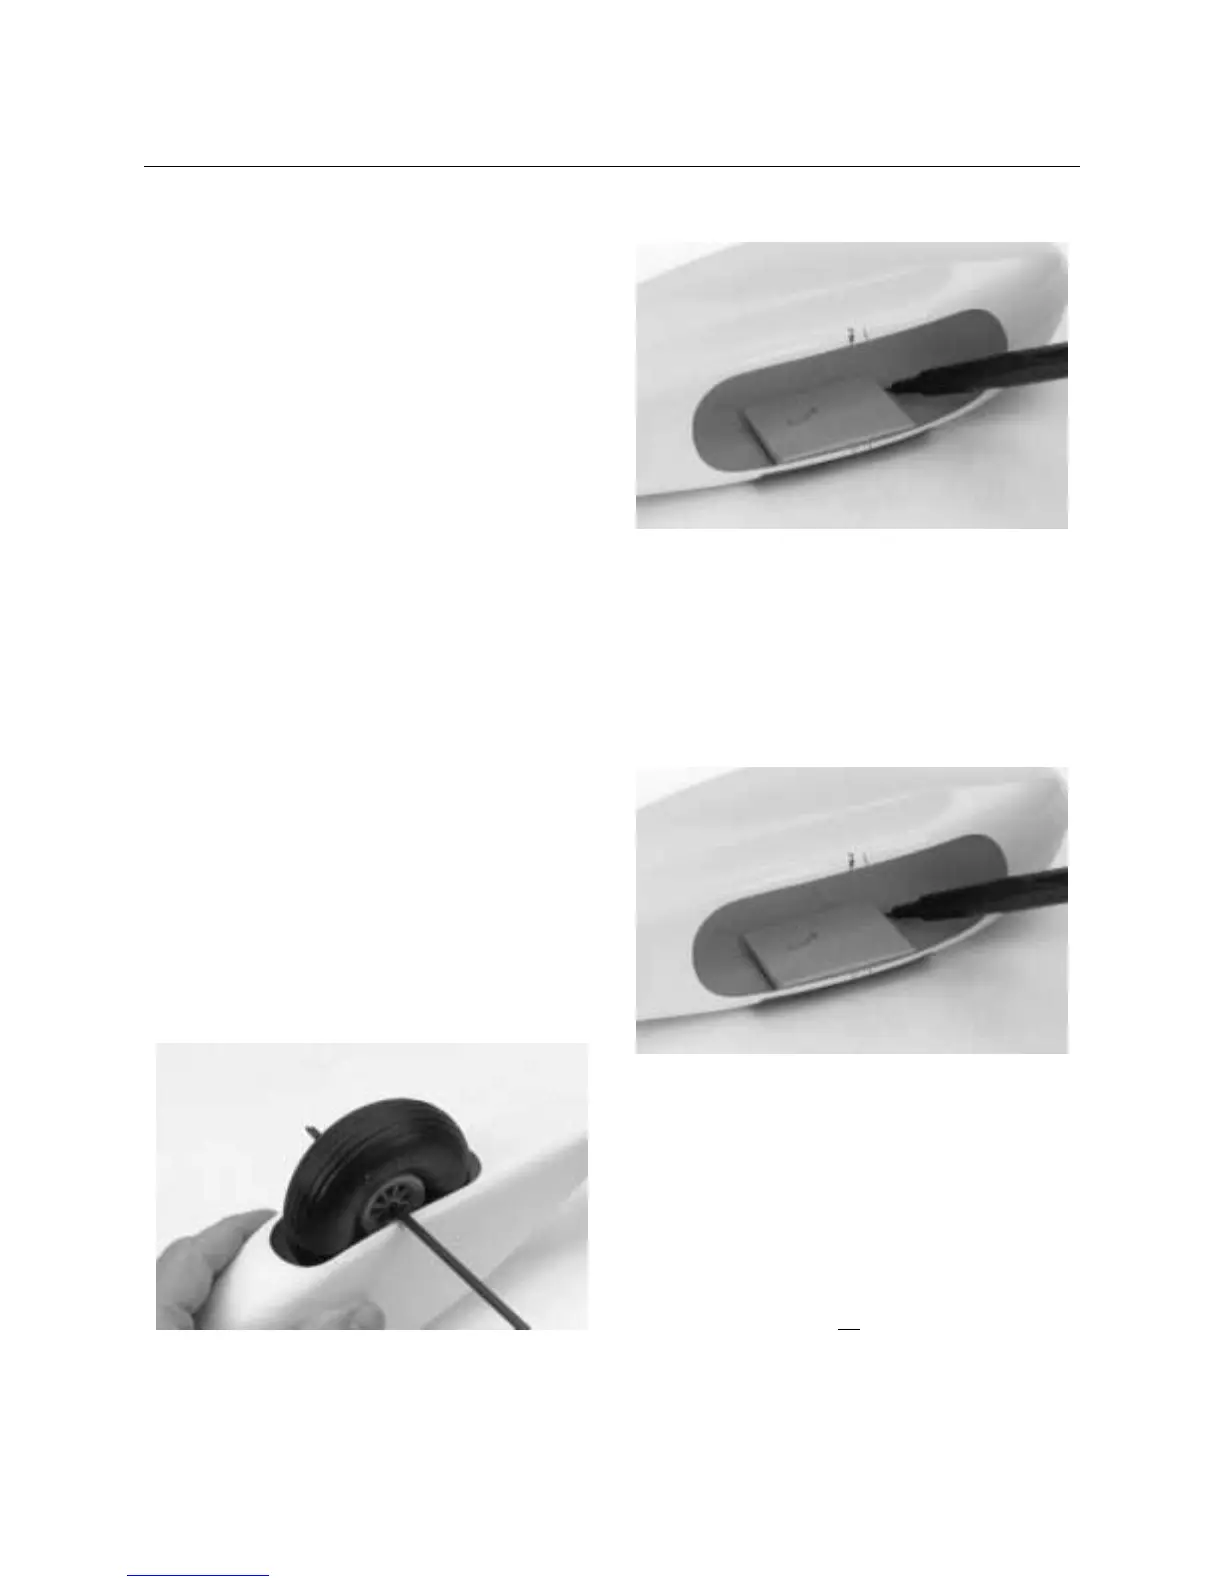
Slide one wheel onto an axle and position them so they are
centered over the wheel opening in one of the wheel pants. Use a
felt tipped pen or pencil to mark the center location of the wheel
on each of the wheel pants. This mark will be used as the
reference point for marking the mounting holes for the landing
gear on the wheel pant.
Step 2. Locate the hole for the axle by measuring 5/8" up
from the bottom of the wheel pant centered on the mark made in
Step 2. Mark with a felt-tipped pen or pencil. Repeat the
procedure for the other wheel pant.
Note: Notice which side of the wheel pant goes against the
landing gear before making your mark.
Note: It is helpful to remove the main landing gear from the
fuselage to make these markings and adjustments called for in
the following steps.
Step 3. Locate the two plywood mounting plates (1
1
/8" square)
included with the wheel pants. These will be epoxied inside the
wheel pants as a reinforcement for mounting the wheel pant to
the landing gear. Use a pencil to mark the position of the
plywood squares inside the wheel pants.
Step 4. Using 80 grit sandpaper, lightly sand the inside of the
wheel pant in the area that the plate will be installed. Mix
approximately 1 ounce of 30-minute epoxy. Epoxy both plywood
squares to the inside of each wheel pant. Allow the epoxy to cure
completely before attempting to drill any axle or mounting holes
for the wheel pants.
Step 5. Note the aluminum landing gear has a large hole (for
the axle) and a smaller hole above it. This smaller hole will be
used to help secure the wheel pant in the proper position relative
to the fuselage center line. Do not mark the small hole position
at this time.
Section 15: Assembling and Mounting the
Wheel Pants
Step 2 photo
 Loading...