9
Parts Needed
Right/left wing panels
Dihedral brace
Plywood wing dowel plate
Wooden dowels
Wing bolt plates
Wing trim tape
Tools and Adhesives Needed
30-minute epoxy
6-minute epoxy
Mixing stick
Epoxy brush
Masking tape
Hobby knife w/#11 blade
Rubbing alcohol
Paper towels
Wax paper
Ruler
Felt-tipped pen or pencil
Sandpaper (medium)
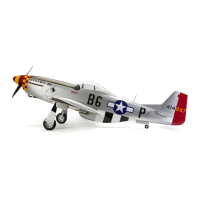
Step 1. Locate the plywood wing joiner. Using the ruler, deter-
mine the center of the wing joiner and mark it with a felt-tipped
pen or pencil.
Step 2. Trial fit the wing joiner into one of the wing panels. It
should insert smoothly up to the center line marked in Step 1.
Now slide the other wing panel onto the wing joiner until the
wing panels meet. If the fit is overly tight, it may be necessary to
sand the wing joiner.
Step 3. The correct dihedral angle for the wing is 3 degrees.
Place the wing on a large flat surface with buttom of one wing
panel resting on the flat surface. The wing tip should be
3
19
/32" from the surface (see illustration below). If necessary,
sand the wing joiner until this is achieved. There should be no
gaps in the wing center. Once you’re satisfied with the fit, remove
the wing joiner from the wing panels.
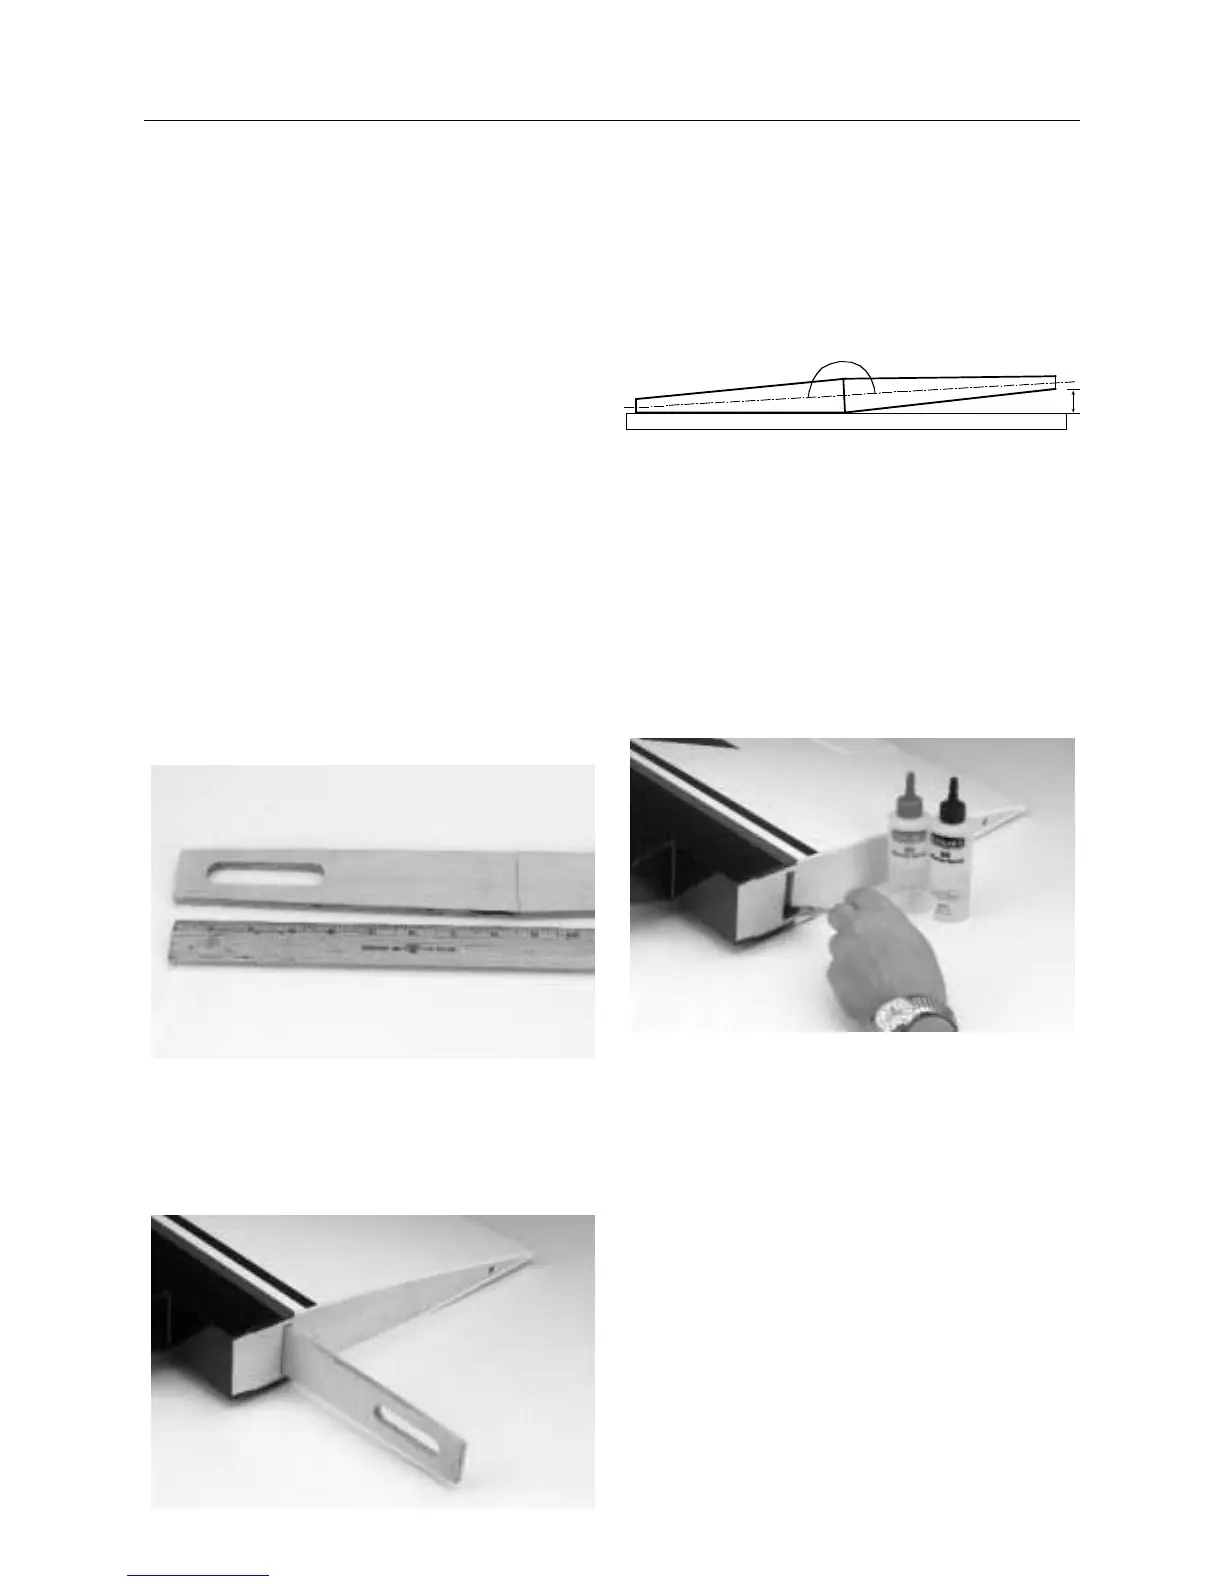
Step 4. Mix approximately 1 ounce of 30-minute epoxy.
Note: It is extremely important to use plenty of epoxy when
joining the wing panels together. It will also be helpful to use
wax paper under the wing center when epoxying the wing
panels together.
Step 5. Use an epoxy brush or a scrap piece of wood, apply a
generous amount of epoxy into the wing dihedral cavity in one
wing panel.
Section 2: Joining the Wing Halves
3
19
/
32
"
 Loading...