11
• When the reading is stable and close to the selected buffer,
“READY” message will appear and “CFM” message will blink.
• Press CFM to confirm calibration.
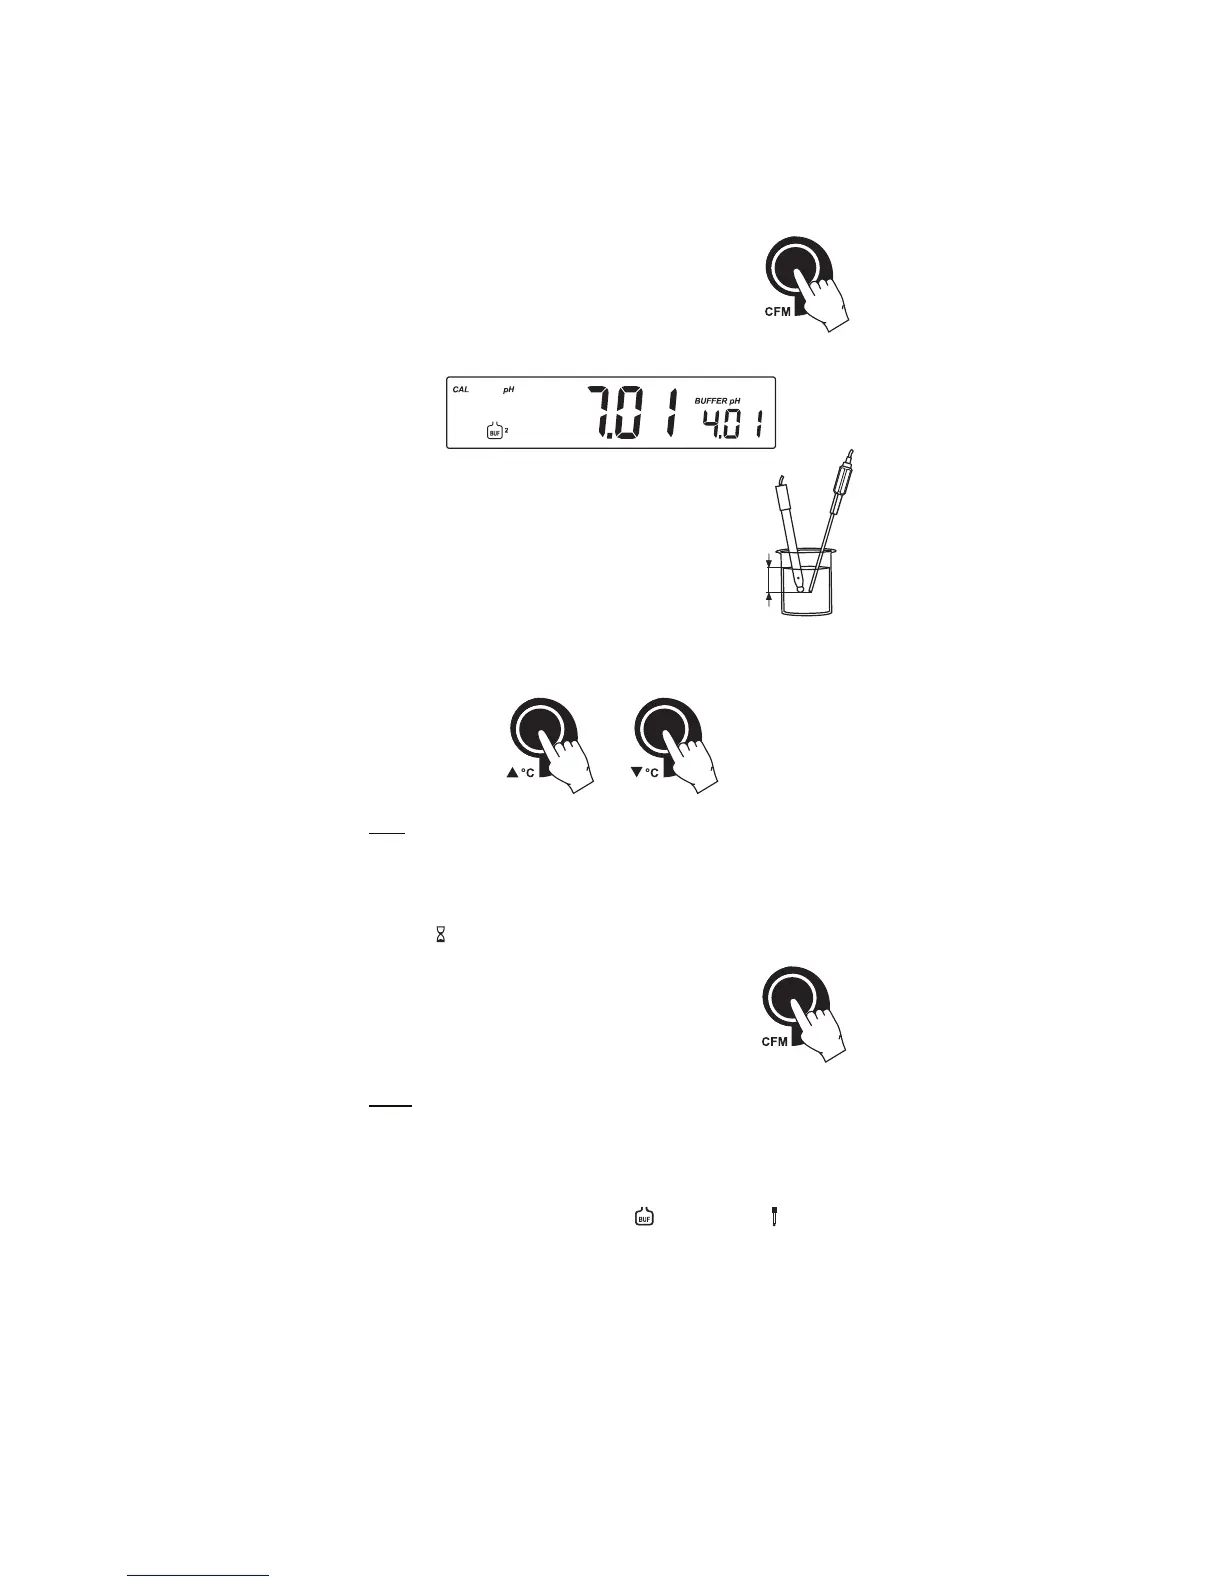
• The calibrated value is then displayed on the
primary LCD and the secondary LCD will display
the second expected buffer value.
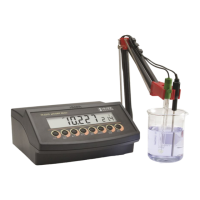
• After the first calibration point is confirmed,
submerse the pH electrode and the temperature
probe approximately 3 cm (1¼”) into the
second buffer solution and stir gently. The
temperature probe should be close to the pH
electrode.
• If necessary, press the ARROW keys to select a different buffer value.
Note: The instruments will automatically skip the buffer used for the
first point. It also skips 6.86 if 7.01 buffer was used and vice
versa. Likewise, it will skip 9.18 if 10.01 buffer was used and
vice versa.
• The “ ” symbol will blink on the LCD until the reading is stable.
• When the reading is stable, “READY” message
will appear and “CFM” message will blink.
• Press CFM to confirm calibration. The instrument
will return to measurement mode.
Notes: • To clear previous calibration data enter calibration mode,
press and hold down CFM, then press CAL. The display
will show “CLR” and then return to measurement mode.
• If the value measured by the meter is not close to the
selected buffer, “WRONG ” and “WRONG ” messages
will blink alternately. In this case check if the correct buffer
has been used, or regenerate the electrode by following the
cleaning procedure (see page 18). If necessary, change the
buffer or the electrode.
3 cm
(1¼")
 Loading...