Page EN-31
Installation, connection and initial commissioning
Installation site
The installation site must fulfil the following
conditions:
– The room must be protected against frost
and offer ventilation possibilities.
– The installation area must not be exposed
to direct sunlight. No coal- or oil-burning
heating appliances are allowed in the im-
mediate proximity.
– A water connection as well as a bath or
sink must be available.
– The mains plug must also be easily acces-
sible once the appliance has been set up.
– The ground must be secure, even, clean
and dry.
– It is not appropriate to have a rug or carpet
under the appliance, as the appliance will not
be ventilated well enough and can overheat.
For use on rugs, carpets, parquet or wood-
en floorboards, place a stable wooden
board underneath the appliance (measur-
ing at least 40 × 60 cm).
If it is placed on a wooden plate or base,
the screw-on feet should be fixed so that
the appliance does not dislodge itself when
spinning.
Lay a smooth tiled floor or rubber mat un-
der the screw-on feet.
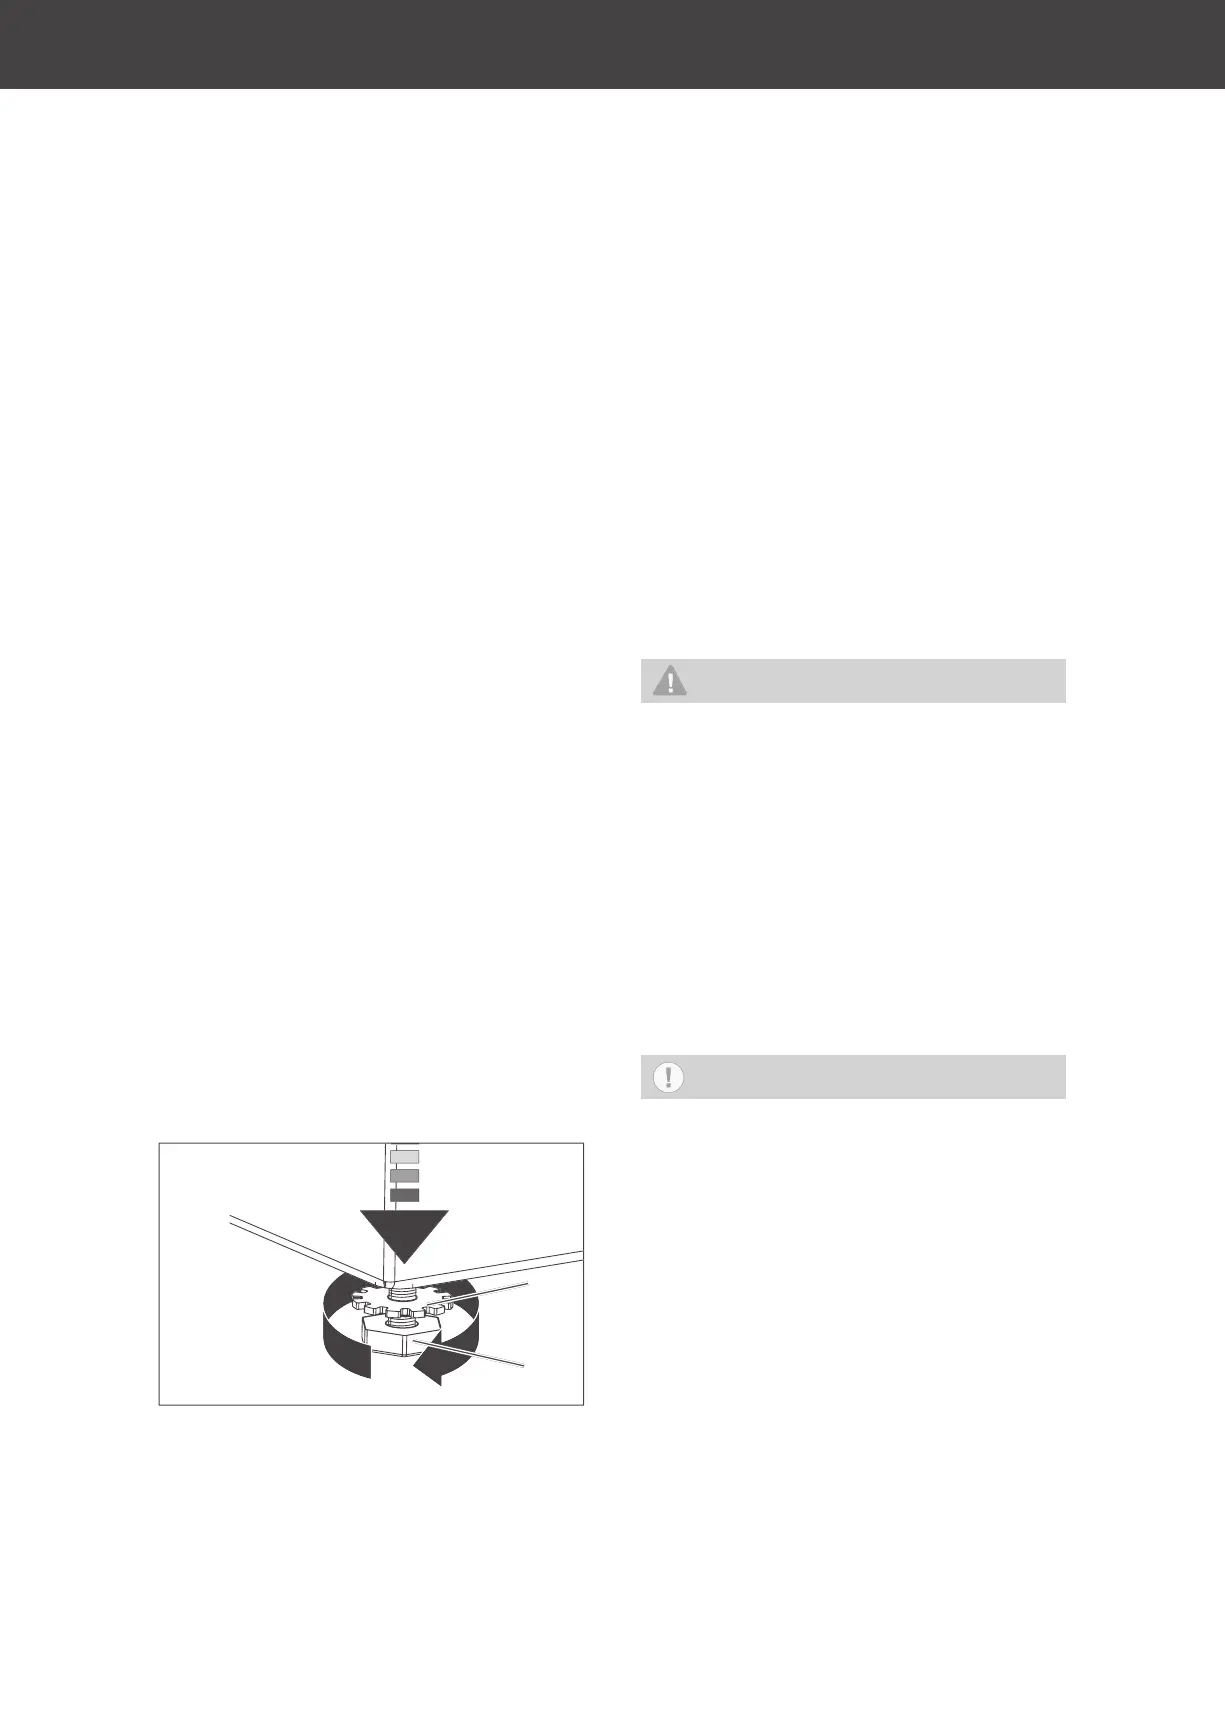
Aligning the appliance
(32)
(21)
1. Loosen the lock nut (32) of one of the screw-
on feet (21) underneath the appliance.
2. Using your hand, screw the foot (21) in
or out as far as necessary. To adjust the
foot, twist it
– anti-clockwise to unscrew.
– clockwise to screw in.
3. Repeat this for the other screw-on feet
until the appliance is standing completely
horizontally and securely.
4. Twist the lock nuts of all screw-on feet
upwards to the underside of the machine
and tighten the lock nut against the un-
derside of the machine.
Water connection
Establish drain for water
WARNING
Risk of scalding!
Improper handling of the appliance
can lead to scalding caused by hot suds.
■ Fix the hose to the sink or bath to pre-
vent it from slipping due to the recoil
caused by pumping.
■ For drains, make sure that the
cross-section of the discharge pipe is
great enough that the drain cannot
overfl ow.
NOTICE
Risk of damage to property!
Improper handling of the appliance
can lead to water damage.
■ Use only the water outlet hose pro-
vided.
■ Do not extend the water outlet hose
or replace it with another hose.
■ The water outlet hose must not get
bent or twisted.
■ The curvature of the water outlet hose
must be at least between 60cm and
100 cm above the ground to ensure
the water drain functions perfectly.
■ The water outlet hose must be in the
retaining clips on the back of the ap-
pliance so that the bend on the hose
 Loading...