Application Examples
3.
Connect the CH1 probe to the test point of the circuit;
4. Press the AUTOSET button.
The oscilloscope will automatically set the waveform to a best display. If you want to further
optimize the waveform display, you may manually adjust the vertical and horizontal controls until
the waveform meets your particular requirement.
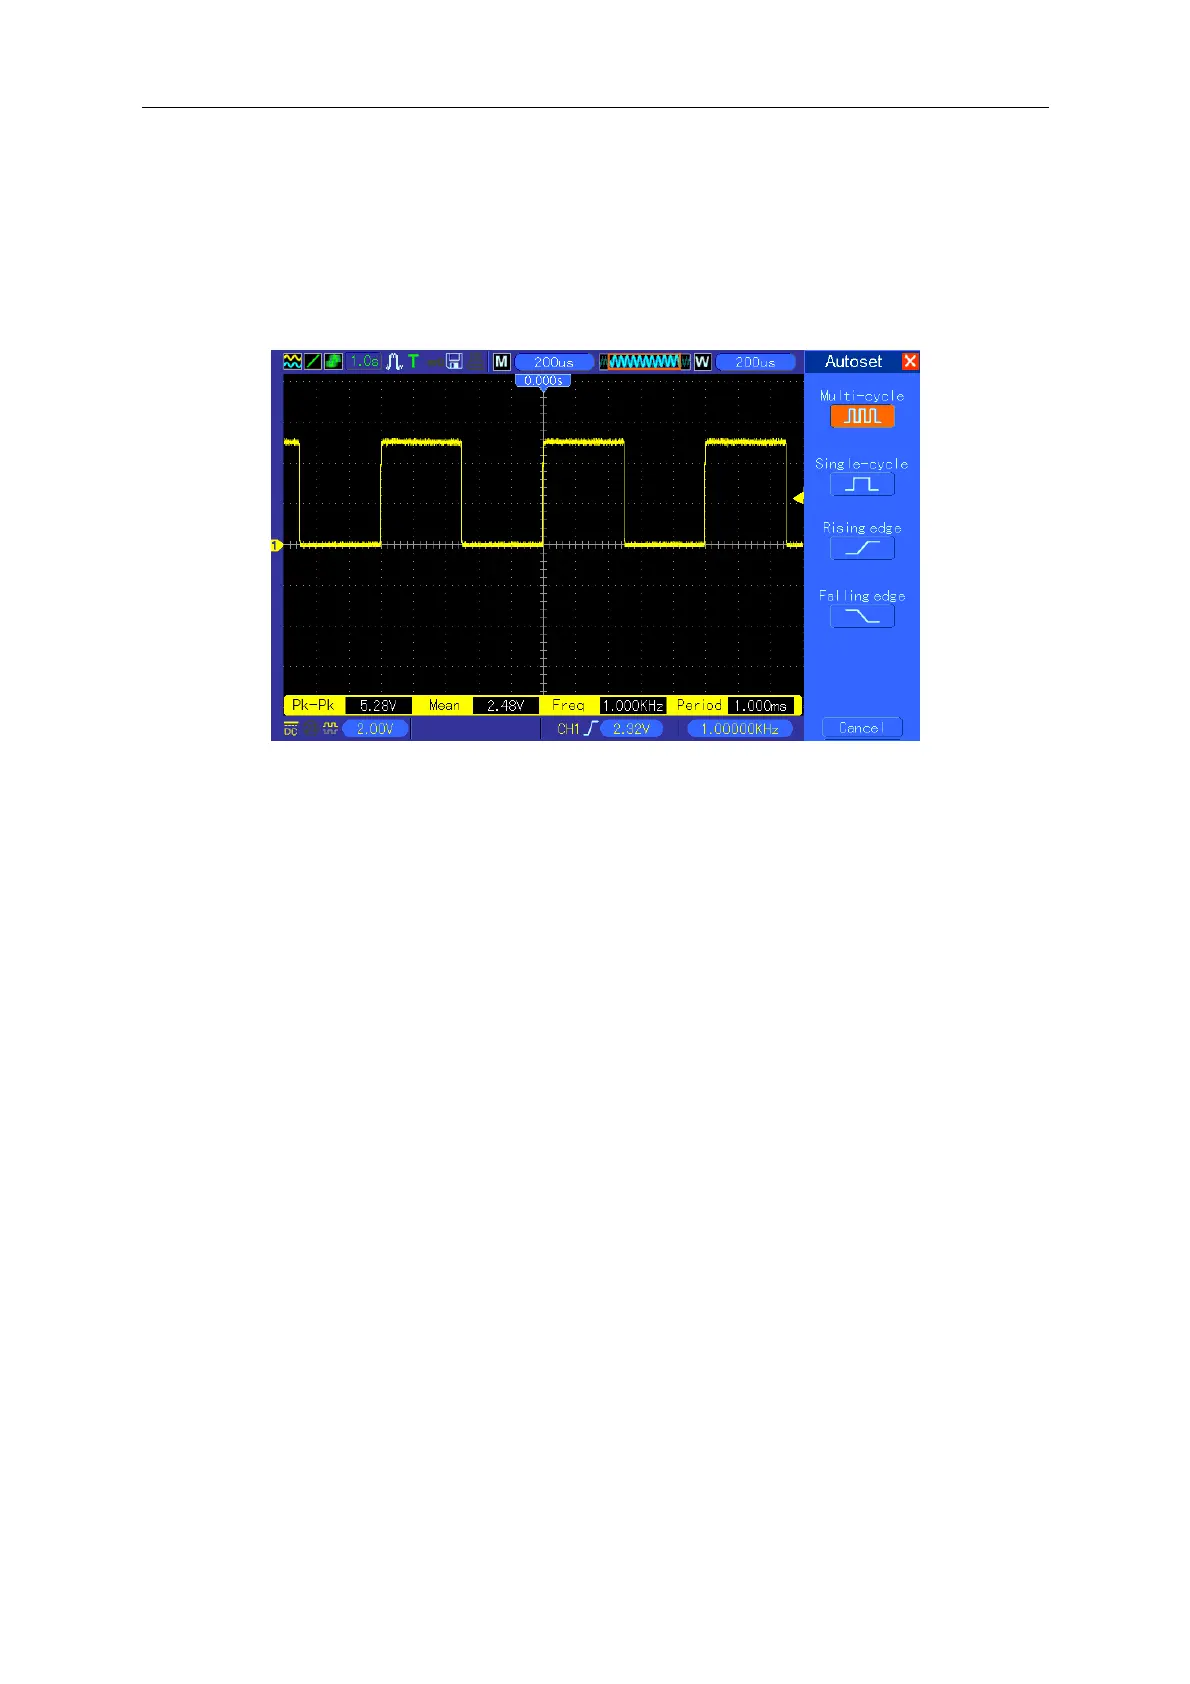
Taking Auto Measurements
The oscilloscope can display most signals by automatic measurements. To measure such
parameters as the signal frequency, period, peak-to-peak amplitude, rise time and positive width,
follow the steps below.
1.
Push the MEASURE button to see the Measure menu.
2.
Turn the knob V0 to select the first ‘unspecified’ option (marked by red arrow), press V0 or F6
to enter the submenu.
3.
Select CH1 for the Source option. Then repeatedly push F3 or F4 to select measure items in
the Type menu. Push the back menu to go back to the measure interface. Or turn and push
V0 to select a measure item and go back to the measure interface. The corresponding box
under the measure item shows the measurements.
4. Repeat Step 2 and Step 3. Then select other measure items. Totally 8 measure items can be
displayed.
Note: All readouts change with the measured signals.
The figure below shows three measure items as an example. The boxes under them display the
measurements in large fonts.
DSO5000 Series Digital Storage Oscilloscope User Manual 51
 Loading...