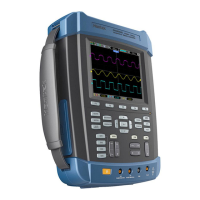
Getting Started Guide
DSO8000E Series HandHeld Oscilloscope User Manual 5
Chapter 3 Getting Started Guide
Installation 3.1
To keep proper ventilation of the oscilloscope in operation, leave a space of more than 5cm away
from the top and the two sides of the product.
Functional Check 3.2
Follow the steps below to perform a quick functional check to your oscilloscope.
3.2.1 Power on the oscilloscope
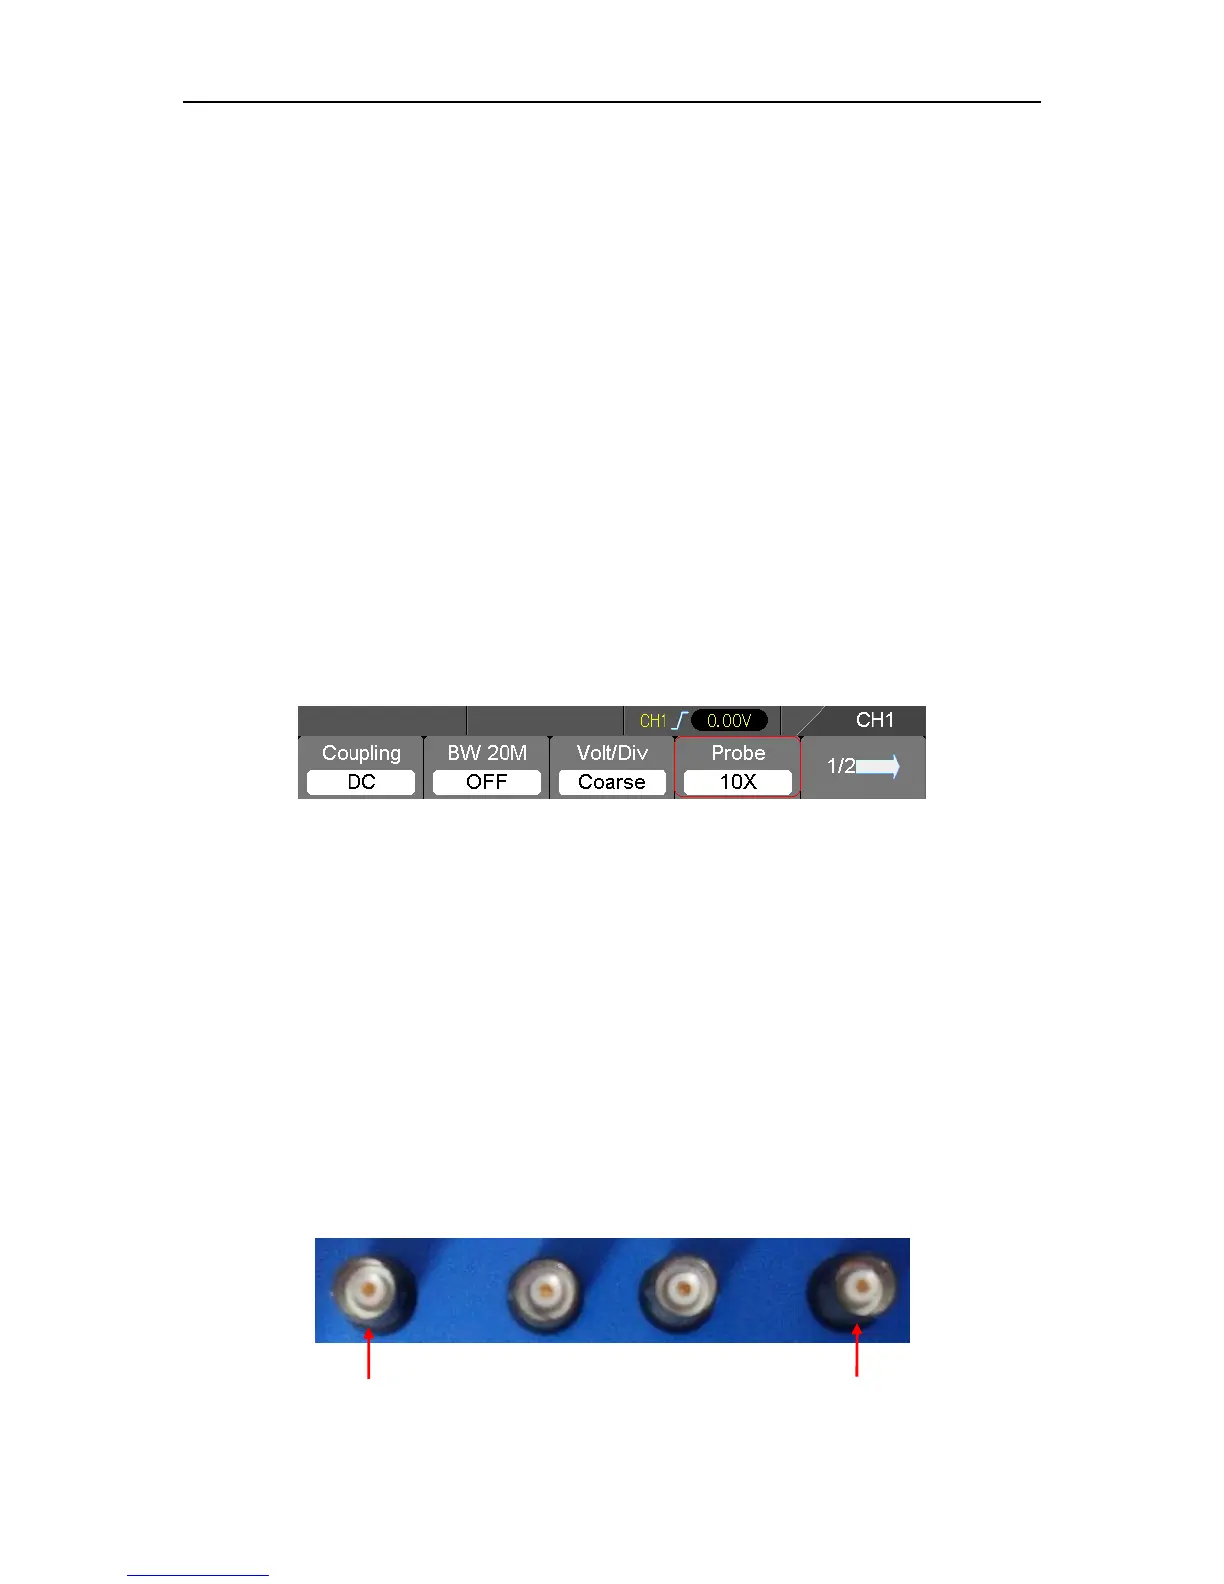
Press the ON/OFF button. The default Probe option attenuation setting is 10X.
The default probe parameter
Note 1: Between pressing the power key and the first screen appears on the screen, there is a
1~2 seconds delay without any screen.
Note 2: Right after power on, there are beep sounds at regular interval in the first few minutes. It
indicates that the multimeter is initializing and has no influence on use.
3.2.2 Connect the oscilloscope
Set the switch on the probe to 1X and connect the probe to Channel 1 on the oscilloscope. First,
align the slot in the probe connector with the protuberance on the CH1 BNC and push to connect;
then, turn to right to lock the probe in place; after that, connect the probe tip and reference lead to
the PROBE COMP connectors. The Probe COMP: ~2V@1KHz.