English _29
! USING CONTROLLER MODE
Registering an RM Microphone
Register a microphone to broadcast via speakers.
1. On the Home screen, click <System Setting>
;
<Source Registration>.
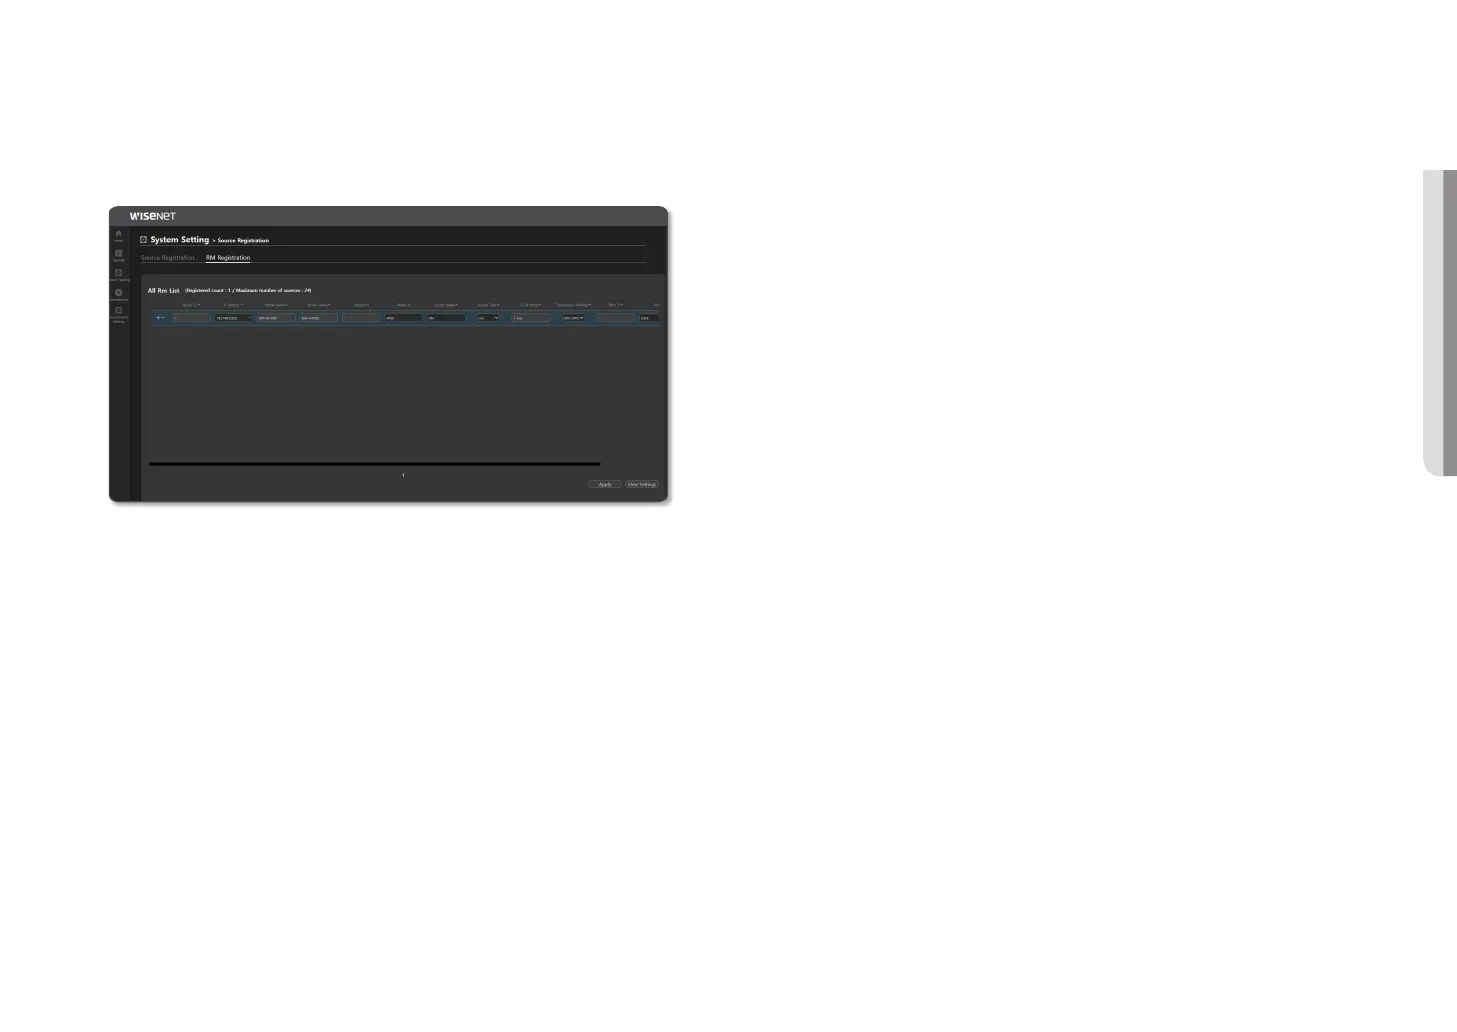
2. Select <RM Registration> and set the following items:
~
Source Id: Up to 24 RM microphones can be registered.
Click the [+] icon to create a list, and click the [ - ] icon to remove the list.
~
IP address
: An IP address to be used as a microphone. If you select an IP address, Model Name, Device
Name, and Device Location will be displayed.
~
Priority: The user prioritizes sources. The smaller the number is, the higher its priority is.
(Initial value 3000, input value 1000~9999)
M
`
While broadcasting by selecting either the source speakers (with 3000 source registration priority) or zone speakers in
<Button Mode>, if you select the same zone speakers and talk with a microphone device (with 2000 RM registration
priority), audio will be transmitted.
Conversely, if you select a speaker that has a source speaker with a priority of "1000" in <Button Mode> and broadcast,
the <Button Mode> broadcast will be kept since the priority of the microphone is higher.
~
Source Name: Inputs or changes the name of a source.
~
Source Type: Displayed as "mic."
~
CH & Name: Displayed as "1 mic."
~
Transmission Method: If you select UNICAST, <Trans IP> will be deactivated, and the device’s IP
address will be used. You can enter the <Port> number in the input window
automatically or manually, and it should not overlap with another device.
If you select MULTICAST, a MultiCast IP address (e.g., 224.124.0.
⁎
) and <Port>
number are automatically allocated to the <Trans IP>.
If you enter the IP address and port directly in the device, be cautious that it does
not overlap with automatically assigned information.
- UNICAST : Up to 20 broadcasts are possible with the UNICAST network.
- MULTICAST : In a MULTICAST network, you can simultaneously broadcast to up to 256 devices
(when the control mode is set to UDP).
- Depending on the network environment configuration, the maximum broadcasting count might be
limited.
~
Icon: Selects an icon (mic) and color of a source.
If <User Icon> images are directly uploaded on PC, you can select one from the <Icon> list.
3. Once set, click the [Apply] button.
4. If you click the [View Settings] button, the set value can be saved as a CSV file.
 Loading...