Connections
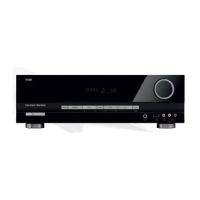
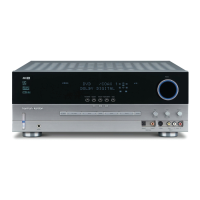
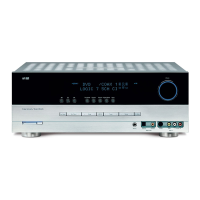
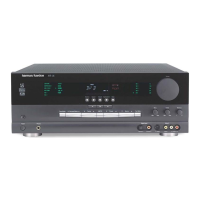
AVR
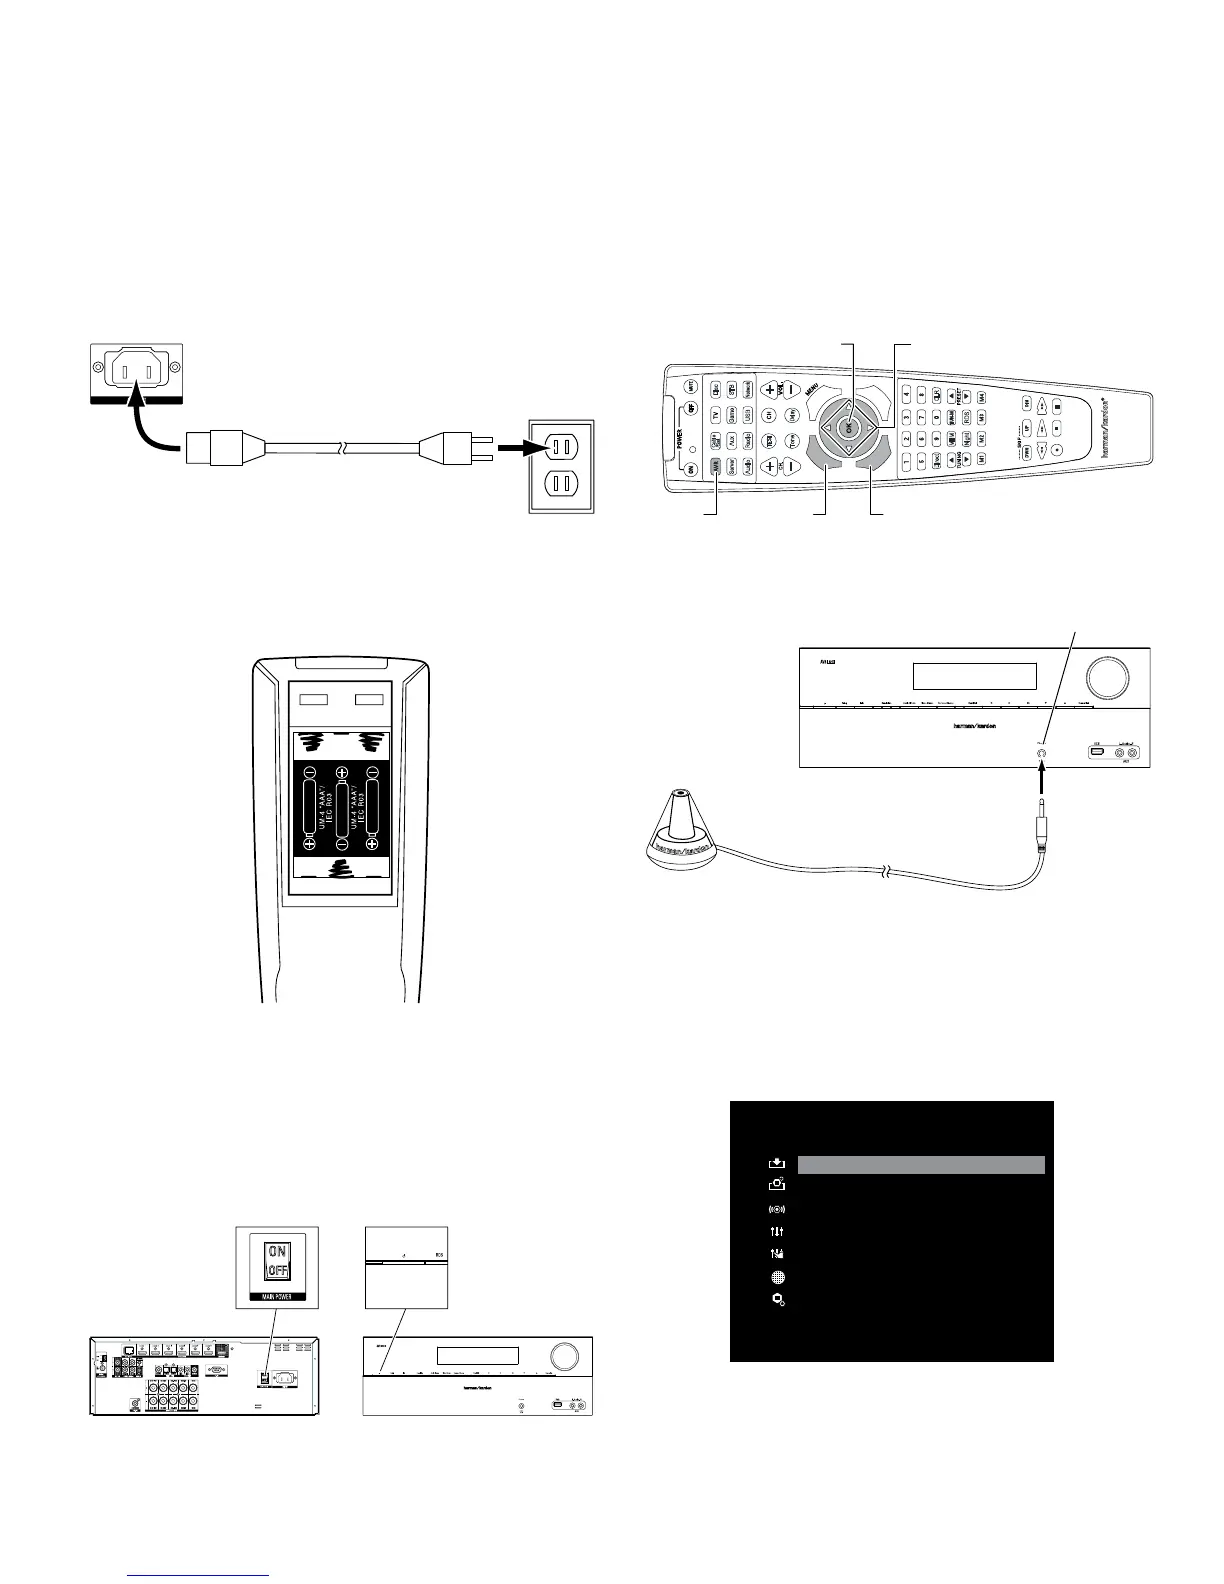
Connect to AC Power
Connect the AC power cord to the AVR’s AC Input connector and then to a working,
non-switched AC power outlet. IMPORTANT: Before connecting the AC power cord, make sure
that the AC voltage listed on the AVR’s back panel matches the AC voltage used in your country.
AVR AC
Input Connector
AC Power
Outlet
Power Cord (supplied)
Set Up the AVR
Install the Batteries in the Remote Control
Remove the remote control’s battery cover, insert the three supplied AAA batteries as shown
in the illustration, and replace the battery cover.
NOTE: Remove the protective plastic from the AVR’s front panel so it doesn’t reduce the
remote control’s effectiveness.
Turn On the AVR
1. Set the rear-panel Main Power switch to “On.” (The front-panel Power indicator will
glow amber.)
2. Press the front-panel Power button.
Main Power
Switch
Power
Button
Configure the AVR for Your Speakers
One of the most important steps in setting up a home theater system is to calibrate the
AVR to match your loudspeakers, optimizing sound reproduction. Your AVR features the
Harman Kardon EzSet/EQ
™
system, which performs this calibration automatically using
the supplied EzSet microphone.
You will be using the following remote cotnrol buttons to congure your AVR:
Cable
/Sat
Aux
Tone
Direct
MEM
Night RDS
CLR
Delay
Game STB
Audio Radio USB
Network
Disc
Server
Options
Sleep
Back
Last
Guide
OSD
OK Button
AVR Button OSD ButtonBack Button
Left/Right/Up/Down Buttons
1. Plug the supplied EzSet/EQ
™
microphone into the AVR’s Headphone connector.
AVR
Headphone
Connector
EzSet Microphone
(supplied)
2. Place the microphone at ear height in your listening position.
3. Turn on your TV and select the TV input where you connected the AVR in Connect Your
TV, on page 3.
4. Press the remote control’s AVR button, then press the OSD button. The AVR’s
on-screen display (OSD) Master Menu will appear on the TV. (Note: If you have only
used a composite video connection to your TV, the OSD menus will not appear on your
TV. Follow the steps below using the receiver’s front-panel display.)
MASTER MENU
Source Select
Source Setup
Surround Mode
EzSet/EQ
Manual Setup
Network
System Setup
7
 Loading...