EasyManua.ls Logo

Harman Kardon AVR145 User Manual

Harman Kardon AVR145
151 pages
To Next Page IconTo Next Page
Page #1 background imageLoading...
Page #1 background image
harman/kardon
AVR145
5 X 40W 5.1 CHANNEL A/V RECEIVER
SERVICE MANUAL
CONTENTS
ESD WARNING……………………………….2
LEAKAGE TESTING……………….…..…....3
BASIC SPECIFICATIONS…………………..4
PACKAGING…………………………….……5
FRONT PANEL CONTROLS………..…..…..6
REAR PANEL CONNECTIONS………….…8
REMOTE CONTROL FUNCTIONS……….10
CONNECTIONS/INSTALLATION………....13
OPERATION………………………...………22
TROUBLESHOOTING GUIDE…...……..…26
REMOTE & PROCESSOR RESETS……....26
DISASSEMBLY……………………………….27
UNIT EXPLODED VIEW…………..…….…..31
EXPLODED VIEW PARTS LIST……………32
AMP BIAS ADJUSTMENT……………….…33
BLOCK DIAGRAM…………………………..34
PCB DRAWINGS……………………………35
ELECTRICAL PARTS LIST………..….……42
SEMICONDUCTOR PINOUTS…….………73
SCHEMATICS………………………………144
WIRING DIAGRAM…………………………151
harman/kardon, Inc.
250 Crossways Park Dr.
Woodbury, New York 11797 Rev 0 1/2007

Table of Contents

Question and Answer IconNeed help?

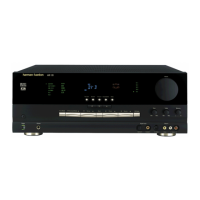
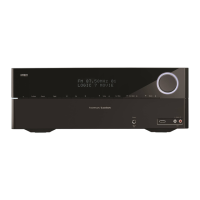
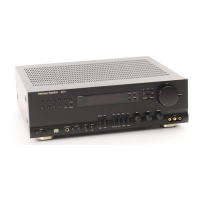
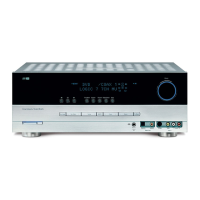
Do you have a question about the Harman Kardon AVR145 and is the answer not in the manual?

Harman Kardon AVR145 Specifications

General IconGeneral
TypeAV Receiver
Channels5.1
Total Harmonic Distortion0.07%
Input Impedance47 k ohms
Input Sensitivity200 mV
Headphone outputYes
Tuner TypeAM/FM
Power Output40 watts per channel (8 ohms)
Digital audio inputCoaxial and Optical
Video inputsComposite, S-Video
Video outputs1 x Composite
Dimensions (W x H x D)440mm x 165mm x 382mm

Summary

ESD WARNING

LEAKAGE TESTING

FRONT PANEL CONTROLS

REAR PANEL CONNECTIONS

REMOTE CONTROL FUNCTIONS

CONNECTIONS

Connecting Source Devices to the AVR

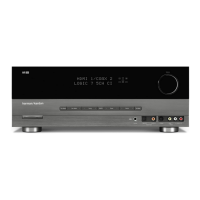
Guidance on connecting various source devices for audio and video playback.

INSTALLATION

Step One – Connect the Speakers

Instructions for connecting speakers to the AVR, ensuring correct polarity.

Step Two – Connect the Subwoofer

Guidance on connecting the subwoofer output to the subwoofer.

Step Three – Connect the Antennas

Steps for connecting the FM and AM antennas to their respective terminals.

Step Four – Connect the Source Components

Recommends connections for various source devices like DVD, TV, etc.

Step Five – Connect Video Display

Steps for connecting the AVR's monitor outputs to a TV or display.

Step Six – Plug in AC Power

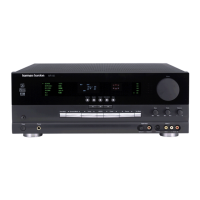
Instructions for connecting the power cords and initial power-up.

Step Eight – Program Sources Into the Remote

Guide to programming the remote to control various source devices.

Step Nine – Turn On the AVR 145

Procedures for the initial power-on and turning the unit on from standby.

OPERATION

Turning On the AVR 145

How to turn on the receiver from standby mode using front panel or remote.

TROUBLESHOOTING GUIDE

Processor Reset

How to perform a system reset for the AVR to restore factory defaults.

DISASSEMBLY

1. Removing the Top Cabinet

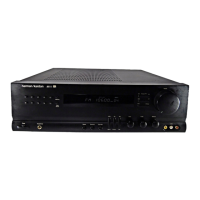
Step-by-step instructions for removing the top cabinet of the unit.

2. Removing the Front Panel

Procedure for safely removing the front panel assembly.
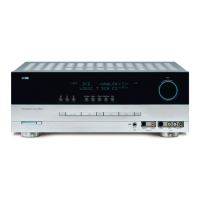
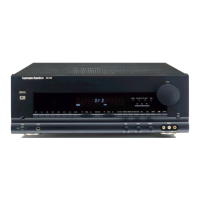
AMPLIFIER SECTION BIAS ADJUSTMENT

SCHEMATIC DIAGRAM

WIRING DIAGRAM

Related product manuals