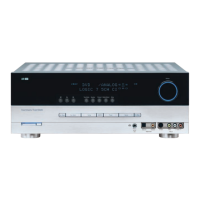
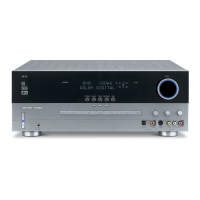
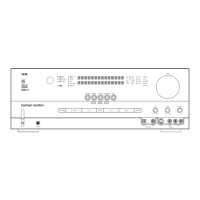
Rear Panel Connections
11
ª Tape Monitor Play/In: Connect
these jacks to the Play/Out jacks of
an audio recorder.
‚ Tape Monitor Record/Out:
Connect these jacks to the Rec/In
jacks of an audio recorder.
NOTE: When these jacks are con-
nected to a three-head recorder or
another device with off-head play-
back, it will be possible to monitor
the source being recorded.
⁄ Tape 2 Play/In: Connect these
jacks to the PLAY/OUT jacks of a
second audio recorder.
Tape 2 Record/Out: Connect
these jacks to the Rec/In jacks of a
second audio recorder.
‹ Main In: These jacks are the input
to the HK3270’s power amplifier. Unless
an external power amplifier is used, the
jumper pins should remain connected
to the Preamp Out jacks ›.
› Preamp Out: These jacks
proved an output for the left and
right channels to an optional exter-
nal amplifier. In normal operation,
unless an external power amplifier
is used, the jumper pins should
remain connected to the Main In
jacks ‹.
fi Subwoofer Out: Connect these
jacks to the line level input of a pow-
ered subwoofer. If an external sub-
woofer amplifier is used, connect this
jack to the subwoofer amplifier input.
fl Speaker 1 Terminals: Connect
these terminals to the appropriate
terminals on your speakers.
‡ Speaker 2 Terminals: Connect
these terminals to the appropriate
terminals on your speakers.
° Accessory Outlets: These
outlets may be used to power low-
current draw devices such as CD
players or cassette decks. Note that
the power to these outlets will remain
on as long as the Main Power
Switch 1 is pressed in. These outlets
will continue to be powered even
when the unit is in the Standby mode.
To remove power to these outlets, the
Main Power Switch 1 must be
placed in the OFF position.
NOTE: The power consumption
of the devices plugged into these
outlets should not exceed 100 watts.
· Power Cable: Connect the AC
plug to a non-switched AC wall
output.

 Loading...