17
Setting the date and time
Be sure to set the date and time correctly. This is the only way to save your
measured values correctly with the date and time for subsequent retrieval.
This is also important for correctly using all the memory and analysis
functions.
■ To enter the settings mode, insert the batteries again or hold down the START/
STOP button for 5 seconds. Proceed as follows:
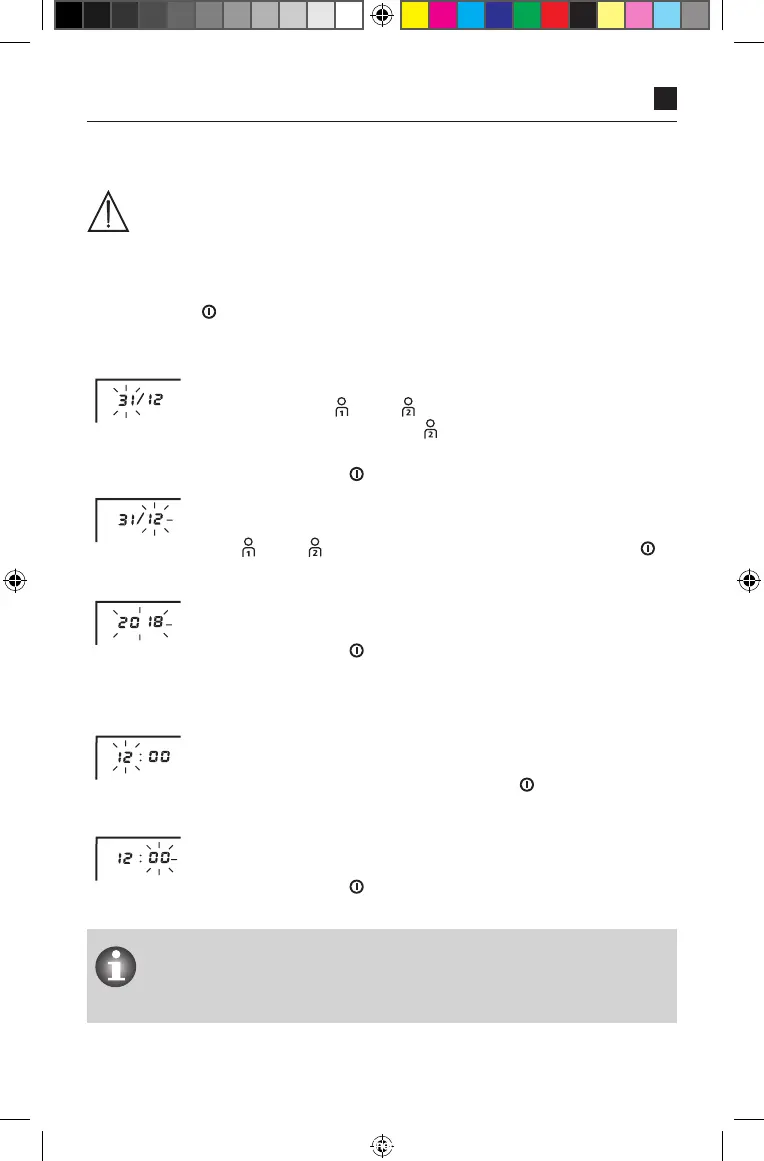
Date:
DATE
The number on the left (date indicator) in the display
flashes. Press the (+) or (–) keys to change the day
displayed. For example, press (–) twice to set the date to
the 29th December. Store the current day by pressing the
START/STOP button .
DATE
Now the number on the right flashes, which displays
the month. You can also set the month by pressing the
keys (+) or (-) and saving with the START/STOP button .
DATE
Now the year 2018 is displayed. You can also change the
year displayed as described and confirm the changes with the
START/STOP button .
Time:
TIME
Then you may set the time. The left number on the display
which shows 12:00, flashes. When the required hour is set, you
can save this using the START/STOP button .
TIME
Now the right number flashes. You can now change the
display of the minutes and confirm the change with the
START/STOP button .
The measured values will remain in memory when the batteries are
changed. The date settings will also not be lost but the time settings
must be reset.
IFU_Veroval_dc_SK2_0307661_EN_TR_AE_CN_200918.indd 17 17.10.18 18:03
 Loading...