USE ONLY HAYWARD GENUINE REPLACEMENT PARTS
8
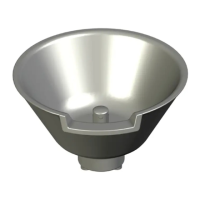
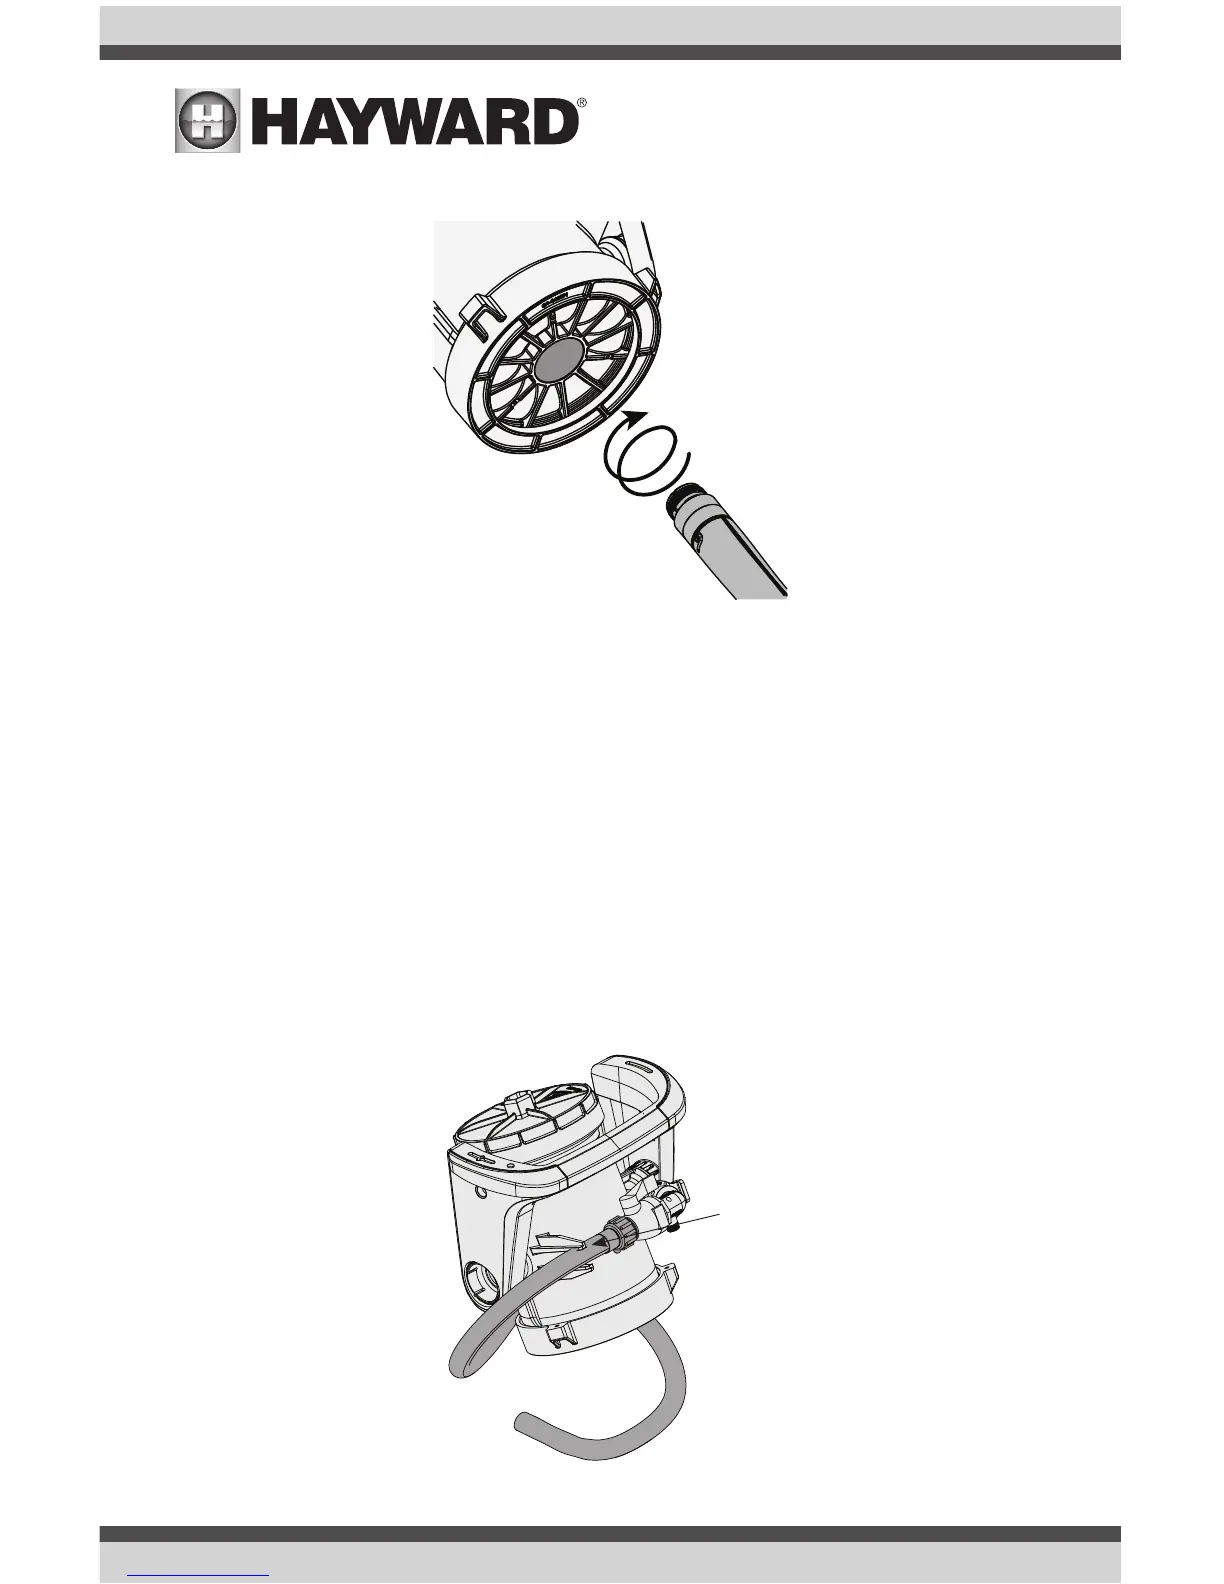
Step 5: Thread in the light from the bottom of the Laminar Jet until snug.
Step 6: Route the light cord through the electrical inlet and conduit. Refer to the light’s installa-
tion manual for wiring instructions. Leave 3 feet of power cord for service loop inside of
the Deck Niche.
Mechanical Installation - Laminar Jet
With the Laminar Jet removed from the Niche, pressure test the water line to no more than 15psi.
Ensure there are no leaks. Unscrew the plug from the hose and flush the water line to remove
any foreign material from construction that may be in the system. Store the plug for use during
winterization.
Once the lines have been pressure tested and flushed, proceed to the installation of the Laminar
Jet.
Step 1: Set Laminar Jet carefully on deck. Thread the hose into the flow control valve and route
the hose into the strain relief as shown below. Hand tighten hose to valve body only. Do
not use any tool to tighten further as damage may occur.
Install hose to valve
body. Ensure excessive
stress is not applied to
the valve adaptor during
hose installation.
NOTE: Pull light cord through inlet
and conduit after installation into
laminar jet.
 Loading...