

R
Rose WallerJul 30, 2025
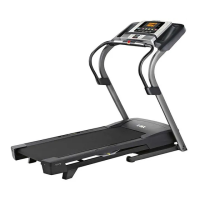
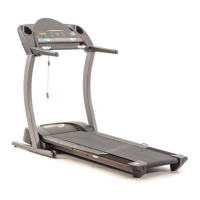
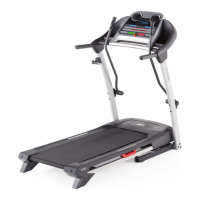
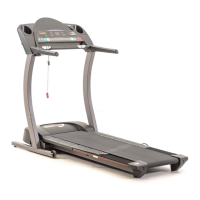
What to do if Healthrider H80t Treadmill walking belt is off-center or slips?
- BbateskimberlyJul 30, 2025
If the walking belt is off-center, remove the key and unplug the power cord. For a belt shifted to the left, turn the left idler roller screw clockwise 1/2 turn; if shifted right, turn it counterclockwise 1/2 turn. Plug in the power cord, insert the key, and run the treadmill briefly. Repeat until centered. If the belt slips, remove the key and unplug the power cord. Turn both idler roller screws clockwise 1/4 turn. The belt should be tight enough to lift each edge 2 to 3 inches off the platform, while keeping it centered.