Heatilator • CNXT Series • 4000-011 Rev N • 11/05 23
7
Appliance Preparation
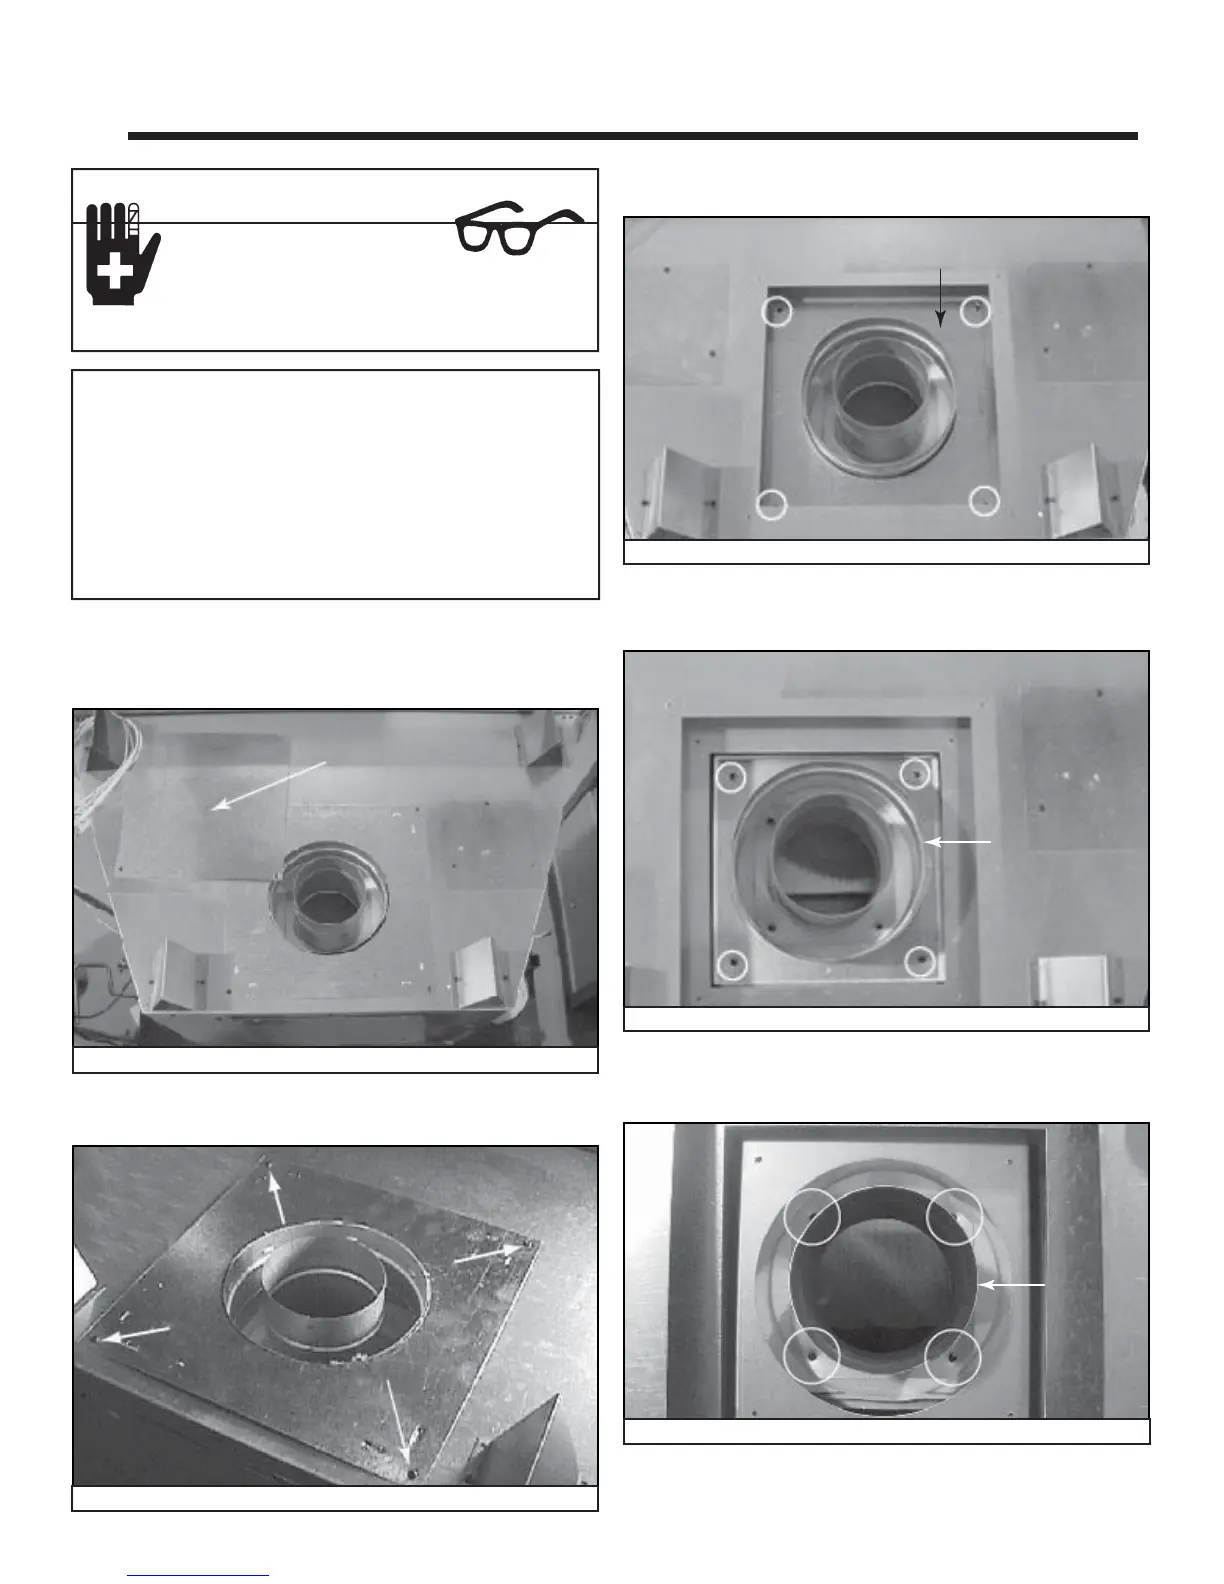
Cover Plate
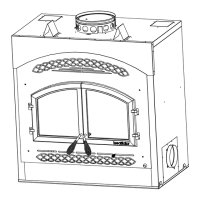
Figure 7.1 Cover Plate, Top of Appliance
Plate
Figure 7.2 Remove Plate Screws
Cover Plate
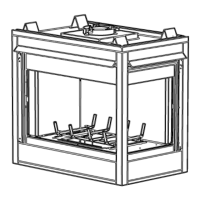
Figure 7.3 Cover Plate, Top Pan
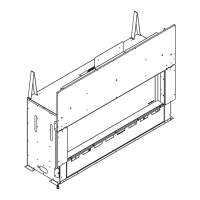
A. Conversion from Top Vent to Rear Vent
• Remove one screw holding the cover plate (Figure 7.1)
to the top of the appliance and set aside.
• Remove four screws holding the plate surrounding the
fl ue. See Figure 7.2. Remove the plate.
• Remove the cover plate (four screws) from the top pan
heat shield and discard. See Figure 7.3.
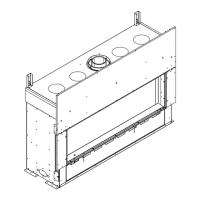
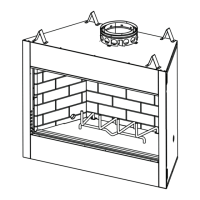
Outer Collar
Figure 7.4 Remove Inner Cover Plate
• Remove four screws holding the outer collar to the
appliance top. See Figure 7.4. Remove the outer collar.
Note: Once the vent cap has been removed it CANNOT
be reattached.
If the appliance is to remain top vented, remove and discard
the plate (Figure 7.1) and replace the screw you removed
in the fi rst stop.
When converting from top vent to rear vent, retain all parts
removed from the top. They will be used again with the
exception of the top pan heat shield.
Sharp Edges
• Wear protective gloves
and safety glasses during
installation.
CAUTION
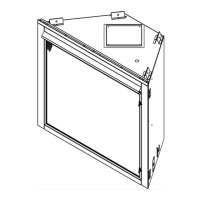
Inner
Collar
Figure 7.5 Remove Screws from Inner Collar
• Remove four screws holding the inner collar to the
appliance top. See Figure 7.5. Remove the inner collar.