38 Heatilator • CNXT Series • 4000-011 Rev N • 11/05
A. Remove Glass Assembly
See Section 12.H.
B. Remove the Shipping Materials
Remove shipping materials from inside or underneath the
fi rebox.
Shock Risk
Fire Risk
Use ONLY optional accessories approved
for this appliance.
• Using non-listed accessories voids
warranty.
• Using non-listed accessories may result
in a safety hazard.
• Only Hearth & Home Technologies
approved accessories may be used
safely.
WARNING
Explosion Risk
• Follow rockwool placement instructions
in this manual.
• Do NOT place rockwool directly over
burner ports.
• Replace rockwool material annually.
Improperly placed rockwool interferes with
proper burner operation.
WARNING
12
Appliance Setup
F. Rockwool, Lava Rock, Vermiculite Placement
E. Accessories
Install approved accessories per instructions included with
accessories. Refer to Section 16.
D. Clean the Appliance
Clean/vacuum any sawdust that may have accumulated in-
side the fi rebox or underneath in the control cavity.
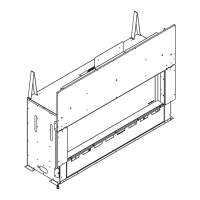
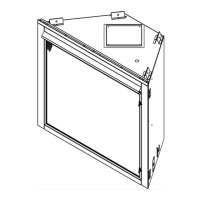
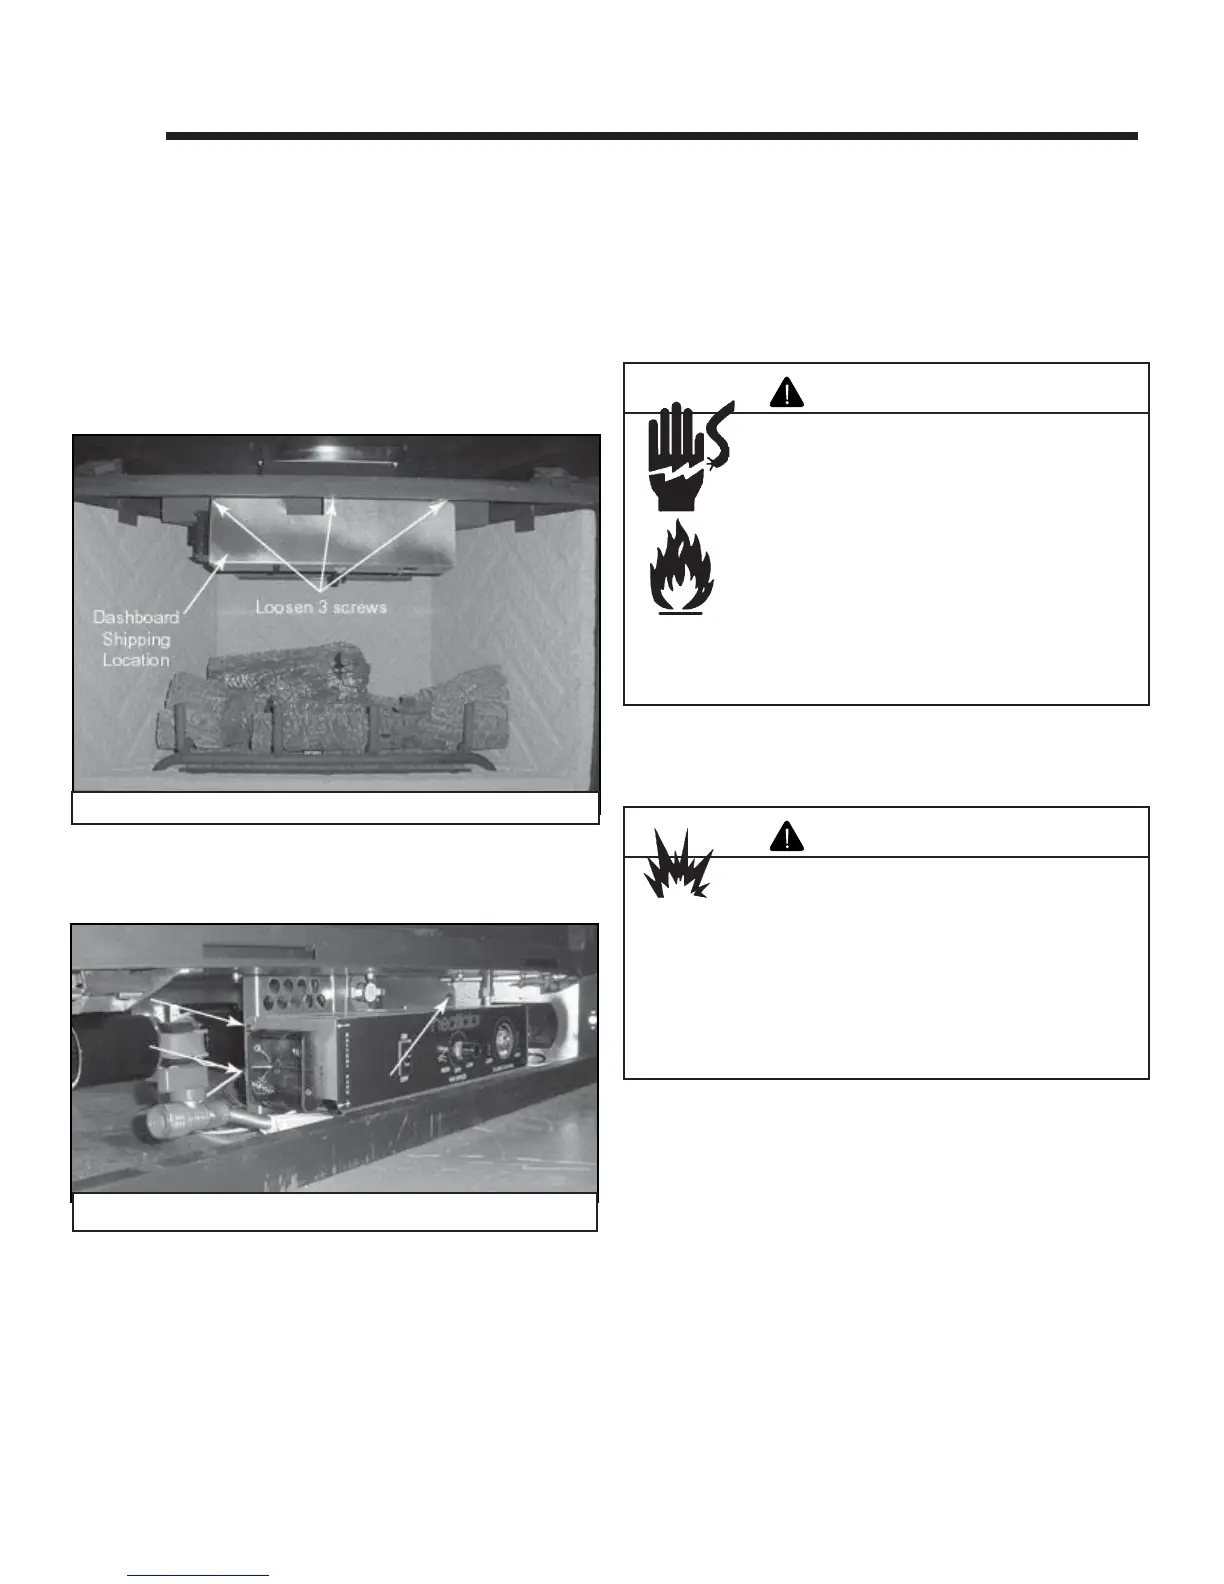
C. Install the Dashboard
• Remove the dashboard (located in the upper fi rebox,
center, attached with three screws). See Figure 12.1.
Figure 12.1 Dashboard Shipping Location
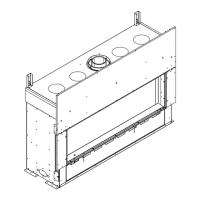
• Locate and remove the two screws on the left side of
the control panel and one screw on the right side. See
Figure 12.2.
• Hold the dashboard and plug in the wire as shown in
Figure 10.1.
• Rotate the dashboard and place under the firebox
(make sure the battery box wires are in the slot on the
dashboard).
• Align the dashboard holes with the three holes on the
control panel and attach with the three screws previously
removed from the control panel. If any wires are exposed,
tuck them behind the dashboard.
• See Figure 10.1 for dashboard switch wiring.
Figure 12.2 Screw Locations