9
10
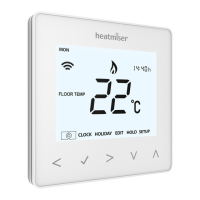
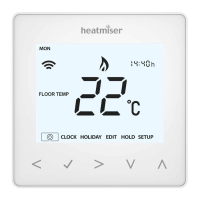
D) Setting the Clock
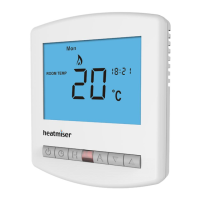
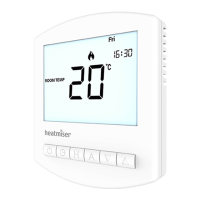
To set the clock within the PRT-R2, follow the steps
below.
• With the thermostat turned on, press twice
• You are now able to set the minutes using the
up/down keys
• Press H to accept
• You are now able to set the hours using the up/down
keys
• Press H to accept
• You are now able to set the day of the week using
the up/down keys
• Press A to store and exit
The clock is now set. The PRT-R2 has a battery which
maintains the clock on a power failure. All program
settings are retained in flash memory for 10 years.
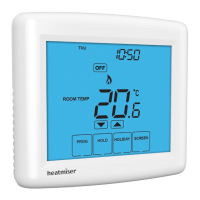
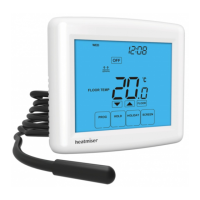
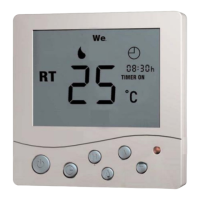
E) Enabling / Disabling the floor limit sensor
The PRT-R2 is supplied with a floor sensor probe. This
sensor is used to prevent the floor from overheating.
The floor sensor is enabled as a factory default, to
disable follow the steps below.
• With the thermostat turned on, press the H and Up
arrow key for 5 seconds.
00 = Disabled
01 = Enabled (Factory default)
If the remote sensor probe has been enabled, the
PRT-R2 will detect if the sensor is faulty /
disconnected. In such a case, the heating will turn off
so that there is no risk of the floor surface overheating.