38
Bladder Gate Valve and Bladder Hose (cont.)
5) Remove the old bladder gate valve and install the new bladder gate valve.
6) Attach the bladder hose to the bladder gate valve and tighten the hose clamp.
7) Keeping the bladder gate valve closed, add water until furnace is full.
8) Open the bladder gate valve and follow the “Filling the Bladder with Water” instructions.
9) Turn on the power to the furnace.
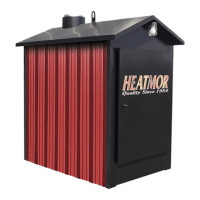
Water Level Gauge
Principle of the Water Level Gauge
The water level gauge simply gives you an accurate reading of when the bladder is
full or empty of water.
Maintenance / Result
To maintain your water level gauge, ensure that it can move freely through the eyelet.
If it does not move freely, the risk of the rope wearing and breaking or inaccurate
readings are possible.
Removal and Replacement
1) Drain some of the water from the furnace to allow you to
maneuver around the bladder.
2) Remove the water level gauge from the rope.
3) Remove the rope and replace it with a new water level gauge rope.
4) Thread the rope over the bladder and through the eyelet.
5) Attach the water level gauge.
6) Rell the bladder referring to the instructions “Filling the Bladder
with Water” instructions.
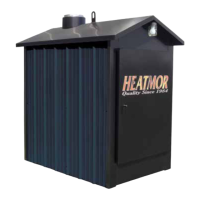
Bladder Cover Plate
Principle of the Bladder Cover Plate
The bladder cover plate simply gives protection to the bladder from
possible back ashes and excess heat. It helps hold up the bladder in
position, and when it is removed allows a large space to service the
bladder.
Removal and Replacement
To remove and replace the bladder cover plate, loosen the wing nuts
and install the new cover plate. Tighten the wing nuts.
Add Water Sign
Bladder Cover Plate