7
3.3 FIXING
1. Mark the position of the Streamline, and the position of the xing bracket
(see gure 2, p5).
2. Fix the wall bracket using the two larger xing plugs and screws provided.
3. Remove the cover of the Streamline by removing the two screws from the
top face and rotating the cover about the bottom edge.
4. Hang the Streamline on the wall bracket and mark the position of the xing
hole (see gure 2, p5)
5. Remove the Streamline, drill the third xing hole and t the third (smallest)
xing plug.
6. Hang the Streamline on the wall bracket again and x securely with the third
(smallest) xing screw provided.
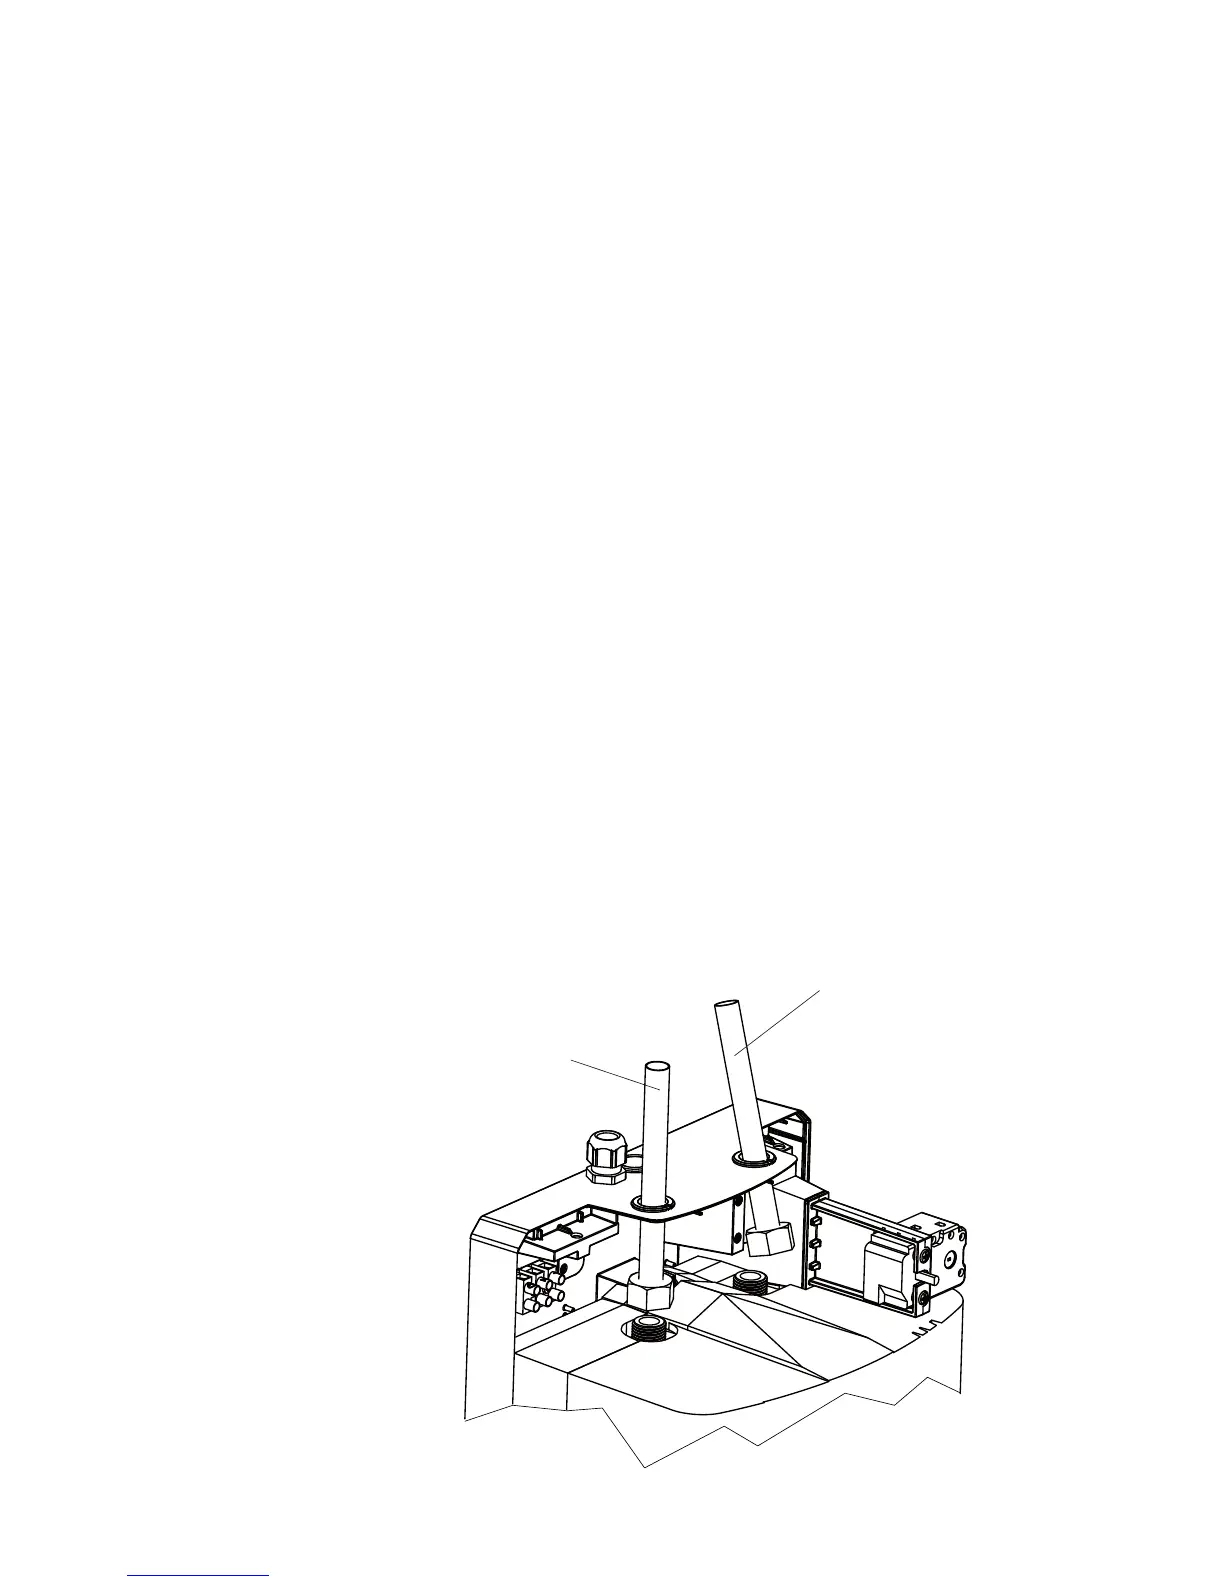
3.4 ADAPTOR PIPE ASSEMBLY
1. 2 x adaptor pipes are supplied with the Streamline to make inlet and outlet
connections.
2. Pass the pipes through the backplate and grommets (from the inside of the
backplate).
3. Fit the 1/2” BSP nuts to the 1/2” BSP bosses on the inner container and
tighten.
4. Ensure the grommets are reseated (snapped to the backplate).
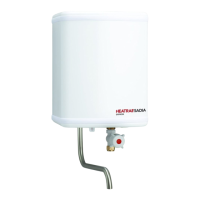
FIGURE 04 - INLET & OUTLET PIPES
INLET PIPE
OUTLET PIPE
 Loading...