11
Parker Hannifin Corporation
Helac/Cylinder Division
Enumclaw, Washington USA
www.helac.com
Helical, Hydraulic Rotary Actuators
L20 Series Service & Repair Manual
Catalog HY34-1120
Disassembly
Disassembly
Before Disassembly
Inspect the actuator for corrosion prior to
disassembly. Severe corrosion can make
it dicult to remove the lock pins (109) and
unthread the end cap (04). If corrosion is
evident, soak the lock pins and end cap
with penetrating oil for several hours before
disassembling.
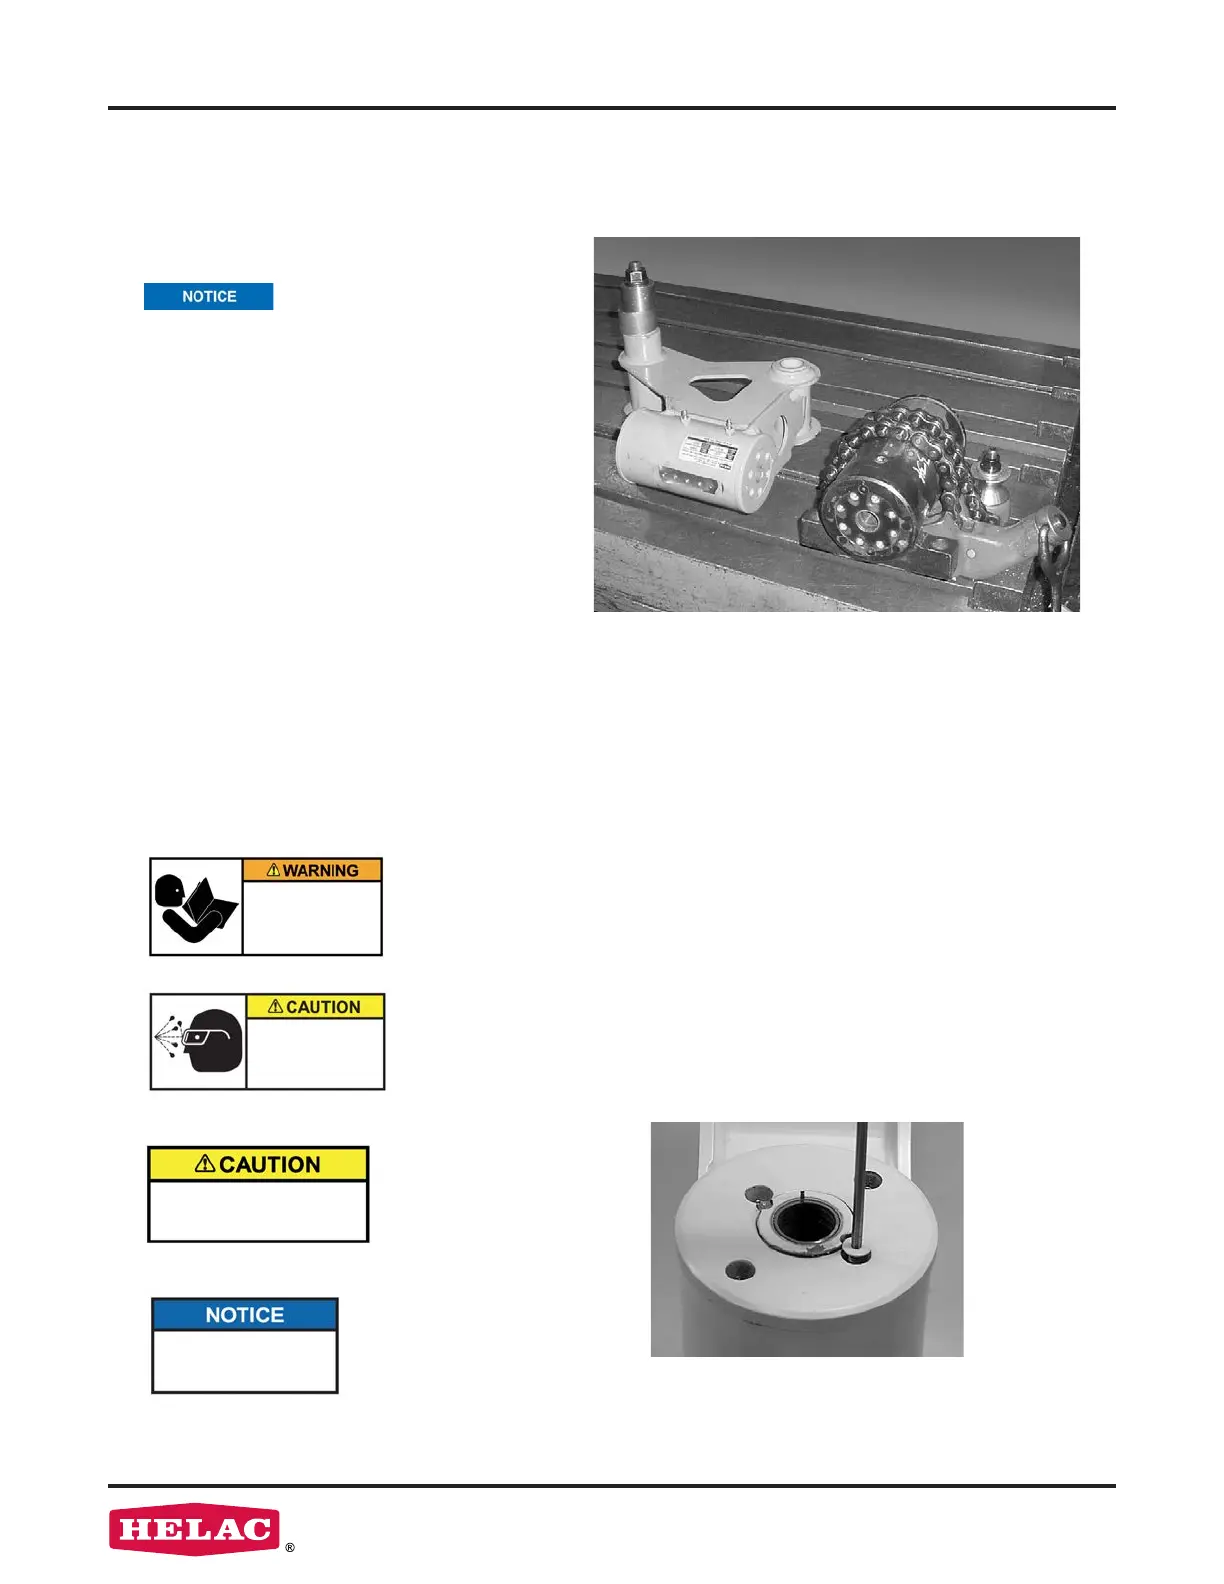
Disassembly is considerably easier if
the actuator is rmly secured to the work
bench. A pipe vise or mounting xture
work well.
1.
Remove port plugs (106) and drain oil.
Inspect oil for signs of contamination, i.e.
water, metal shavings.
2.
Remove the cap screws (113) that cover
the end cap lock pins (109).
3.
Using a 1/8” (3 mm) drill bit, drill a hole in
the center of each lock pin to a depth of
approximately 3/16” (5 mm).
Before Disassembly
All numbers that appear
in parenthesis ( ) refer
to items in parts list on
page 10.
Avoid personal injury and
machinery damage:
Read the Service and Repair Manual
for proper installation, maintenance
and repair procedures.
Spraying fluids.
Contents under pressure.
Wear approved eye protection.
Use caution when removing
port plugs and fittings.
To avoid contamination
to machined parts:
Make sure work area is clean.
To avoid injury or damage
to product:
Secure product to slotted table or vise.
 Loading...