13
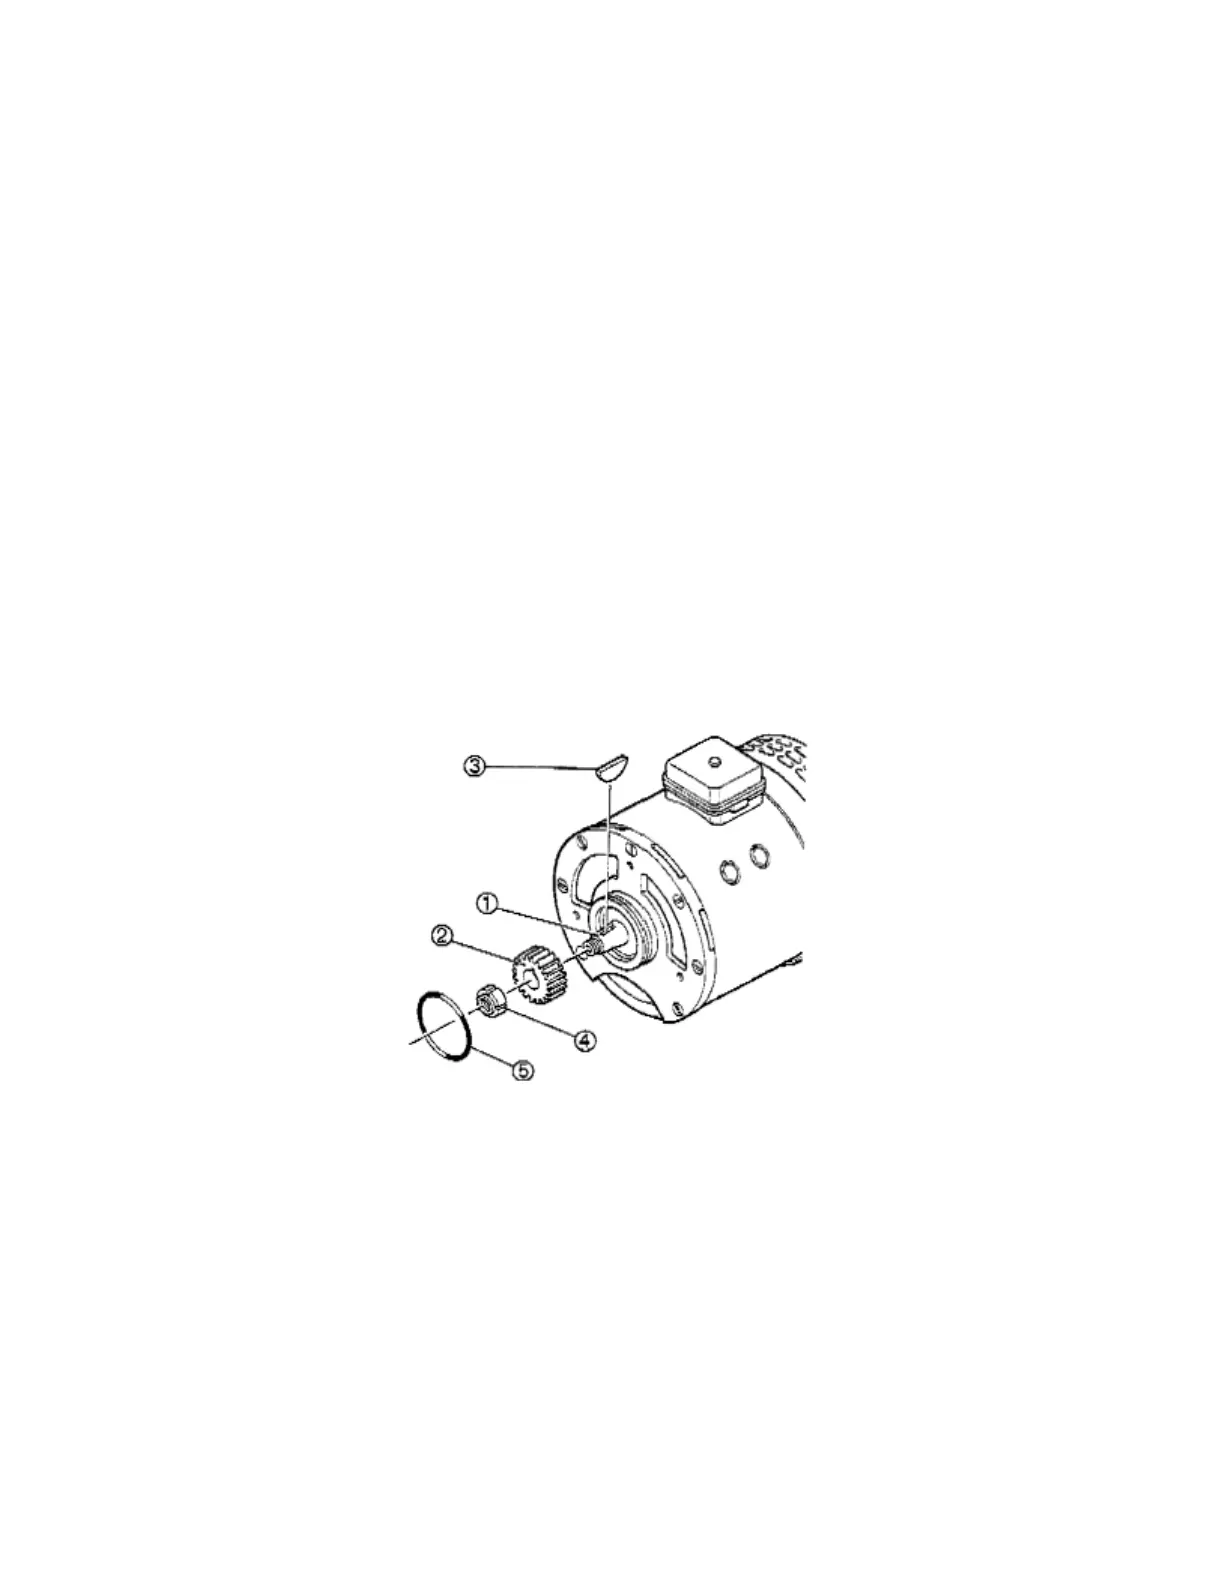
(3) Screw a new stopping nut (part 4) on and tighten with socket wrench. Tightening
torque:55 Nm(M20 × 1,taper φ 25);68 Nm(M14 × 1.5,taper φ 20)
(4) Coat O-ring (part 5) slightly with transmission fluid and push it onto centering seat of
motor.
(5)Place the motor carefully on the transmission and join the gearings of motor pinion
and helical gear carefully.
Attention: Do not knock with the drive pinion against the helical gear while
installing the motor. This can cause knocking noise.
(6) Turn motor to coincide bore pattern of transmission with bore pattern of motor.
(7)Screw motor to transmission with three hexagon bolts.(parts1 and 2)(1×M8×50 and
2×M8×75) Tightening torque: 23 Nm.
Figure 1-3
1.3.2 Mounting the transmission unit to the truck frame
Check the frame surface for damage and irregularities. The maximum admissible
irregularity in the area of the transmission contour shall be no more than0.1mm.Screw
drive unit with 7 hexagon bolts M14 x1.5x 70 and shims to frame. The tighten torque is
130~194Nm. Refer to figure 1-1.
1.3.3 Assembling of wheels