IMPORTANT SAFETY INFORMATION
- 3 -
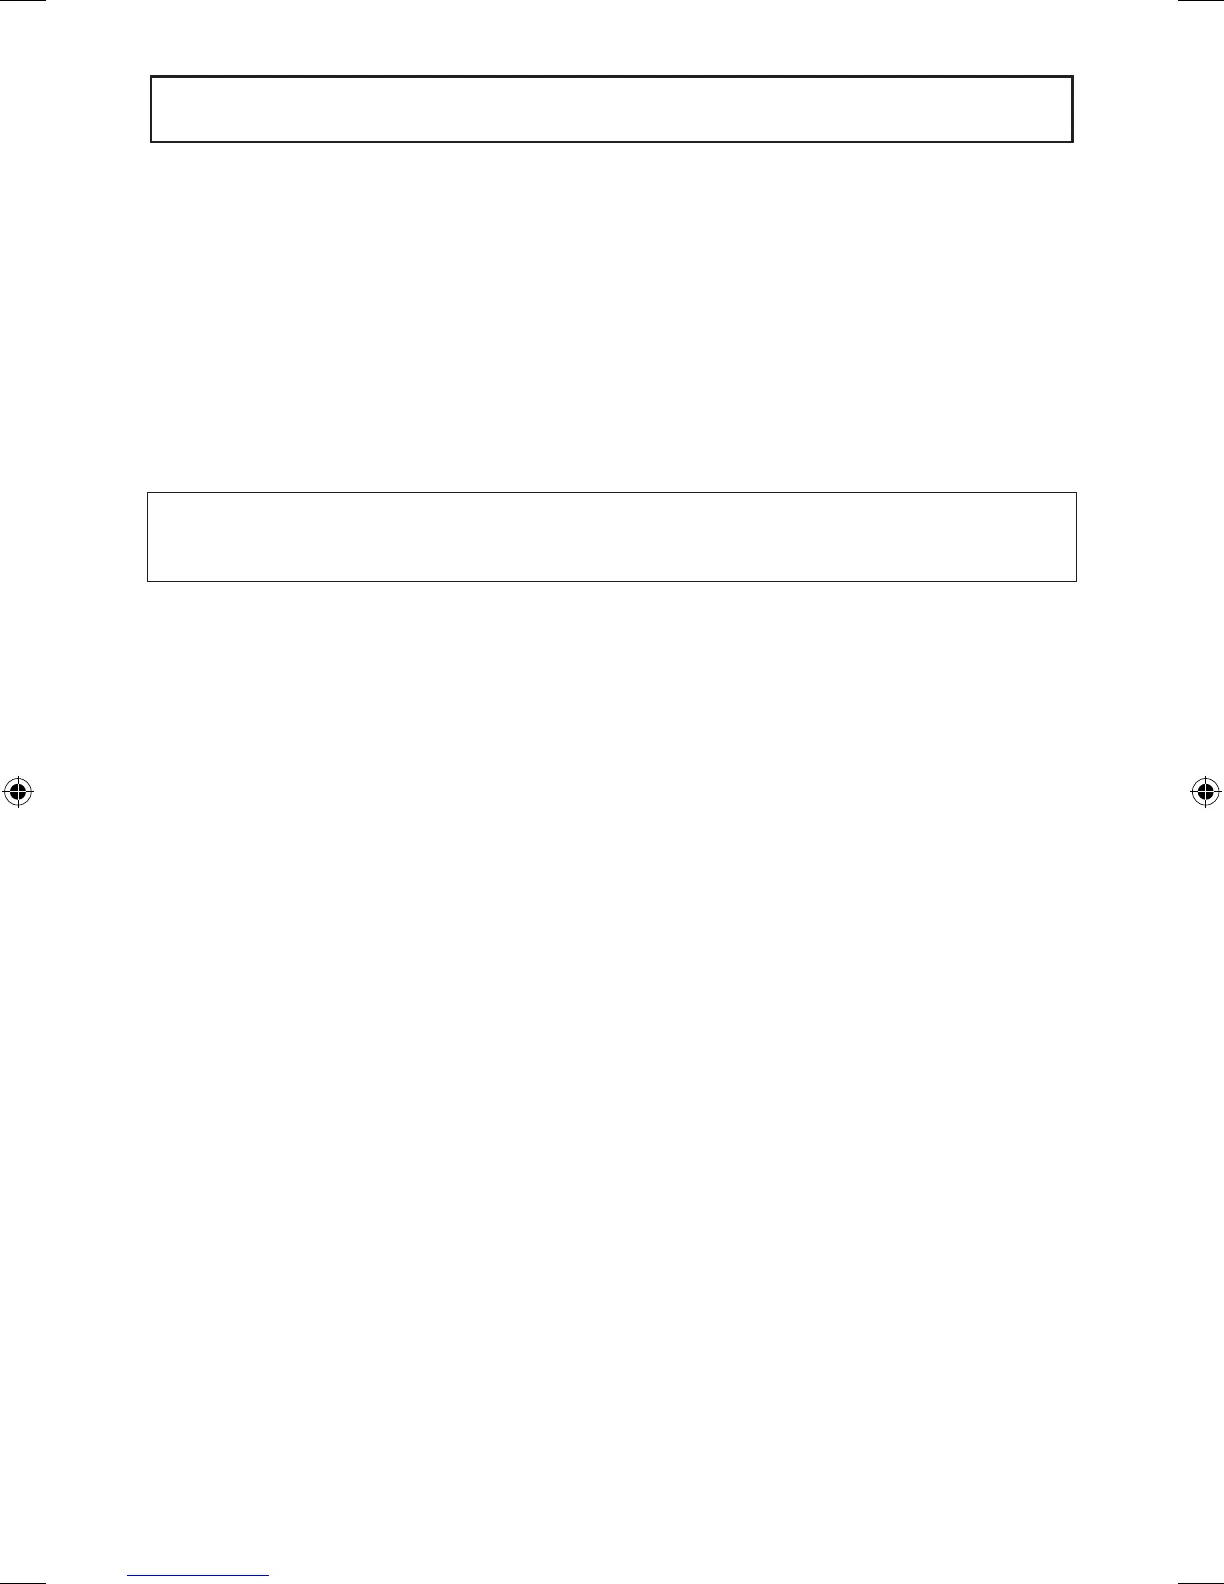
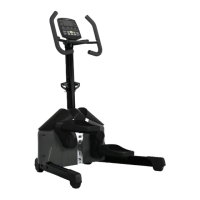
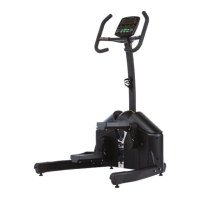
Parts Bags for ‘step by step’ assembly
The parts required for each step of
the assembly process are sorted by
step in individual zip bags as shown
below.
Each step has required parts and
each of those parts is included with
the bag printed with the assembly
step.
It is recommended that these parts
not be removed from the individual
bags until each step of the process
to avoid mixing up or confusing
parts.
If you nd that you are missing
parts or the bag for a step is miss-
ing, please contact Helix or your
dealer to receive those items. You
can refer to the parts by the “step
number” for ease of description.
Instructions to change display standards
To change the computer on the Helix HLT3000 from either Metric to Standard (English) or Standard (English) to
Metric, please follow the instructions below carefully.
Please note the computer must be completely off when starting this procedure. If you are unsure if the computer is
completely off. Please let the machine sit for 5 minutes before starting OR remove a battery and reinstall.
Before starting, step on a pedal to turn on the computer.
#1. Hit “Quick Start”
#2. Slightly rotate the pedals until the counter starts counting down.
#3. Hit “CLEAR” ( goes into cool down mode)
#4. Hit “CLEAR” ( goes into results mode)
#5. Last Step hit “CLEAR” to reset the machine and immediately then hit “Quick Start” and “ENTER” to go into
ENGINEERING mode. Then scroll down to toggle either Metric or English.
Please note: on Step #5, if you hit “CLEAR”, “Quick Start” and “ENTER” in the same time, you will not
go into the engineering mode.
This is very important and can be a bit tricky.
For Step #5, you must hit and let go “CLEAR” and then immediately ( almost simultaneously hit “Quick Start” and
“ENTER” together to go into the ENGINEERING mode.
Then hit “ENTER” to see the Metric or Standard (English) selection. Use Up or DOWN key to toggle select Metric or
Standard (English).
A5-HLT3000 v3 proofed.indd 3 01/02/2011 10:21