ENGLISH
Dear Customer,
congratulations for purchasing this high-quality Helix amplifier, made in Germany.
This new Helix amplifiers highlights best quality, excellent manufacturing and state-
of-the-art technology. They are the optimum completion of Helix Performance Line
by Audiotec Fischer. To find out how Helix amplifiers work best for you, read this
manual carefully and follow the instructions for installation.
We guarantee that this product has been checked for proper functioning before
shipping.
We wish you a lot of fun with your new Helix amplifier.
Yours, Audiotec Fischer Team
Installation Instructions
Before you start installation, disconnect the car battery at the minus pole. We would
urge you to have the installation work carried out by an authorized specialist as
verification of correct installation and connection is a prerequisite for warranty cover
of the Helix amplifiers.
Install your amplifier at a dry location with sufficient air circulation to ensure ade-
quate cooling of the equipment. For safety reasons, the amplifier must be secured
in a professional manner. For this use the attached four fixing screws and fix them
into a mounting surface offering sufficient stability.
Before drilling the holes for the screws, carefully examine the area around the
installation position and make sure that there are no electrical cables or components,
hydraulic brake lines or any part of the tank located behind the mounting surface –
otherwise these could be damaged. You should be aware of the fact that such com-
ponents may also be concealed in the double-skin trim panels/ mouldings.
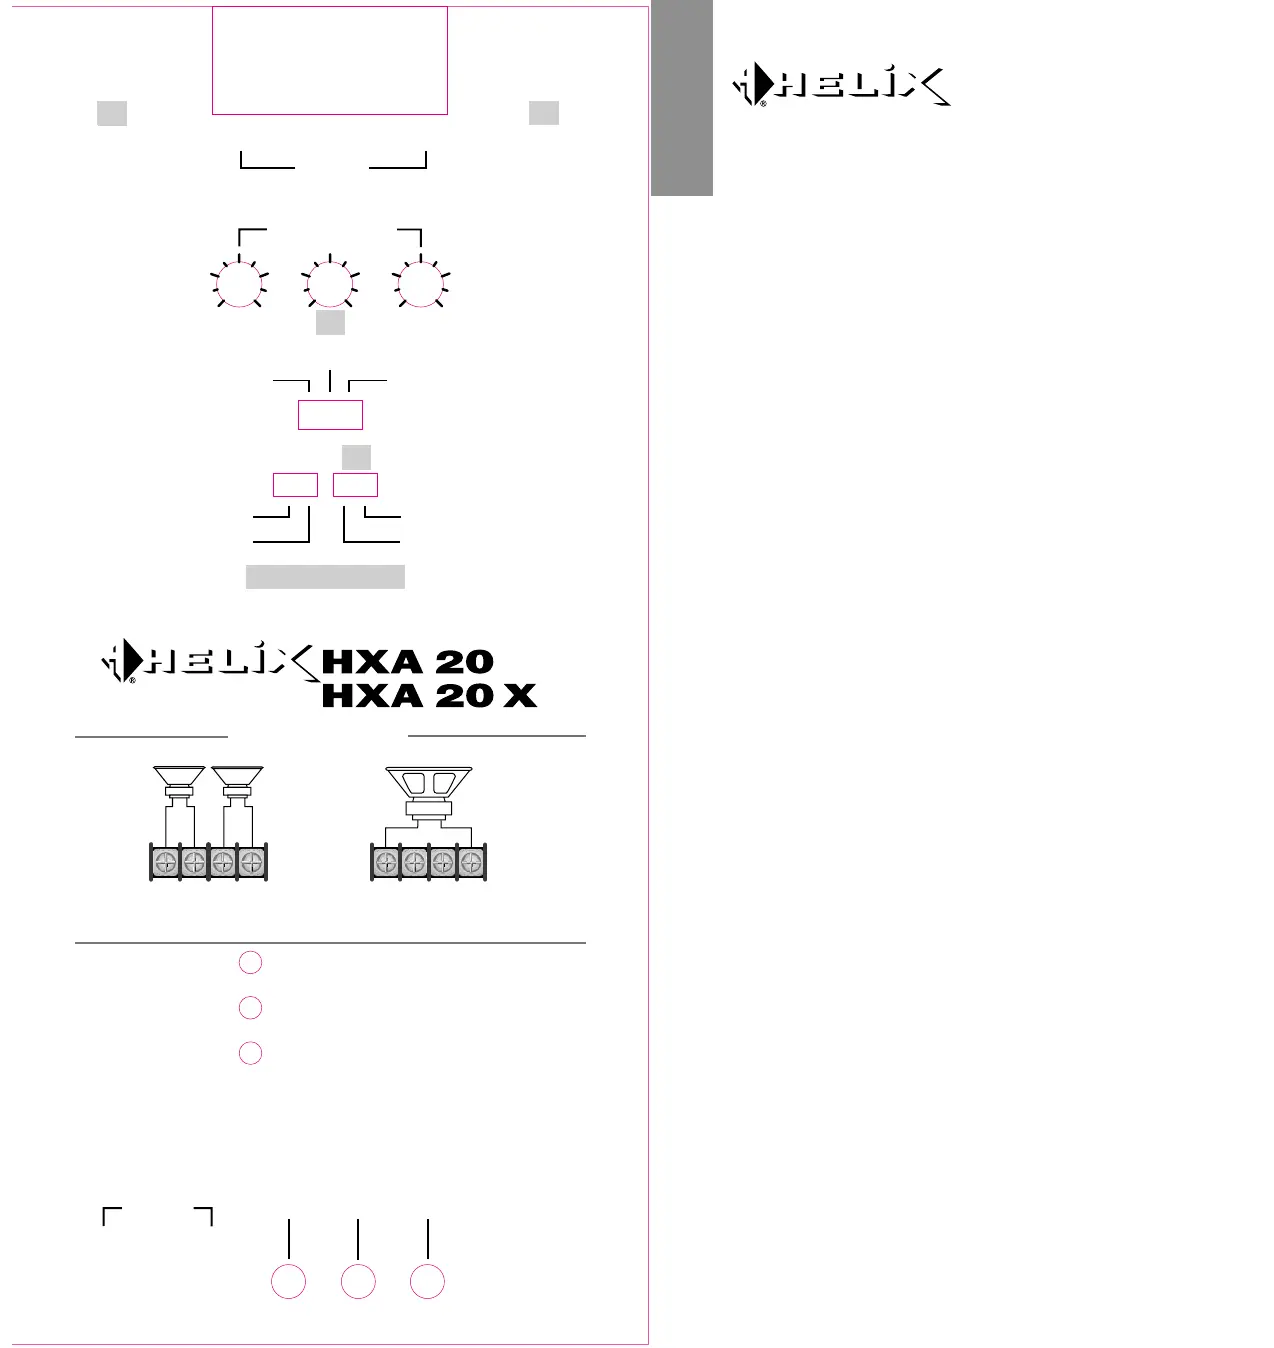
Instruction for connecting the amplifier
The Helix HXA 20/ HXA 20X may only be installed in motor vehicles which have
a 12-volt minus pole connected to the chassis ground. Any other system could
cause damage to the amplifier and the electrical system of the vehicle.
The plus cable from the battery for the complete system should be provided with
a main fuse at a distance of max. 30 cm from the battery. The value of the fuse is
calculated from the max. total current input of the car audio system. Install the cab-
ling in a manner which precludes any danger of the leads being exposed to shear,
crushing or rupture forces. If there are sharp edges in the vicinity (e.g. holes in the
bodywork) all cables must be cushioned and protected to prevent fraying.
Never lay the power supply cables adjacent to leads and lines connecting other
vehicle equipment (fan motors, fire detection modules, gas lines etc.).
In order to ensure safe installation use only high quality connectors and materials.
Ask your dealer for Brax and Helix accessories.
 Loading...