6
START-UP
The initial start up will probably be done by the technician
installing the softener system. If not, the following instructions
will step you through the process.
1. Complete all plumbing connections: inlet, outlet, drain
line and brine line. Do not add salt at this time.
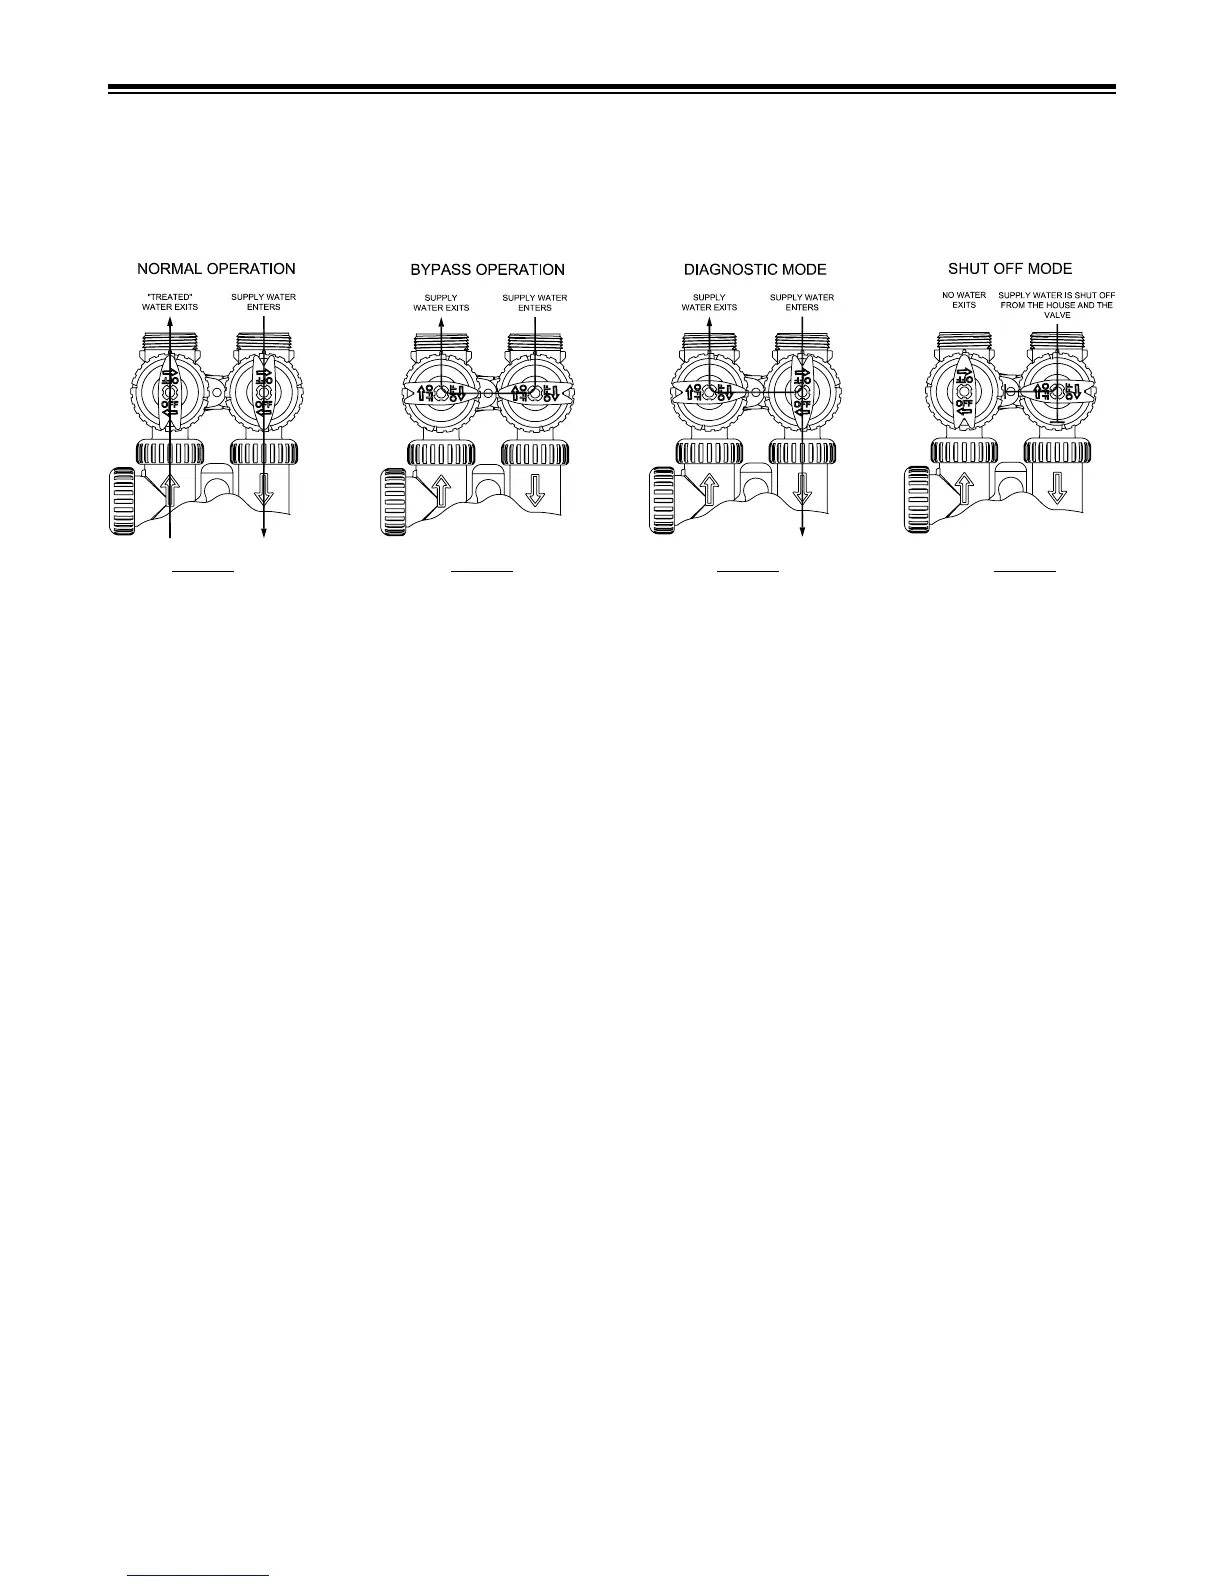
2. Place the bypass valve in the bypass position. (See
gure 4 above) Turn on the main water supply. Open
a cold soft water faucet to ush the piping of any air
and/or foreign material. Run until the water is clear.
3. Manually add 6 inches of water to the brine tank.
4. Now plug the transformer into a 110-volt receptacle. (Be
certain the outlet is uninterrupted.) Within 5 seconds the
control will automatically align itself into the softening
mode and display will automatically alternate between
time of day, gal/min and gallons remaining. (Figure 7,
page 7).
5. Set the time of day by pushing clock button (page 5)
and using and buttons.
6. Push REGEN button and hold it down for 3 seconds.
The system will advance to the “First” position. (Note:
Depending on how the system is programmed it could
read backwash, rinse, brine or ll). Pushing REGEN
button until “Rinse” shows in the left upper hand corner
of display. Slowly place the bypass into the “diagnostic
mode” (see g 5, above). Run water to the drain until
it runs clear. Return the bypass valve to the by-pass
position (g 4, above). Push REGEN button until unit
is back to softening mode.
7. Once again, push REGEN button and hold down for 3
seconds. Keep pressing REGEN button until “Back-
wash” appears. Slowly place the bypass valve into the
“Diagnostic Mode” 1/2 way. Allow water to slowly ll
the mineral tank. When a solid stream of water starts
coming out of the drain line, open the bypass inlet valve
all the way and allow to run out the drain until water
clears. Then slowly place the by-pass into the “normal
operation” mode by opening the outlet side of bypass
valve (gure 3, above).
8.
Press the REGEN button until LCD display says
“REGENERANT DRAW DN”. Open the brine tank and
conrm that the 6" of water you added in Step 3 is now
being drawn out through the softener and to the drain.
If water is not being drawn out contact your installer
for assistance. Allow softener to draw water down to
the bottom of the air check, (item 13, page 10).
9. Press REGEN button again until LCD once again
displays “BACKWASH”. Keep in backwash until water
once again runs clear at the drain.
10. Press REGEN button again until “RINSE” is displayed.
Allow rinse cycle to run its full course. While the rinse
cycle is nishing, load brine tank with salt. If utilizing
brine reclaim, manually add full volume of water to brine
tank for rst regeneration.
11. Once the rinse cycle has nished the softener control
will return to the softening cycle. The LCD screen will
scroll between “TIME/GPM/GALLONS REMAINING”.
12. Next set your softeners water hardness, days override
and regeneration time settings (page 5).
Your programming is now complete.
INITIAL START-UP
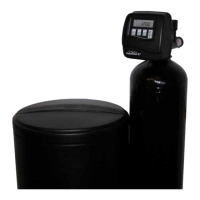
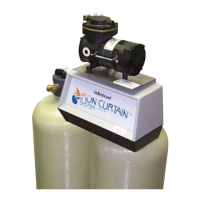
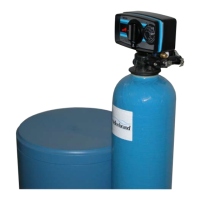
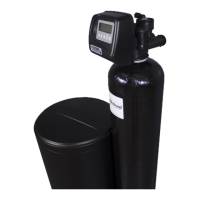
Figure 6Figure 5Figure 3 Figure 4
BYPASS VALVE OPERATION