28
PRONTERFACE - BED CALIBRATION
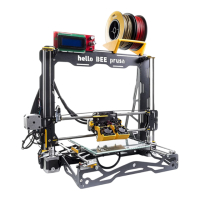
Before starting to level the bed, you can jog the extruder and the bed
using the jog buttons (picture below) on Pronterface.
You can move the Z axis in a way that the nozzle stays a bit closer
to the bed and is essential for the following steps.
Use the 3 screws to level the bed as shown in the previous topic “Bed calibration using the LCD”p.13.
PRONTERFACE - FIRST PRINT
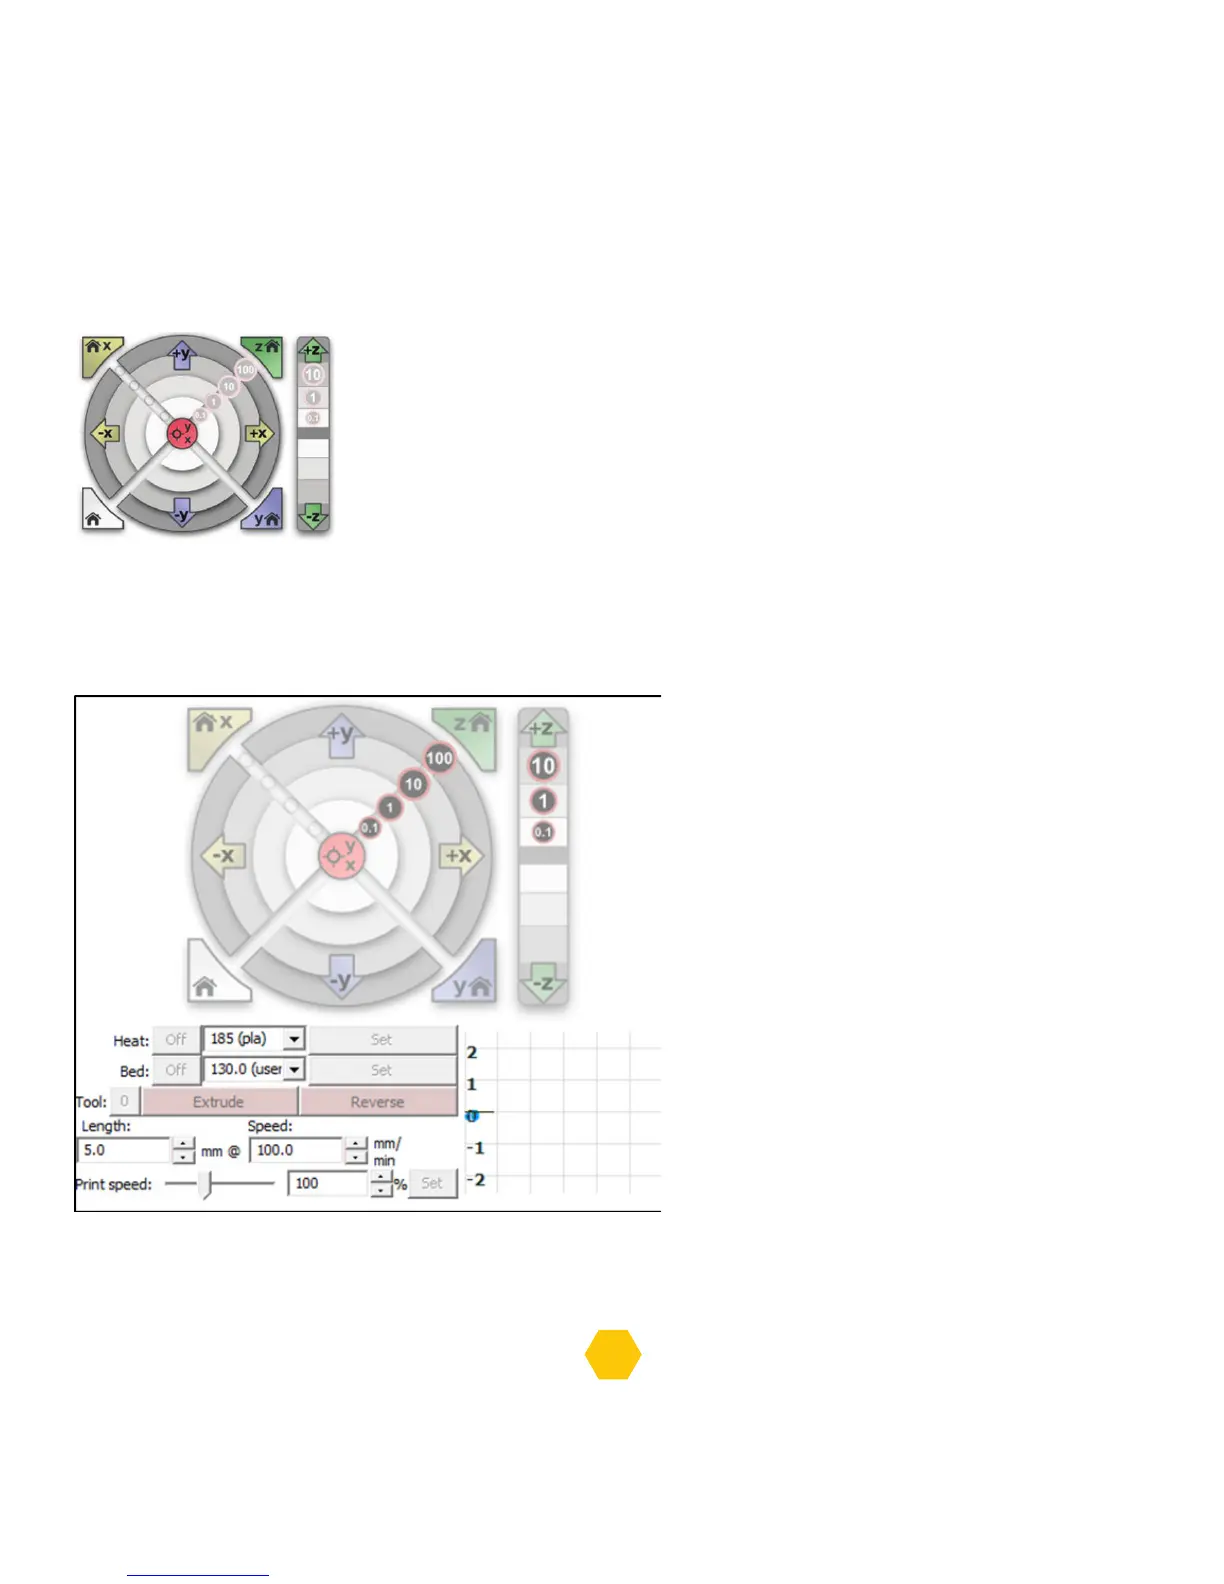
You can load/unload filament using
the Pronterface control panel:
To load, first you need to Set the extruder
heating temperature and wait for
the temperature to reach that value.
You can look at the graph to verify.
When the extruder reaches the temperature,
then you can click on the Extrude and then
you can insert the filament on the extruder.
To unload, you also need to set the same
extruder heating temperature.
Afterwards, just click the Reverse and gently
pull the filament from the extruder.
You can change the extruder by clicking on the button next to “Tool”, Tool 0 is for the first extruder
and Tool 1 is for the second extruder.