MANL-00005-A - D Series Rotary Dispensers.docx 21
12. Assemble seal lower support, new seal and washer onto screw. Apply 2 drops of Loctite 271 (or
equivalent) to screw threads.
13. Screw assembly into end of plunger shaft.
NOTE: Tighten only until seal can no longer be rotated by hand. Do not over tighten as it may result in
difficult or stiff operation of the plunger.
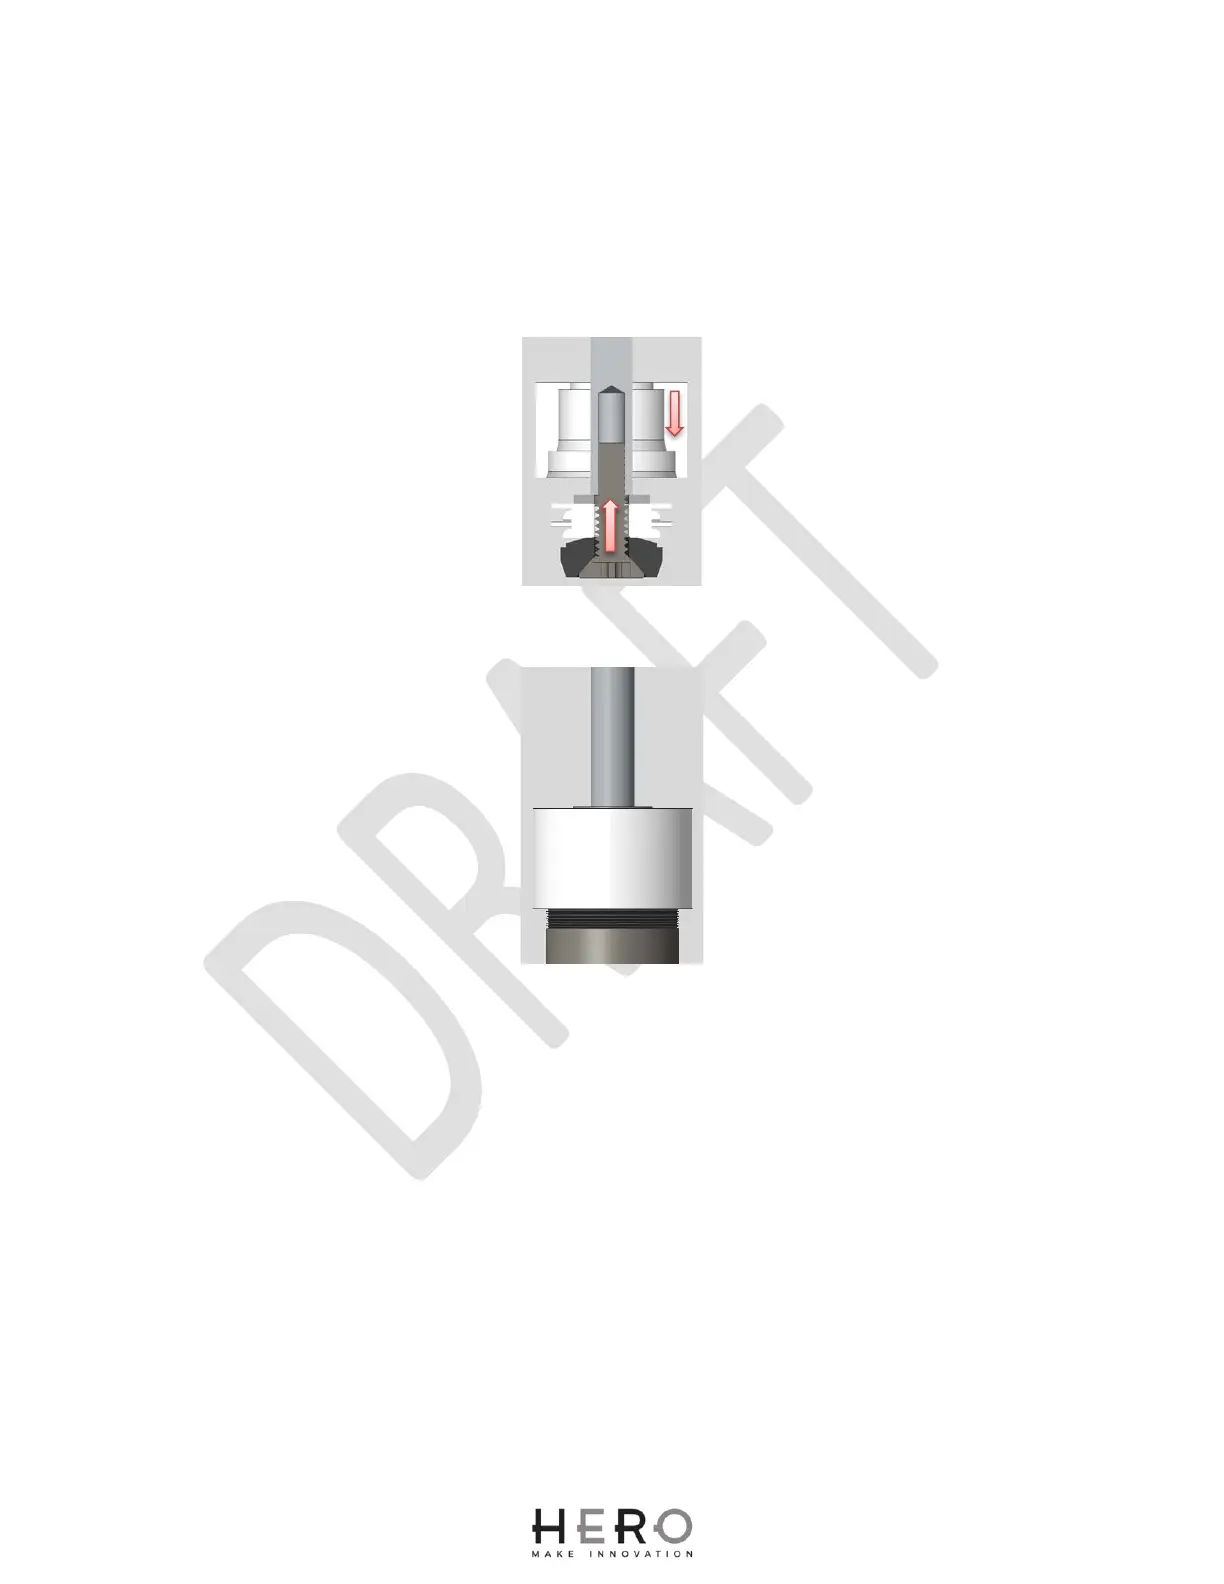
14. Remove plunger shaft from vise and slide installation tool over the plunger shaft and onto the seal.
15. Place the assembled plunger shaft over the top of the pump cylinder. The seal tool will fit onto the
top of the cylinder.
16. Gently press plunger shaft down, while rotating slightly, to insert the seal into the cylinder.
17. Continue pushing until the assembly is fully within the cylinder.
18. With the piston assembly now contained within the cylinder, lift the installation tool up and off the
plunger shaft. Store the tool for future use as replacement seals are sold without the tool.
19. Raise seal to just below the top of the cylinder and inspect for damage caused during installation.
The sealing edge should not be curled, nicked or in any other way damaged.
20. Place the end cap assembly over plunger shaft and firmly down onto the cylinder.
21. Attach plunger handle to the plunger. HERO recommends using Loctite 401 on the threads. DO
NOT OVER TIGHTEN.
22. Press the plunger shaft down as far as it can go. The plunger handle should be firmly against the
end cap and cylinder.
23. Slide the end cap sleeve (if equipped) up the cylinder and into the end cap assembly.
24. Be sure holes in sleeve and end cap are aligned to allow set screws to engage on the cylinder.