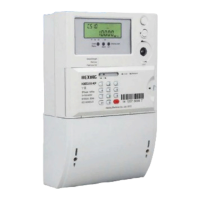
User manual for single-phase meter
15
components, the meter should be carefully protected during the installation in
order to avoid any damage.
Make sure that the power is cut off before the meter installation,
otherwise it will cause a threat to life. The fuse should be disconnected
and put it in a safe place to avoid the accidental power-on.
11.3 Installation procedure
The meter is intended to be installed in a Mechanical Environment ‘M1’, with
Shock and Vibrations of low significance, as per 2014/32/EU Directive.
The meter is intended to be installed in Electromagnetic Environment ‘E2’, as
per 2014/32/EU Directive.
1. Select the proper position according to the meter dimensions, and indicate fixing
points of the meter on the installation panel.
2. Drill down holes on previously marked positions. (make sure that there’s no cable
behind before punching, avoid ruining the cable and threatening personal safety)
3. Open the meter terminal cover, and adjust the height of hanger.
The hanger is adjusted to low position by default when it leaves
the factory, in order to match the packing box and prevent
damage during transportation.
4. Using the vertical installation method, the meter is hanging on the hanger screw,
and fixed on the bottom by two M4 screws. Need to ensure that the 3 screws are
completely banned, and the meter is installed firmly, without shaking.
To ensure the installation stability, the diameter of hanger screw must be greater
than 11mm, and the diameter of bottom fixed screws must be greater than 7mm.
5. Cut the cable to the required length and use the wire stripper to uncover the
cable. The recommended bare metal length after stripping is 22mm for this series