August 2005 Page 22 of 23
2005 © HID Corporation. All rights reserved.
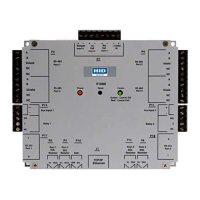
VertX V2000 (CS) Quick Installation Guide
Change “10.19.4.130” and/or “VertXProductionTest” to include the IP Address or Hostname of the
Host(s) in which you are working. See the Pre-Installation Checklist – Ref #5, page 23
.
Example of Ethernet primary only:
# commtask connection file
# cmid WaitTime MaxPings Username Script IPAddress(or Hostname) CommChannel(1-3)
1 1 2 * * 10.19.4.130 1
2 1 2 * * VertXProductionTest 1
#3 20 4 router1 Router 10.10.10.2 2
#4 20 4 modem1 Modem 10.19.4.131 2
3.6.1.6 Reconfigure to the original Windows TCP/IP Settings
As discussed in 3.3 Windows TCP/IP Configuration, return your computers TCP/IP settings to their original
configuration.
Step 4 Reboot and Test with the Central Station
NOTE: Dependant on the central station automation software that is being utilized, proceed to Central
Station Automation Provider Instructions on page 23 before continuing with Step 4 Reboot and Test with the
Central Station.
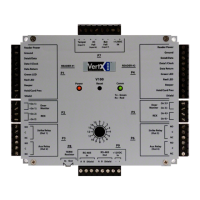
Now that the V2000 is installed and configured.
1. Reboot the controller by removing and reconnecting the power supply to the controller. The
controller should be functional within 20-60 seconds.
2. Contact the central station to test communications.
4.1 Calibrate Input
The Calibrate Input tool is available for calibrating the input devices through the Installer Tools.
CAUTION: Only use the Calibrate Input tool if instructed to use it by the central station.
1. Find the Installer tools by opening a browser and entering the controllers URL into the
Address field. See the Pre-Installation Checklist – Ref #5, page 23
.
2. Enter the following URL depending on your communication configuration:
• Static TCP/IP Communication,
Assigned VertX IP/InstallerTools.html
• DHCP TCP/IP Communication,
VertX_Controller.yourdomain.suffix/InstallerTools.html
3. Select Calibrate Input
4. If more information is required, click Installer Tools Documentation.