English
32
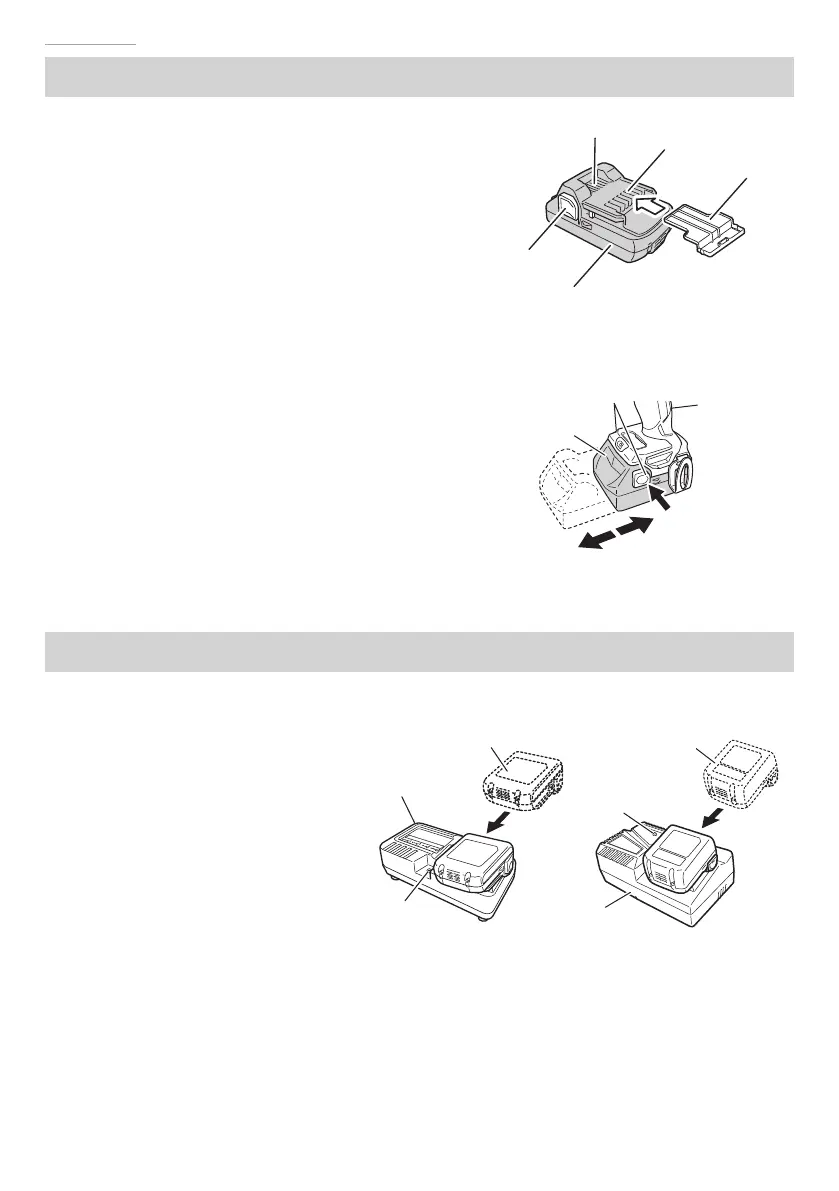
BATTERY REMOVAL
/
INSTALLATION
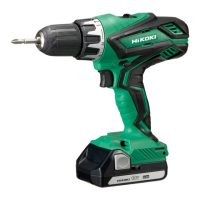
1. Battery removal
Hold the handle tightly and push the battery
latches to remove the battery (see Fig. 3, 4).
CAUTION
Never short-circuit the battery.
2. Battery installation
Insert the battery while observing its polarities
(see Fig. 4).
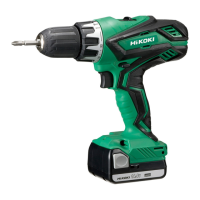
CHARGING
Before using the power tool, charge the battery as follows.
1. Connect the charger’s power cord to
the receptacle.
When connecting the plug of the
charger to a receptacle, the pilot lamp
will blink in red (At 1- second intervals).
2. Insert the battery into the charger.
Firmly insert the battery into the
charger as shown in Fig. 5.
3. Charging
When inserting a battery in the
charger, charging will commence
and the pilot lamp will light
continuously in red.
When the battery becomes fully recharged, the pilot lamp will blink in red. (At 1-second
intervals) (See Table 2)
●
Pilot lamp indication
The indications of the pilot lamp will be as shown in Table 2, according to the condition of
the charger or the battery.
Fig. 3
Battery
Latch
Ventilation holes
Terminals
Battery cover
Handle
Latch
Battery
Pull out
Insert
Push
Fig. 4
Fig. 5
Battery
Charger
Pilot lamp
UC18YFSL
Battery
Charger
Pilot lamp
UC18YKSL
000BookDS14DBSLChS.indb32000BookDS14DBSLChS.indb32 2017/12/088:45:032017/12/088:45:03