57
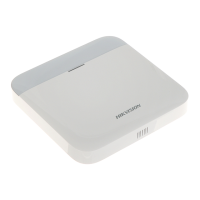
the Scan QR code page. Scan the QR code on the AX PRO.
Note
Normally, the QR code is printed on the label stuck on the back cover of the AX PRO.
Tap + → Manual Adding to enter the Add Device page. Enter the device serial No. with the Hik-
Connect Domain adding type.
3. Tap to search the device.
4. Tap Add on the Results page.
5. Enter the verification code and tap OK.
6. After adding completed, enter the device alias and tap Save.
7. Optional: Tap → Delete Device to delete the device.
8. Optional: Tap → to edit the device name.
Add Peripheral to the AX PRO
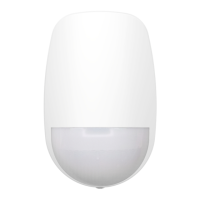
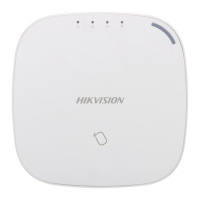
Add peripheral to the AX PRO.
Steps
1. Select a control device (AX PRO).
2. Tap + .
– Tap Scan QR Code to enter the Scan QR code page. Scan the QR code on the peripheral.
– Tap to enter the Manually Input page. Enter the device serial No. and select the device
type to add the device.
Main Page
You can view faults, arm and disarm areas, view device status, etc.
On the device list page, tap the AX PRO and then log in to the device (if required) to enter the
page.
 Loading...
