EasyManuals Logo
Home>HIKVISION>Security Camera>DS-2CC51A7N-VP

HIKVISION DS-2CC51A7N-VP User Manual

HIKVISION DS-2CC51A7N-VP
71 pages
To Next Page IconTo Next Page
To Previous Page IconTo Previous Page
Page #27 background imageLoading...
Page #27 background image
Day/Night High-definition Dome Camera·User Manual
14
14
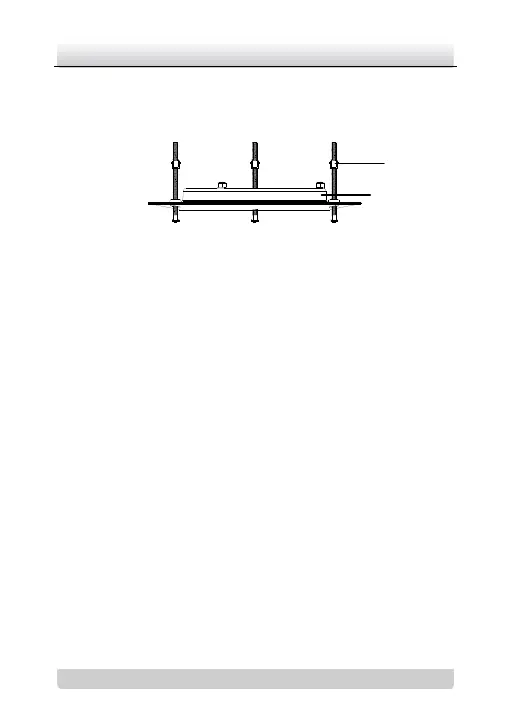
6. Tighten the screws. Then rotate the spring clips
counterclockwise to tightly secure the in-ceiling mount with
the ceiling.
Figure 2-10 The In-ceiling Mount
7. Route the cables through the hole in the center of the in-ceiling
mount.
8. Align the camera with the in-ceiling mount.
9. Tighten the set screws to secure the camera with the in-ceiling
mount.
10. Connect the video output connector to the monitor. Connect
the power connector to the power supply.
11. Adjust the image and focus. Please refer to the section 2.3 for
more detailed information.
In-ceiling Mount
Spring Clips

Questions and Answers:

Question and Answer IconNeed help?

Do you have a question about the HIKVISION DS-2CC51A7N-VP and is the answer not in the manual?

HIKVISION DS-2CC51A7N-VP Specifications

General IconGeneral
BrandHIKVISION
ModelDS-2CC51A7N-VP
CategorySecurity Camera
LanguageEnglish

Related product manuals