Installation Manual of Network Camera
© Hikvision Digital Technology Co., Ltd. All Rights Reserved.
3.2 Dome Camera Installation
3.2.1 Dome Camera Ⅰ
Dome camera can be installed including hold mounting, ceiling mounting, cylinder mounting and
other styles. Customers can choose different ways to install the camera according to their specific
needs. Please do as the following specific steps to install the dome (take ceiling mounting as
example).
Step 1: when the wall is wood, use the self-tapping screws to fix the ceiling plate to the wall surface.
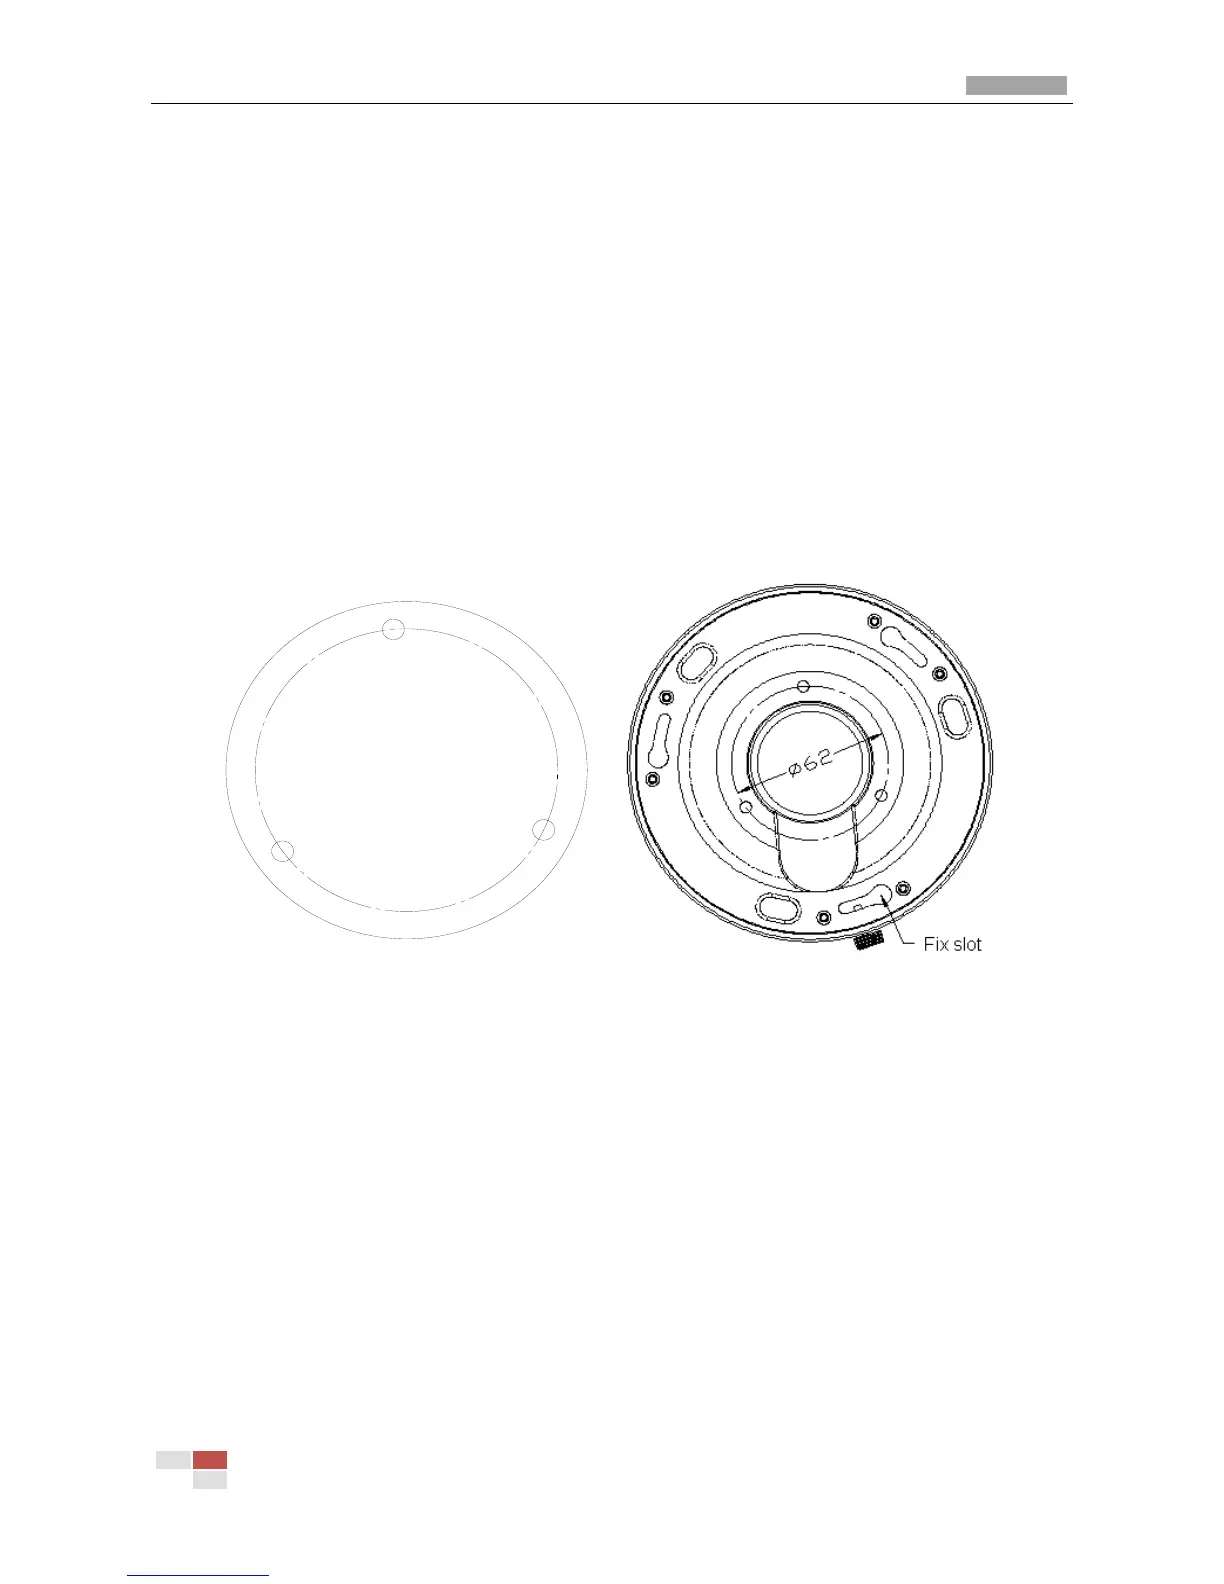
Figure 3.2.1 Fix in ceiling
Step 2: Insert the three columns of Dome camera into the three fix slots of the ceiling plate. Pay
attention to the direction of insertion. Let the ceiling plate “I” logo and the Dome camera “I” logo in
the same direction. Meanwhile, rotate the dome camera 15 degrees counterclockwise until the
dome camera can’t be rotated further.