2.3 Ceiling Mounting Applications
The ceiling mounting is only applicable to the indoor models of 5-inch speed dome.
Before you start:
The ceiling mounting is applicable to the indoor/outdoor solid ceiling construction. The followings
are the mandatory precondition for ceiling mounting:
The thickness of the ceiling must ranges from 5 to 40mm.
The ceiling must be strong enough to withstand more than 4 times the weight of the dome
and its accessories.
2.3.1 Removing the In-ceiling Bracket
The speed dome is installed with an in-ceiling bracket by default. Before you mount the speed dome
on the ceiling, you need to remove the in-ceiling bracket first.
Steps:
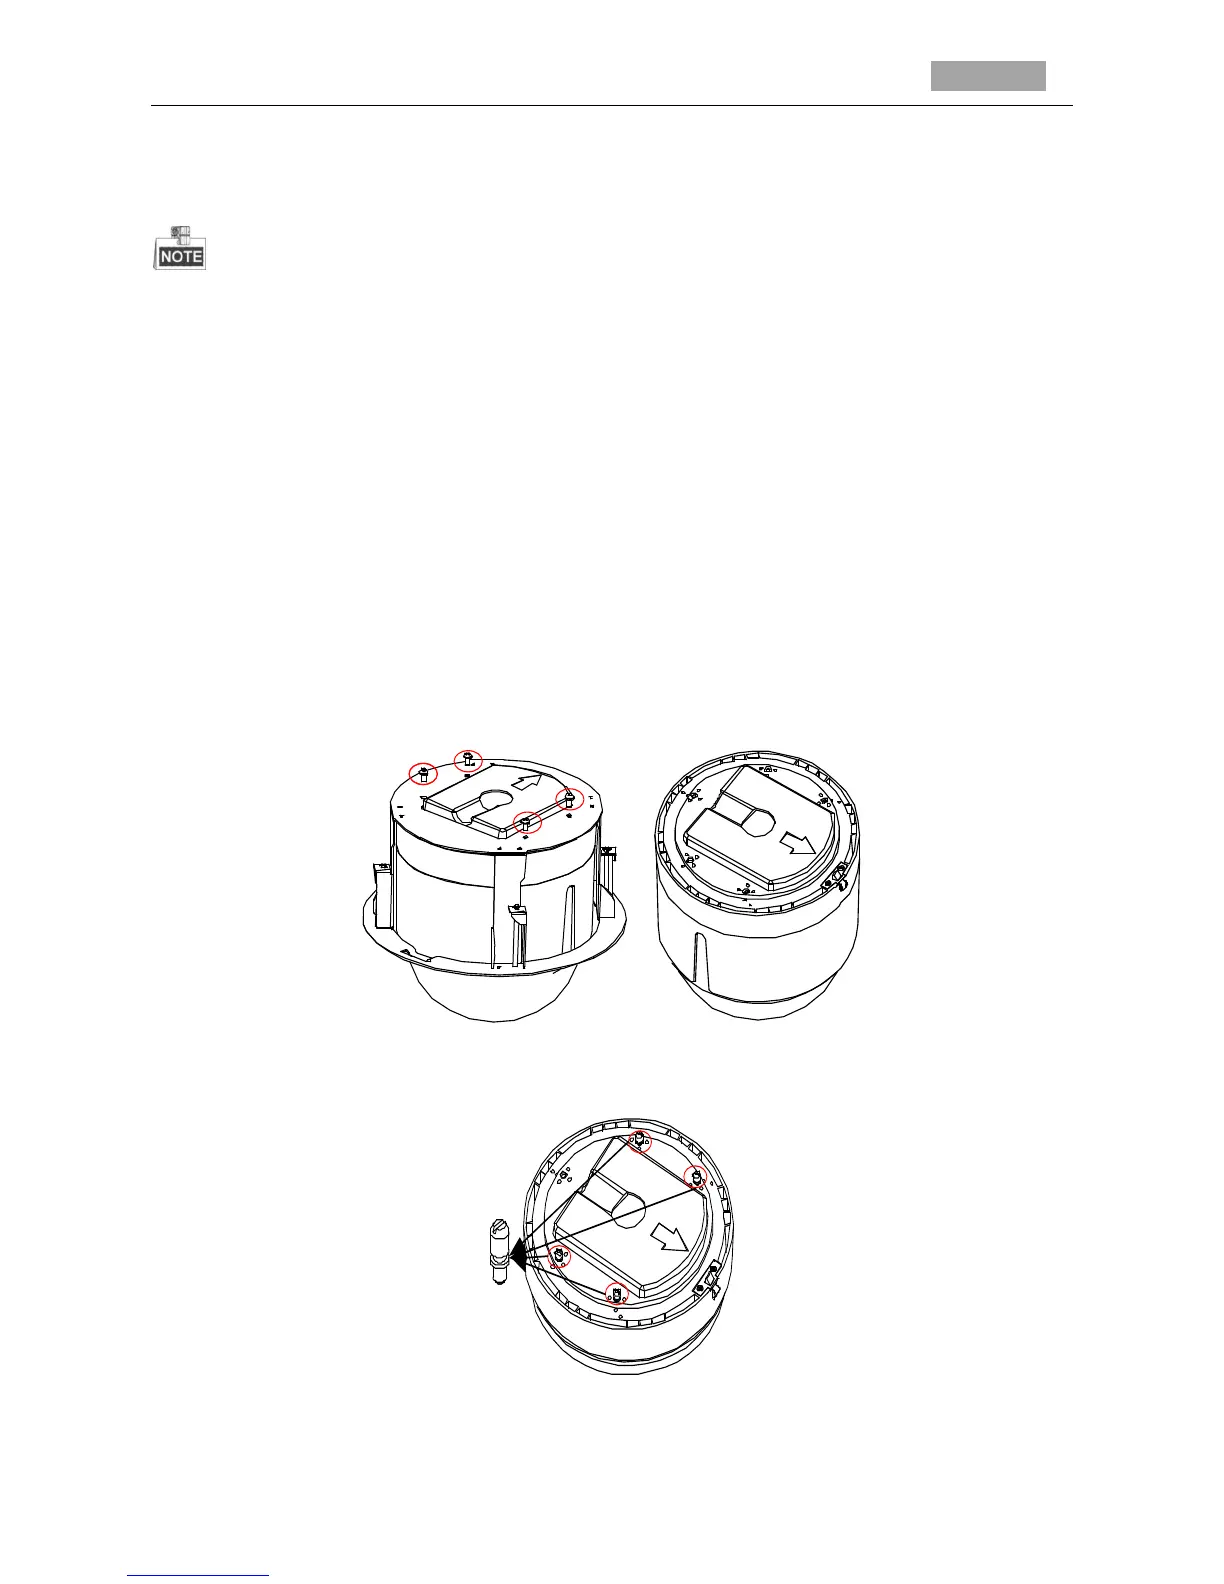
1. Loosen and remove the 4 screws as shown in the following figure (left). And remove the
in-ceiling bracket as shown in the following figure (right).
Figure 2-10 Remove the Bracket
2. Install 4 bolts to the screw holes as shown in Figure 2-11.
Figure 2-11 Install the Bolts
 Loading...