User Manual of PanoVu Series Network Camera
Configuration > Storage > Storage Settings > Capture
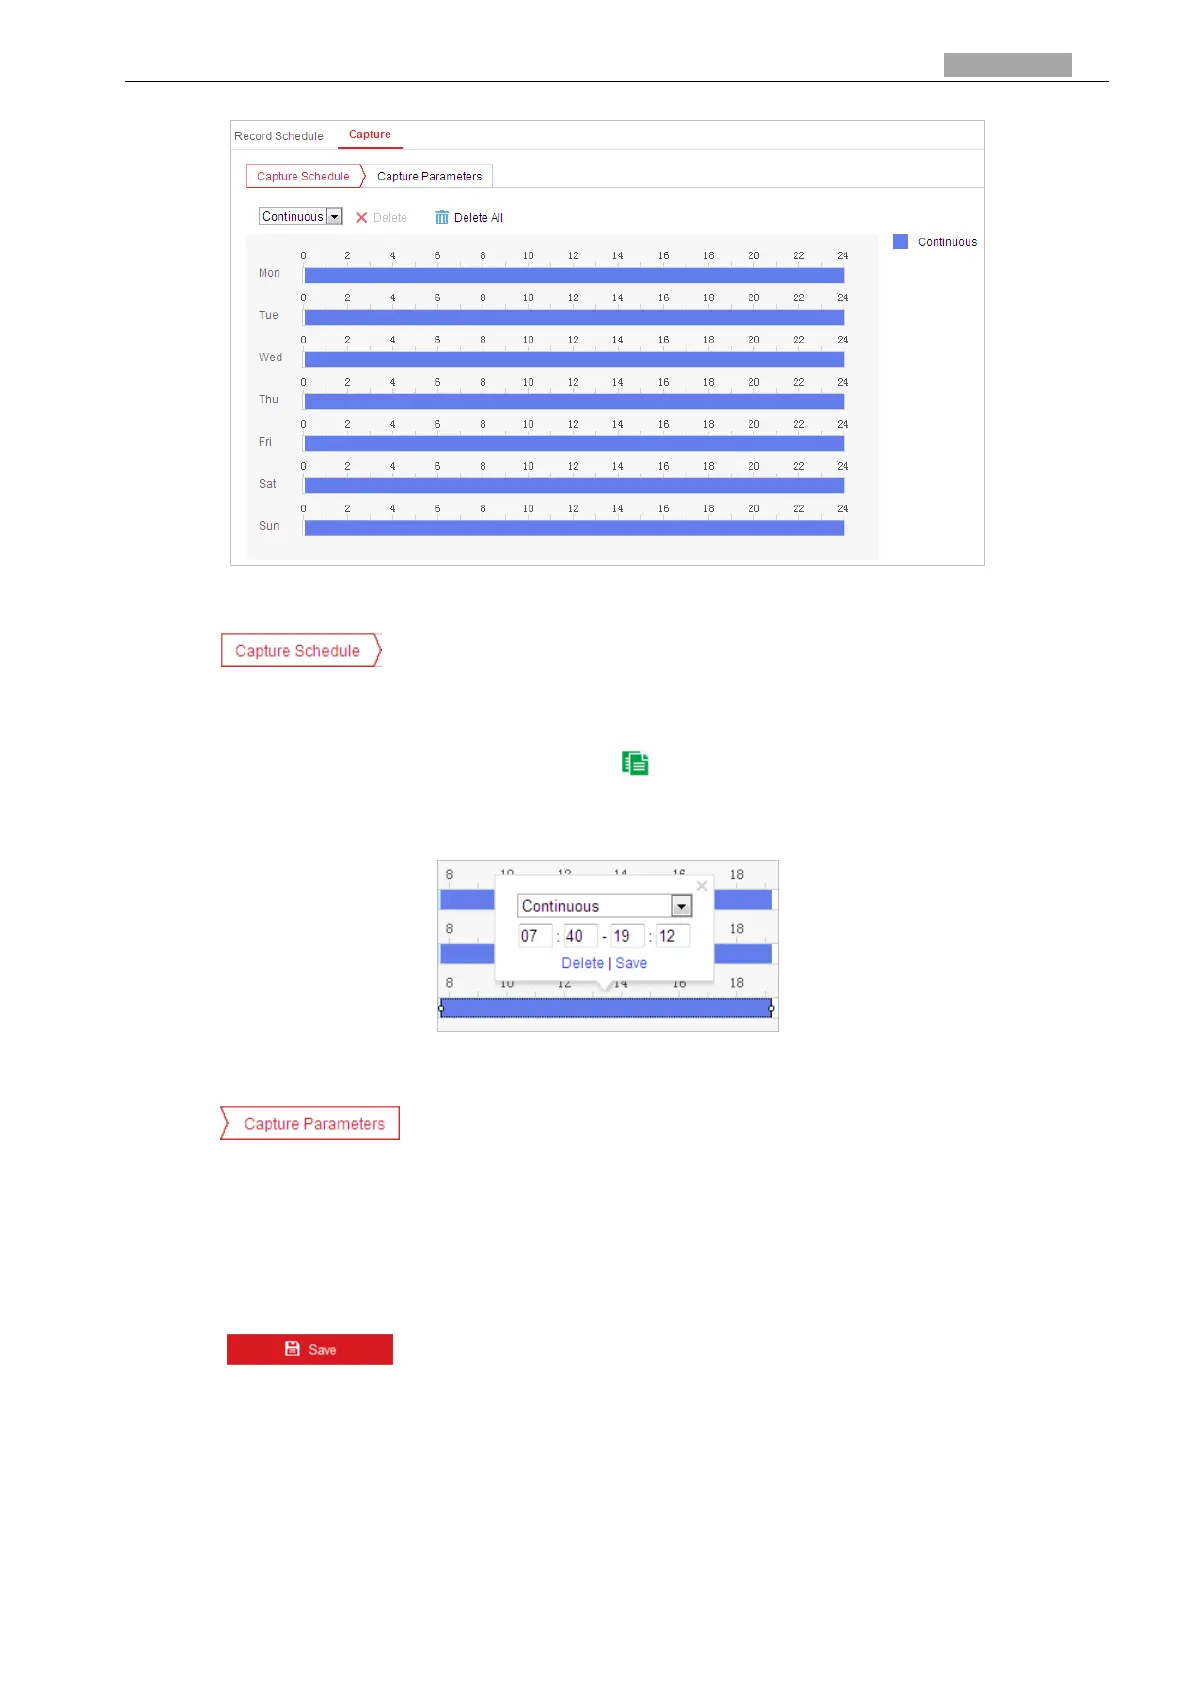
Figure 5-9 Snapshot Settings
2. Click to enter the Capture interface.
3. Select the timeline of a certain day, and drag the left button of the mouse to set the capture
schedule (the start time and end time of the recording task).
4. After you set the scheduled task, you can click and copy the task to other days (optional).
5. After setting the capture schedule, you can click a capture segment to display the segment
capture settings interface to edit the segment capture parameters. (optional)
Figure 5-10 Segment Snapshot Settings
6. Click to enter the Capture Parameters interface.
7. Check the Enable Timing Snapshot checkbox to enable continuous snapshot, and configure
the schedule of timing snapshot. Check the Enable Event-triggered Snapshot checkbox to
enable event-triggered snapshot.
8. Select the format, resolution, quality of the snapshot.
9. Set the time interval between two snapshots.
10. Click to save the settings.
5.2 Picture
Purpose:
This section explains how to view the captured picture files stored in the network disks and
download the captured pictures.
 Loading...