DS-AT1000S Series Storage System Quick Start Guide
14
2.2.2 Install HDD
Selecting HDD Model
It is recommended to adopt the certificated professional HDD models so as to ensure the stable
running of the system and the reliable data storage. You are recommended to use the HDD in
recommended HDD list. Please contact our technical support for the recommended HDD list.
In order to avoid damages during transportation, it is recommended to package and transport the
hard disks separately with the chassis of network storage system.
Installing HDD
Follow the steps below to install HDDs.
Step 1 Remove the front panel cover.
1) Unlock the front panel cover with delivered key.
2) Hold the cover and pull it out till it gets out of the control of the lock.
3) Move the cover to right to remove it from front panel.
Step 2 Press the spring lock of the HDD on the left, drag the handle and then pull out the dummy
HDD from the chassis along the guide rail.
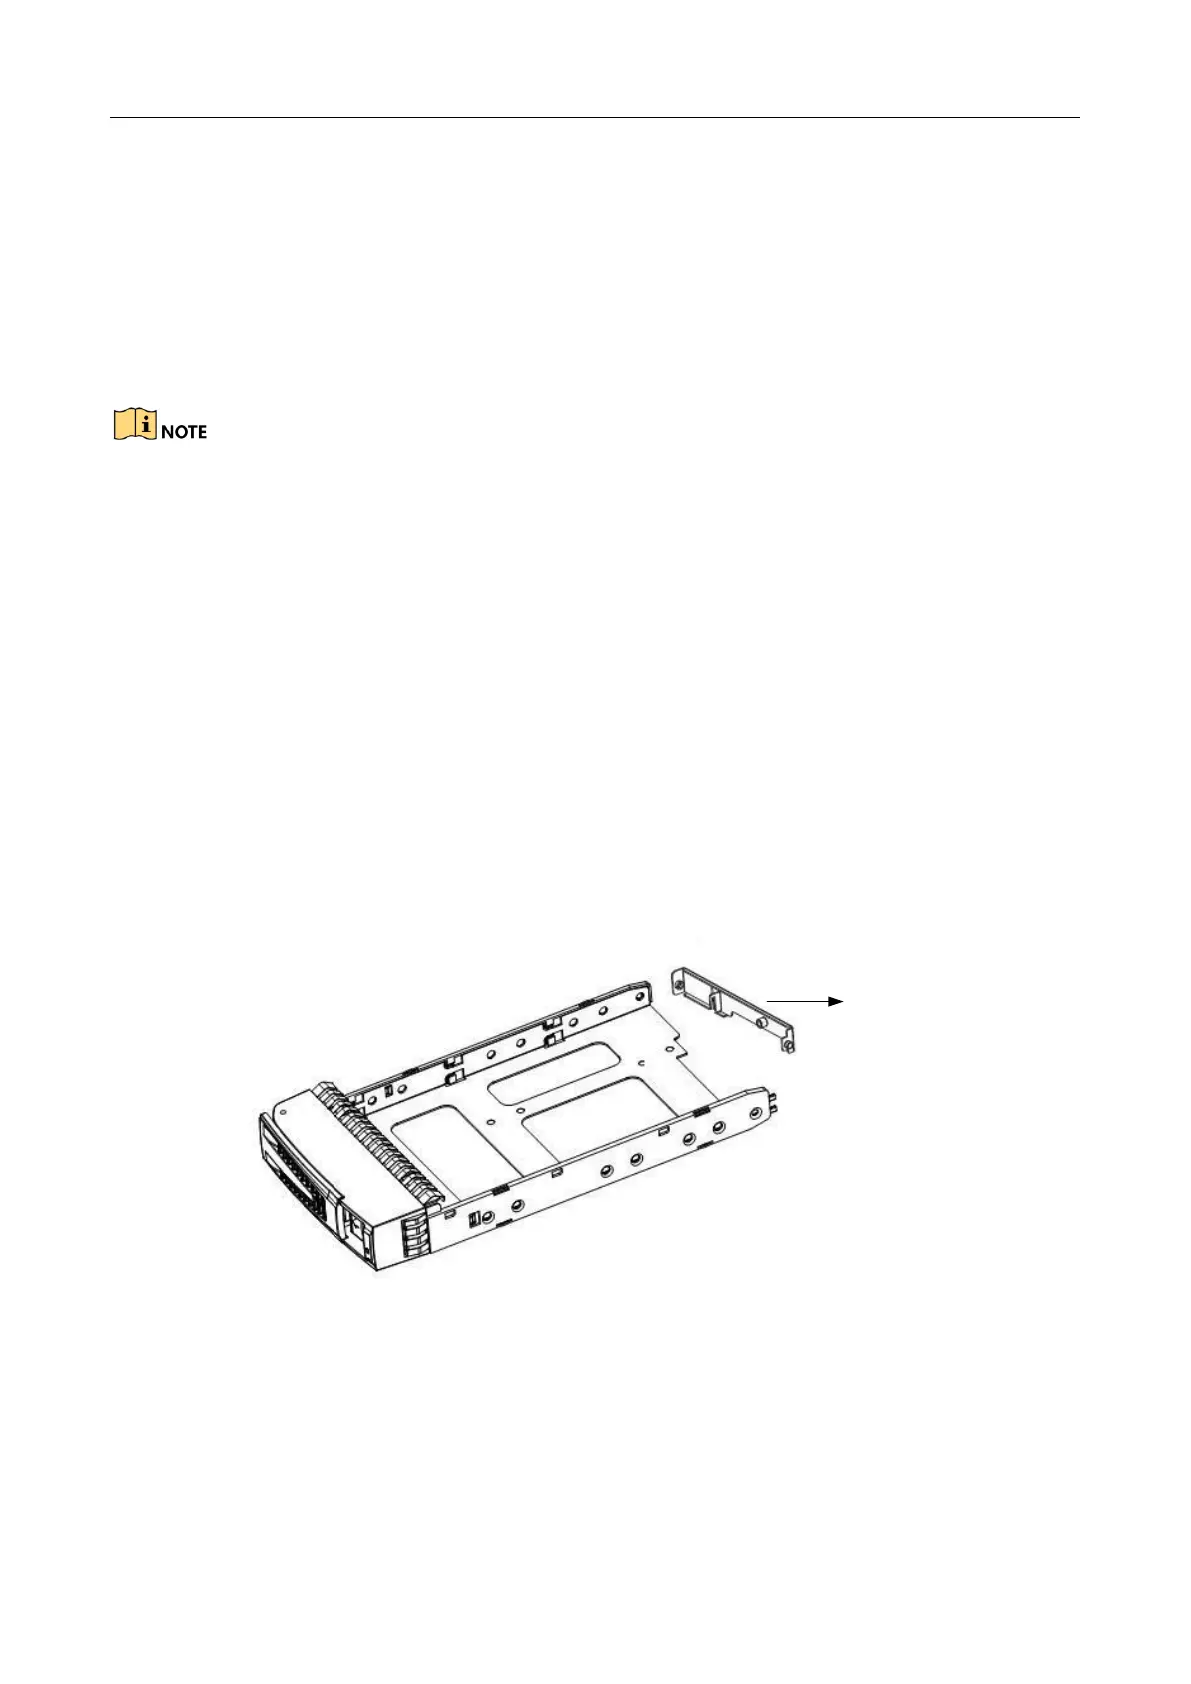
Step 3 (Optional) Remove the baffle, if any, from the dummy HDD.
Figure 2-11 Remove Baffle
Step 4 Use four screws to secure the HDD (with the PCB side downward) to the bracket. In order to
ensure the HDD pin holds the line with the rear of the plate, mount screws to the specific
screw hole as shown.
 Loading...