Press Buon to Call
Steps
1. Go to Intercom → Press Buon to Call to enter the sengs
page.
2. Select Main Unit or Sub Module as the buon call target.
Note
If you select Main Unit, you should congure Buon Sengs
and select Link Time Schedule as Template Plan 1 or Enable
Indoor Staon All Day by Default.
3. Click Save to enable the sengs.
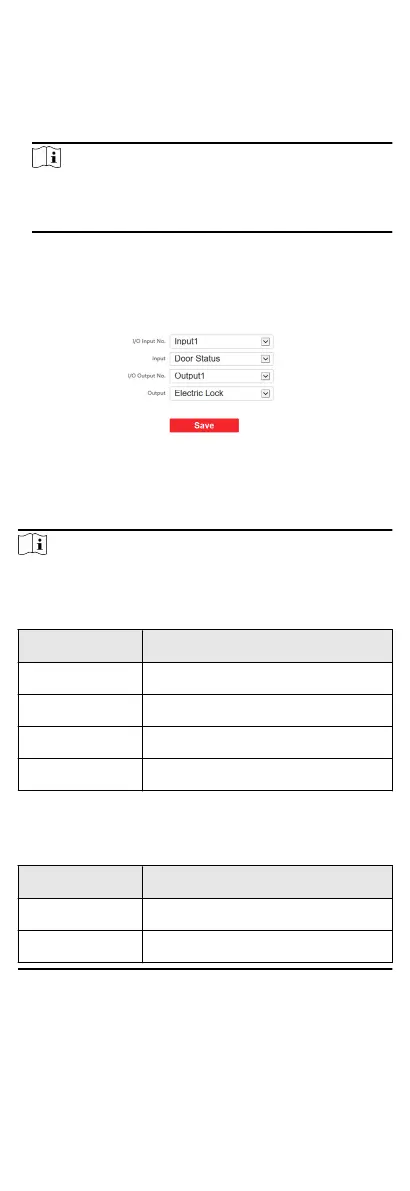
Input and Output
Go to Intercom → I/O Sengs to enter the sengs page.
Figure 7-20 IO Input and Output
Select I/O Input No., Input, I/O Output No. and Output.
Click Save to enable the
sengs.
Note
●
I/O Input supports 4-channel inputs.
Table 7-1 I/O Input
I/O Input No. Input
1 Door Status
2 Disable/Door Status
3 Exit Buon
4 Disable/Exit Buon
●
I/O Output supports 2-channel outputs.
Table 7-2 I/O Output
I/O Output No. Output
1 Electric Lock
2 Disable/Electric Lock
Sub Module Conguraon
70
 Loading...