EasyManuals Logo
Home>HIKVISION>Security Camera>E Series

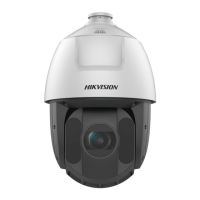
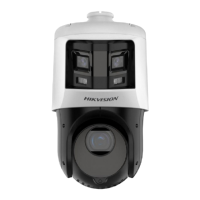
HIKVISION E Series Quick Guide

HIKVISION E Series
40 pages
To Next Page IconTo Next Page
To Previous Page IconTo Previous Page
Page #16 background imageLoading...
Page #16 background image
E Series Network Speed Dome·Quick Guide
15
Figure 2-6 Tighten the Lock Screws
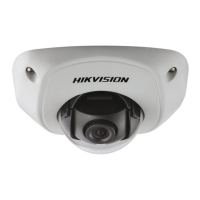
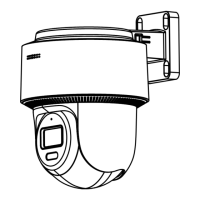
Mini IR Network Speed Dome Installation
Steps:
1. Hook the two ends of the safety rope to the back box of the speed dome and the wall mount
respectively. Route the cables through the mount as shown follows.
2. Loosen the lock screws on the wall mount as shown below.
3. Align the speed dome with wall mount and rotate it counterclockwise or clockwise to the mount
tightly as shown below.
Lock
Screw
Push
Rotate
Safety
Rope
Figure 2-7 Align to the Mount
4. Use L-wrench to tighten the lock screws to secure the speed dome and the wall mount.

Other manuals for HIKVISION E Series

Questions and Answers:

Question and Answer IconNeed help?

Do you have a question about the HIKVISION E Series and is the answer not in the manual?

HIKVISION E Series Specifications

General IconGeneral
BrandHIKVISION
ModelE Series
CategorySecurity Camera
LanguageEnglish

Related product manuals