Figure 2-8 Tighten the Lock Screws
5-inch Network Speed Dome Installation
Notes:
Please remove the protective film on the lower dome after the installation is finished.
Do not touch the bubble of the lower dome directly by hand. The image blurs otherwise.
Steps:
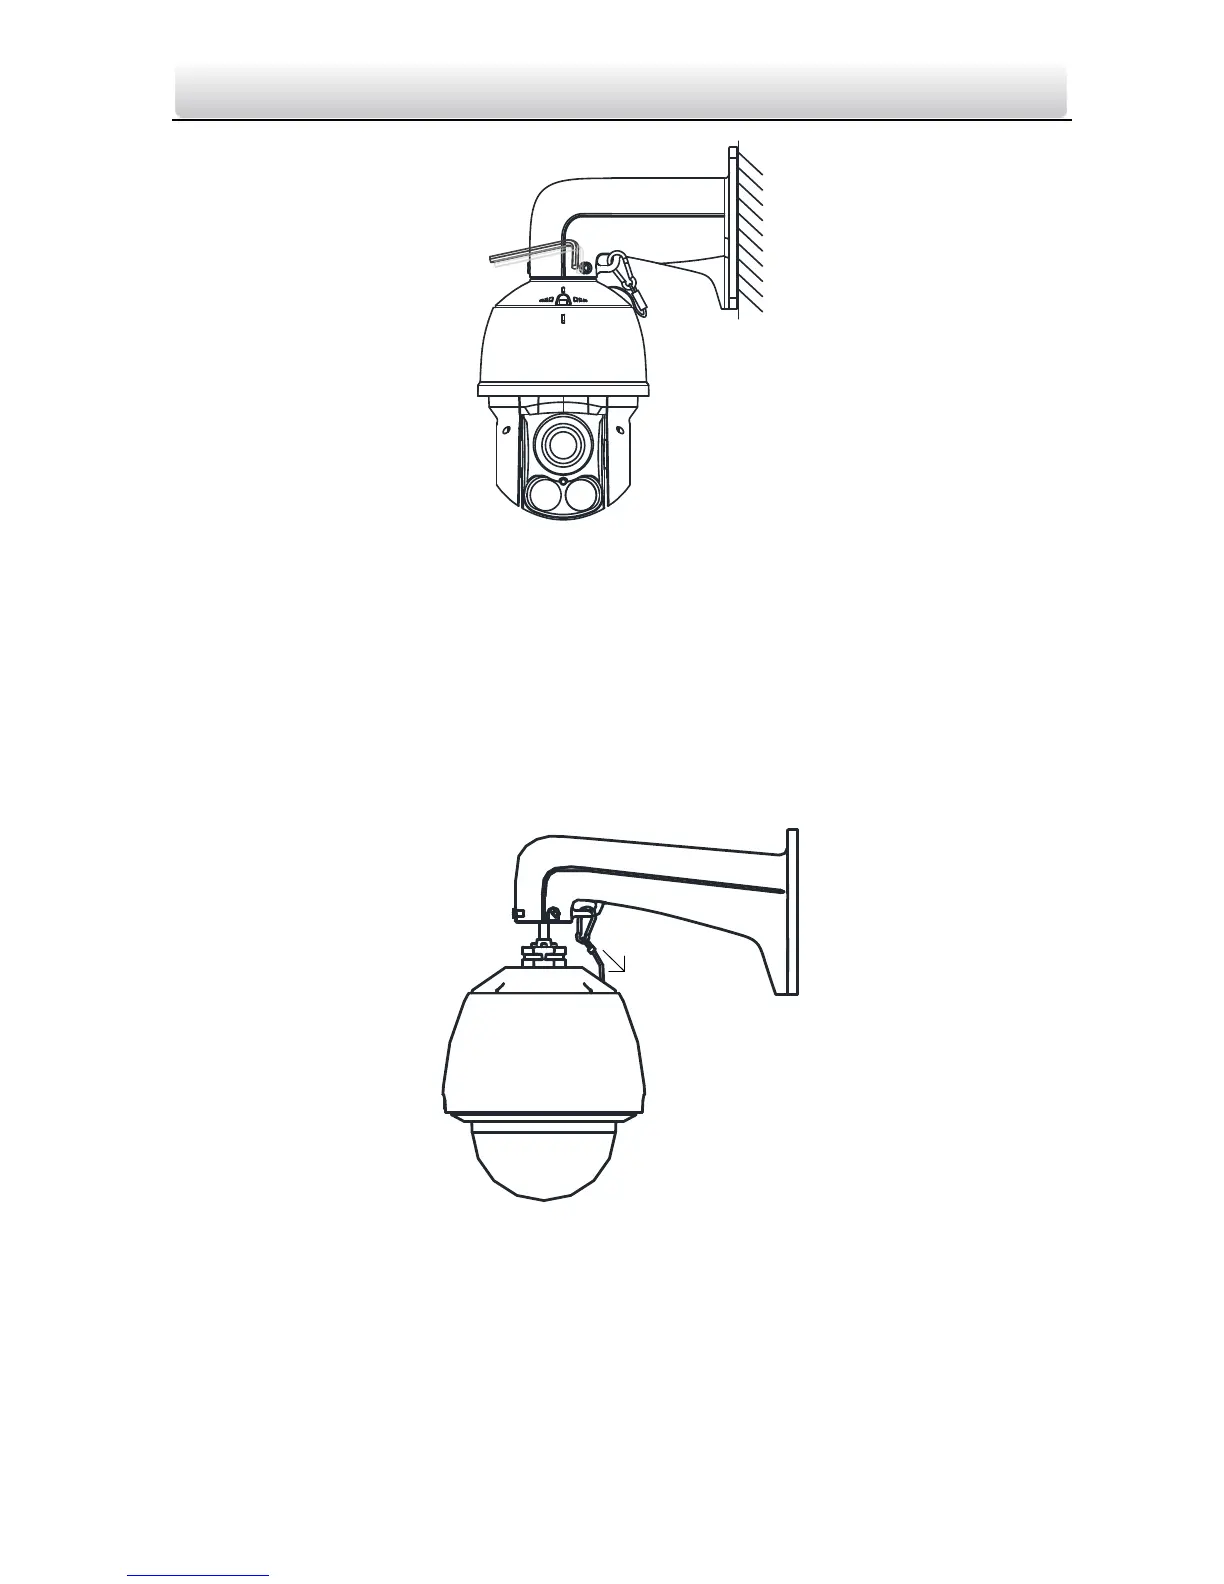
1. Hook the two ends of the safety rope to the back box of the speed dome and the wall mount
respectively. Route the cables through the mount as shown follows.
Figure 2-9 Safety Rope
2. Loosen the lock screws on the wall mount as shown below.
3. Align the speed dome with wall mount and rotate it counterclockwise or clockwise to the mount
tightly as shown below.
 Loading...