ECI-T24Fx Quick Start Guide
QSG ECI-T24Fx 041018NA 15
1). For the “Activate the Device” page that appears during camera activation, refer to
Chapter 3.2.2.
2). For the “Modify Network Parameters” page that appears while modifying the IP
address, refer to Chapter 3.3.
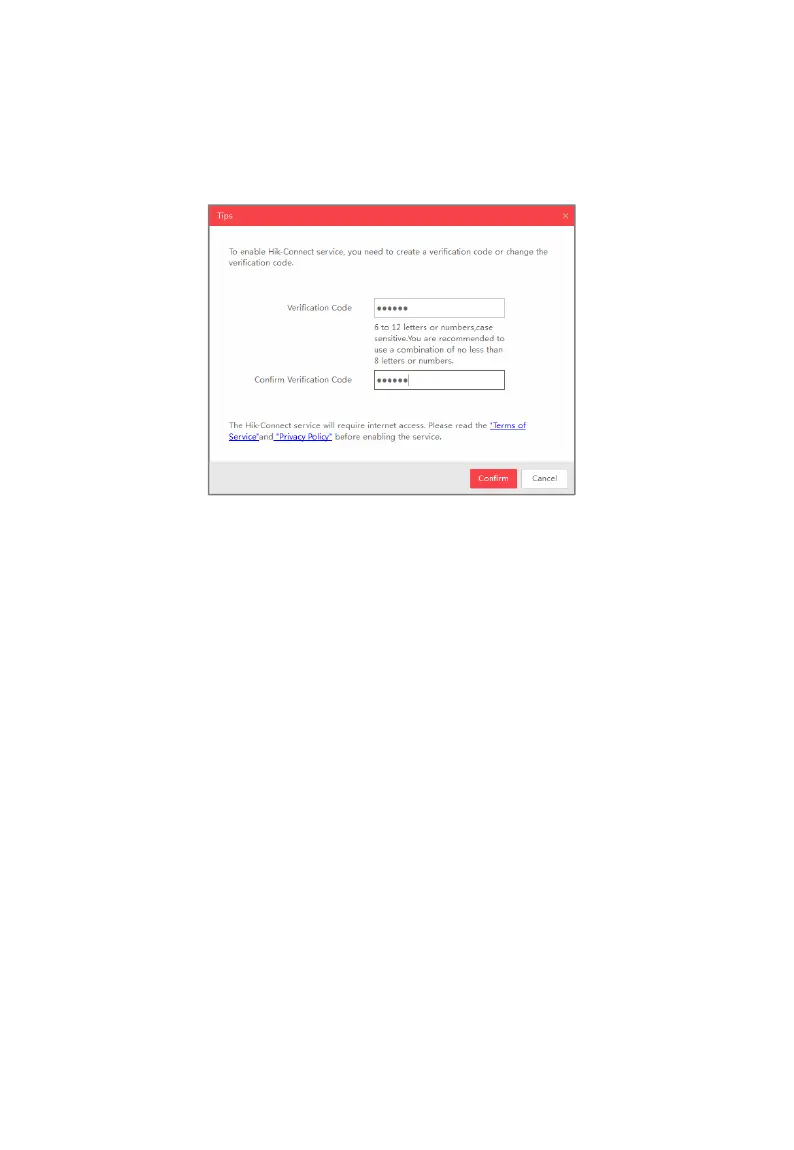
2. Create or change the verification code.
Verification Code Setting (SADP)
Figure 5-1
Note:
The verification code is required when adding the camera to Hik-Connect.
3. Click and read the “Terms of Service” and “Privacy Policy.”
4. Confirm the settings.
Enable Hik-Connect via a Web Browser
5.2.1
Before You Start:
Activate the camera before enabling the service. Refer to Chapter 3.2. for more information.
Steps:
1. Access the camera via the Web browser. Refer to Chapter 4.
2. Enter the platform access configuration interface, as follows: Configuration > Network >
Advanced Settings > Platform Access.
 Loading...